Many people are using NAS from verity of brands and they are very good to keep your data safe. Number of drives varies from model to model and they have RAID options, but in case one of the hard drive fails, simply just swap with new and you should be able to get back to normal operation, without any downtime. There are some cases, where your NAS has power issues, where it does not turn on at all or keeps restarting. You can still recover data, here is example of Synology NAS DS1515+ or may apply to similar model, you may have to recover someday, hope never, but things can go wrong when you least expected. Here is how to recover back to Normal operation, it’s very easy simple process.
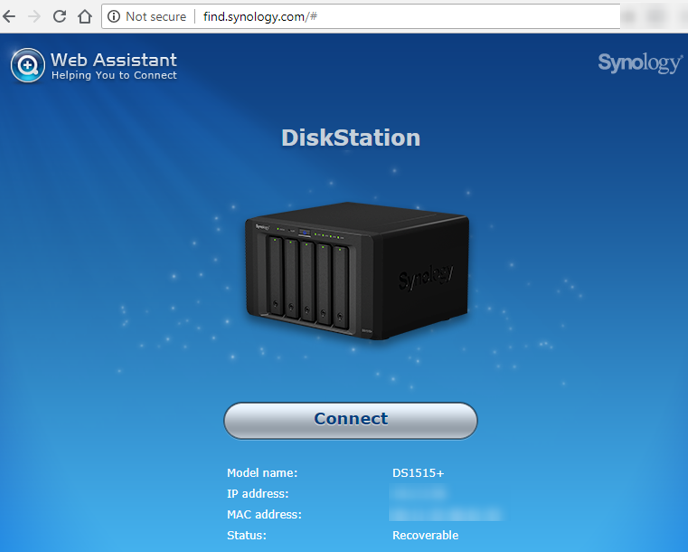
First get a replacement same model of your NAS, then take the failed NAS drives one at a time and put them in the same order to new NAS (assuming hard drives are all normal). Plugin the Network cable and power cord. Then turn it on and go to http://find.synology.com/# make sure your NAS and your computer are on
Two options: follow steps based on what you seeing in your situation
Status: Recoverable
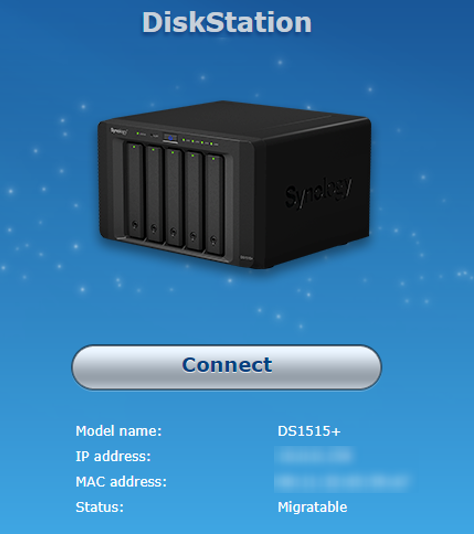
Status: Migratable
Steps for Recoverable
- Go to: http://find.synology.com/# You should see NAS info and option to connect, status should say Recoverable, Click Connect
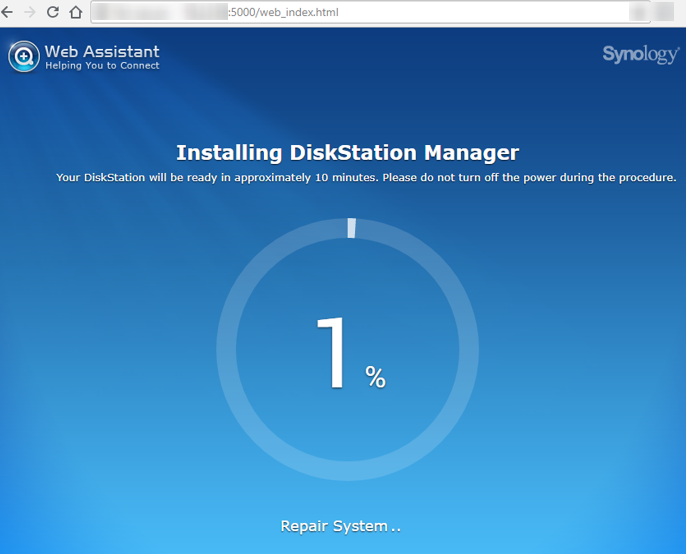
2. Then it will redirect to IP_Address_of_Your_NAS:5000, Click Recover

3. It will go through Installing DiskStation Manger and Repair System
4. Once done, it will automatically restart, your browser may not redirect page to your original IP/DNS Name, so open manually or go
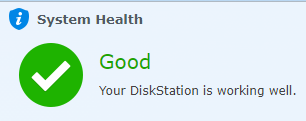
You should see status ready, click Connect and check the system health

It should be back to Normal
Everything should be back to where you had left of defective or failed unit. You can open the Log Center and should be able to see all the logs from past, when you had issues.
Quick Installation Guide from Synology: https://global.download.synology.com/download/Document/HIG/DiskStation/15-year/DS1515+/Syno_QIG_DS1515+_enu.pdf
Steps for Migratable
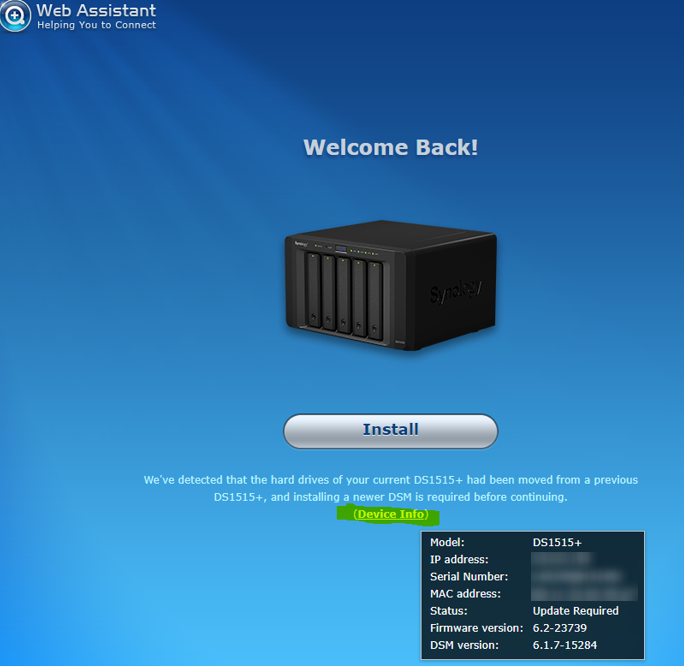
Go to: http://find.synology.com/# You should see NAS info, If you see Migratable message that means your DiskStation firmware is not same and it
Click connect and accept the agreement
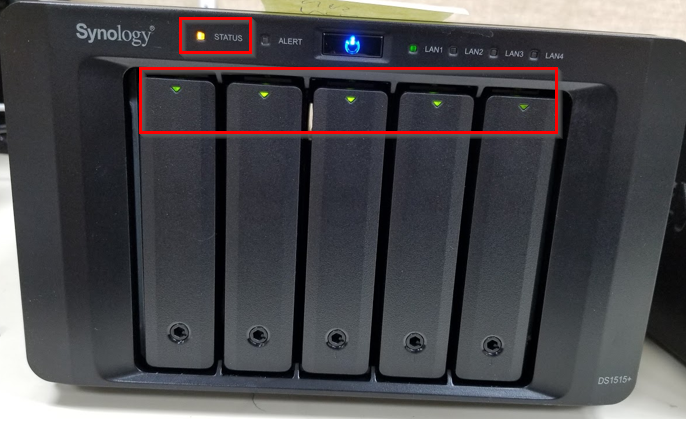
You will see Status amber blinking and all hard drive lights are green
You can mouse your mouse over the Device Info to see status then Click Install
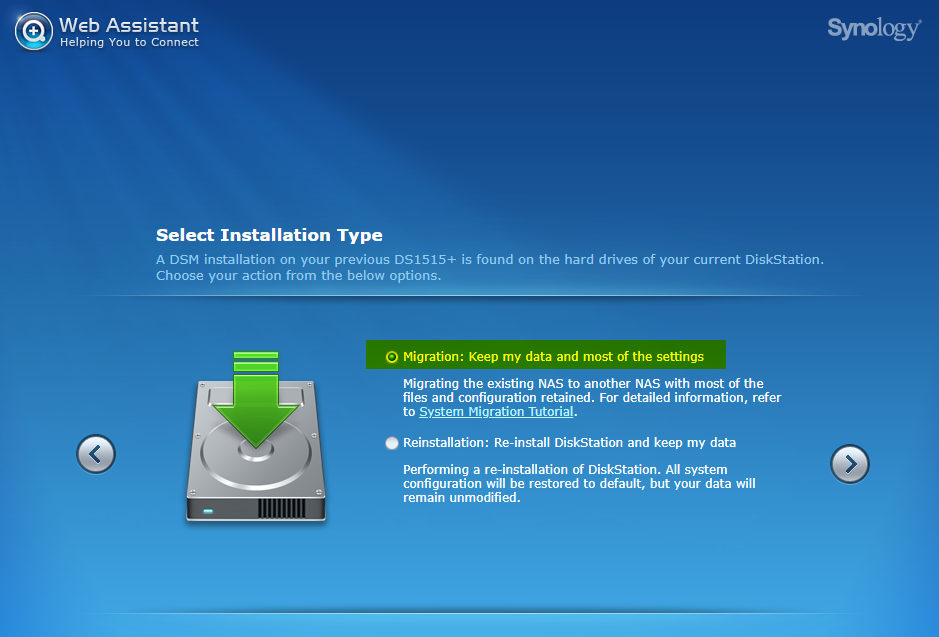
Select the Migration: Keep my data and most of the settings (unless you want to just keep data and reset the configuration then choose “Reinstalltion”)
Then click on the Right arrow and click Install
Once finished installation of the DiskStation it will need to restart which it will, once it
You should see status Ready, click Connect
If you are using Active Backup for Business you will need to re-activated and may want to check other utilities you maybe using.