How to setup Hyper-V on a Windows server 2019. It’s a very easy process for basic setup, it can be very complicated if you want to do isolation, VLAN, and NIC teaming. This post will start basic, Hyper-V host running Windows server 2019, it can be a standard or datacenter if you want to run many VMs and some advanced features. Let’s get started
Once you have windows server 2019 install and updated, we can install Hyper-V a couple of ways via GUI or PowerShell
Option 1: GUI
Option 2: using Powershell
Install Hyper-V using Server Manager:
open up Server Manager, then click Manage>Add Roles and Feature
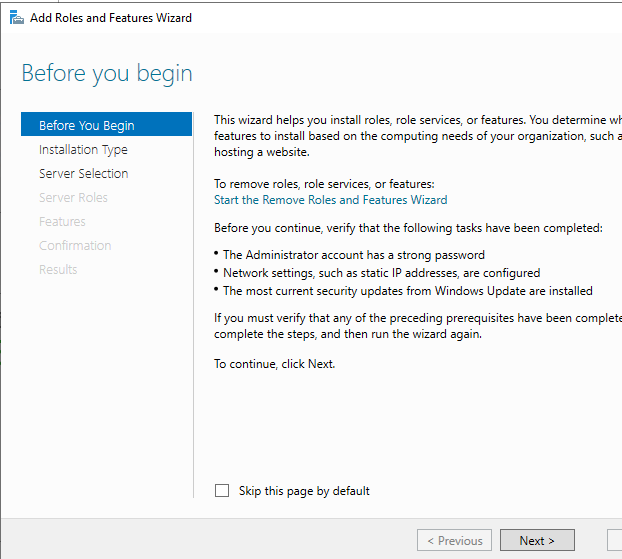
Click Next:
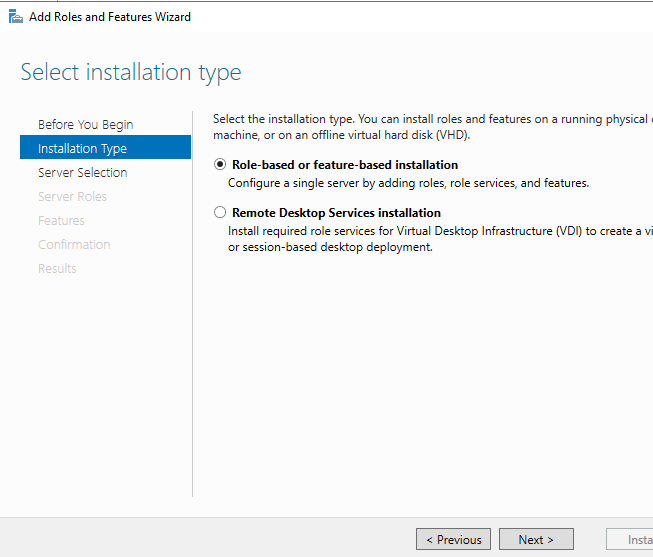
Select Role-based, then click Next
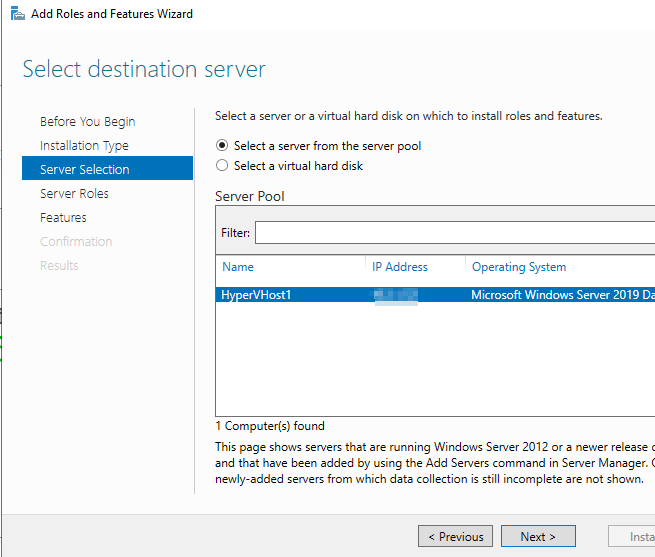
The select server you want to install Hyper-V, click Next
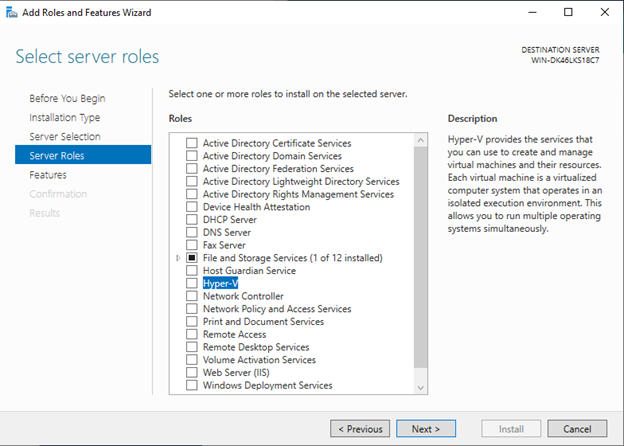
Then select the Hyper-V check box.
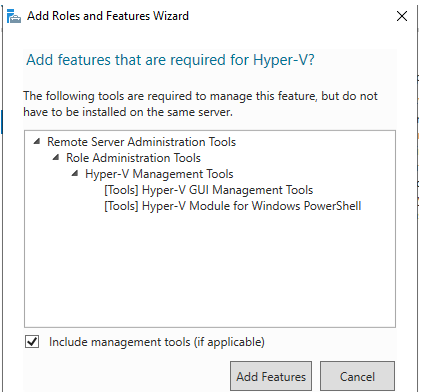
You will get an option to include management tools, which most likely you want so click add features
Then click Next
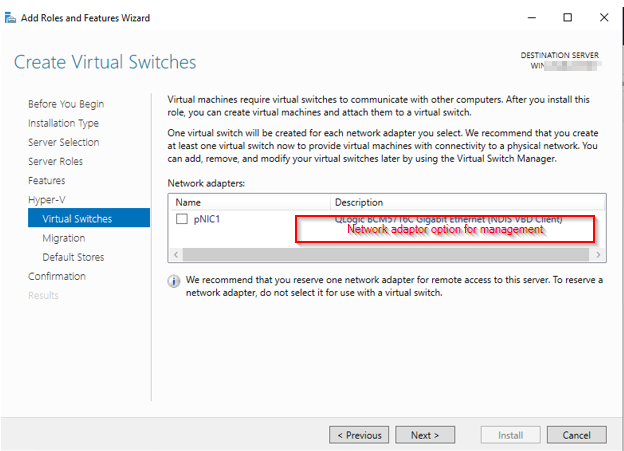
If you only have one Network card then select the box to share with Hyper-V host/VM’s traffic, otherwise leave it unchecked.
Then you should see confirm installation, if everything is good, click Install, otherwise, click previous to make a change or click Cancel to exit out without making changes.

Once the installation is complete, the server needs to restart for Hyper-V settings to apply
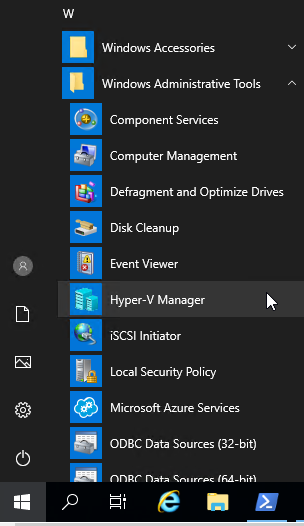
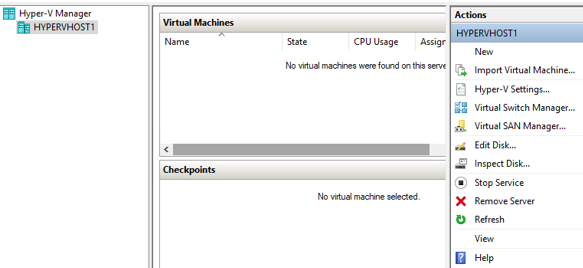
You will find Hyper-V Manager under Start>Windows Administrative Tools
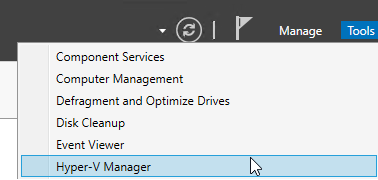
Or from the server manager under Tools>Hyper-V Manager
You should something like this:
Installing Hyper-V via PowerShell
Open PowerShell with Administrator rights
PS > Install-WindowsFeature -Name Hyper-V -IncludeManagementTools
Success Restart Needed Exit Code Feature Result
——- ————– ——— ————–
True Yes SuccessRest… {Hyper-V Module for Windows PowerShell, Hy…
WARNING: You must restart this server to finish the installation process.

To verify Hyper-V installed:
Command: Get-WindowsFeature -Name *Hyper-V*

That’s all for Hyper-V installation, next need to setup networking, then start installing VM’s on it.