As many of you know it’s been a long time, since Basic Authentication Deprecation in Exchange Online, but now it’s finally shutting down. So best to know if your network or application still using these older protocols or not and if so upgraded to use Auth 2.0. You can find more info here: https://techcommunity.microsoft.com/t5/exchange-team-blog/basic-authentication-deprecation-in-exchange-online-september/ba-p/3609437
This will be the last notice 7 Days before it’s shuts down:

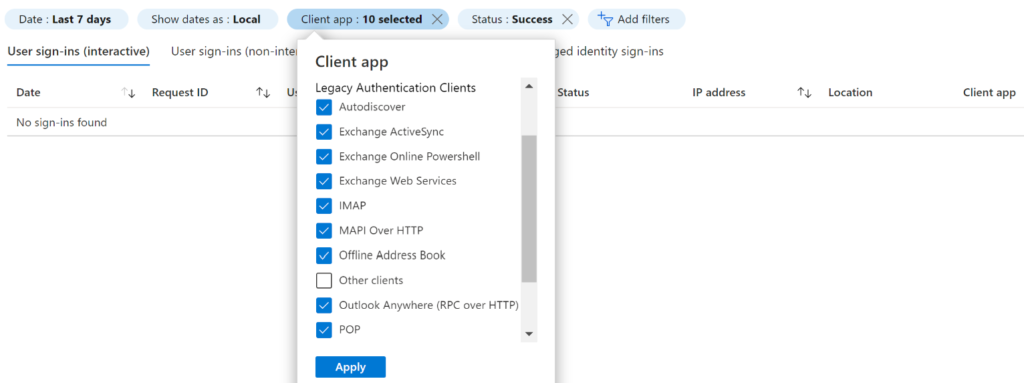
Protocols that are in scope for disablement:
- MAPI
- RPC
- Offline Address Book (OAB)
- Exchange Web Services (EWS)
- POP
- IMAP
- Exchange ActiveSync (EAS)
- Remote PowerShell
Not in scope for this disablement (we are not making changes to):
- SMTP AUTH
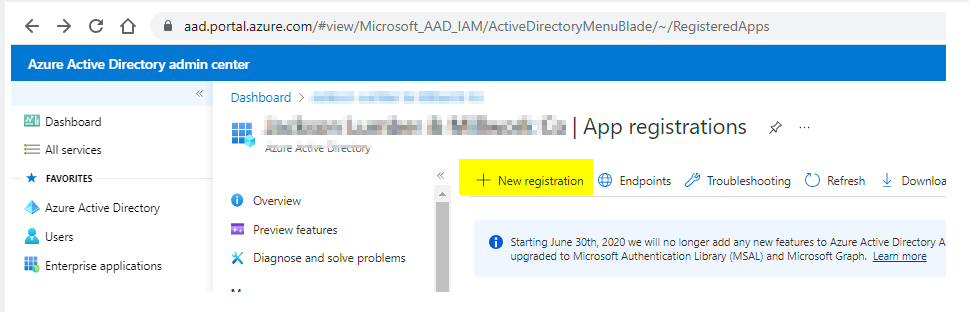
You can log in to your Azure AD via https://aad.portal.azure.com/ Go to Sign-in logs
You can run the report for the sign-in log to see if any device or user using basic protocols
If you don’t see Client app, you can click on Columns to get options.
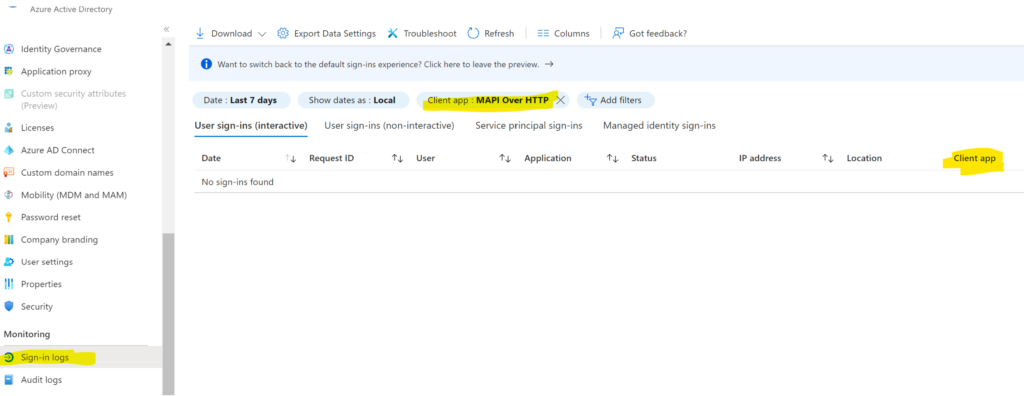
If you don’t see the Client app, you can add the filters.
Click on Add filters>Client app
Click Apply

Once you add the Client app
Then Click on the Client app to select the MAPI Over HTTP
Click Apply

You should see if anything using the basic protocols, if you see none that means you are using newer protocols, also make sure to select the Date last 7 days or longer, in case some device or user sign-in once in a while.
If you want to select other protocols you can, just to make sure no one is using it
That’s it, hope it helps some people out there
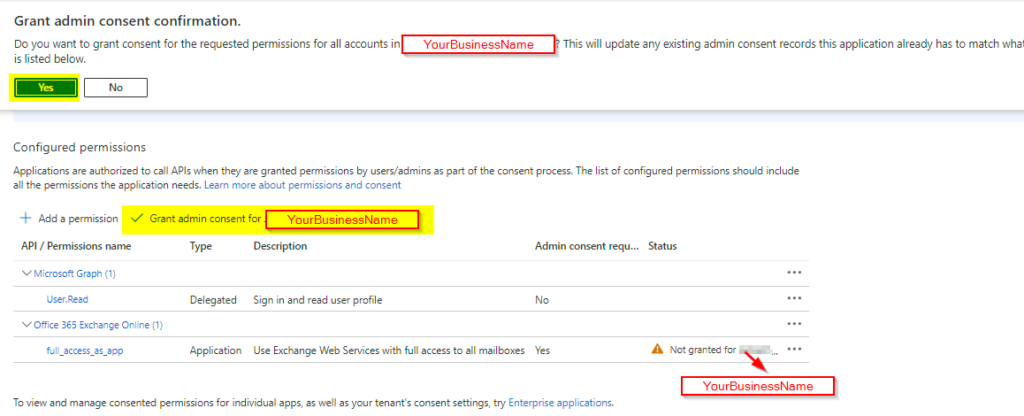
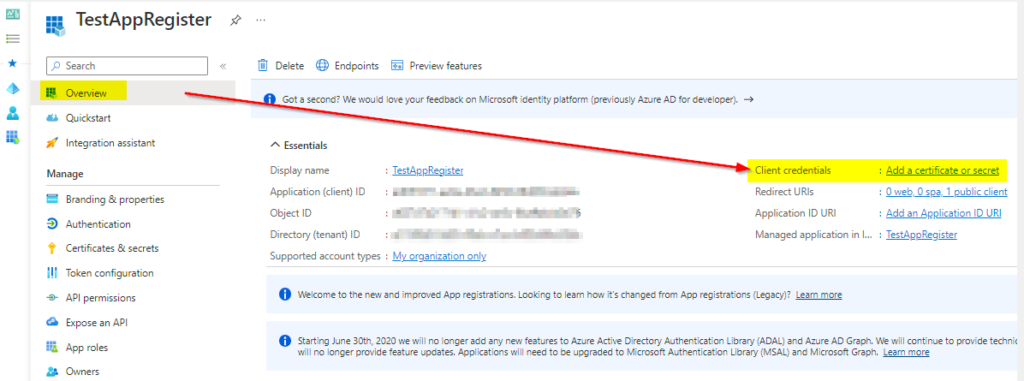
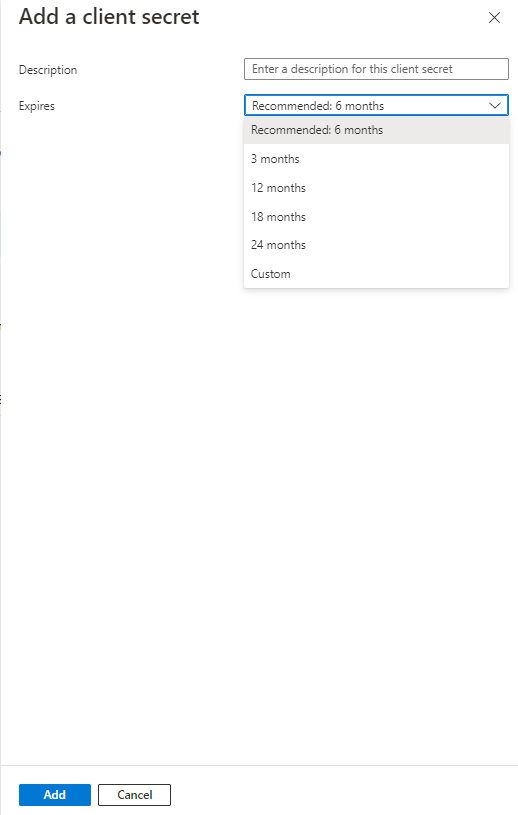
If you are using osTicket or EWS service you can find a link to one of my posts to update the protocol to Auth2.0:
https://howtohelpdesk.com/how-to-setup-oauth-on-osticket-using-microsoft-365/
or EWS service: https://howtohelpdesk.com/how-to-configure-oauth2-0-using-ews-on-microsoft-o365/