Logitech Unifying Software, lets you add and remove devices that use a Unifying receiver. So if you lost a device and have a receiver you can add another device to the Logitech receiver to pair your device. Here is a quick how-to, it’s a very easy process
First, download the Logitech Unifying software Once you downloaded the software, open the software and install it, then open Logitech Unifying Software to configure i
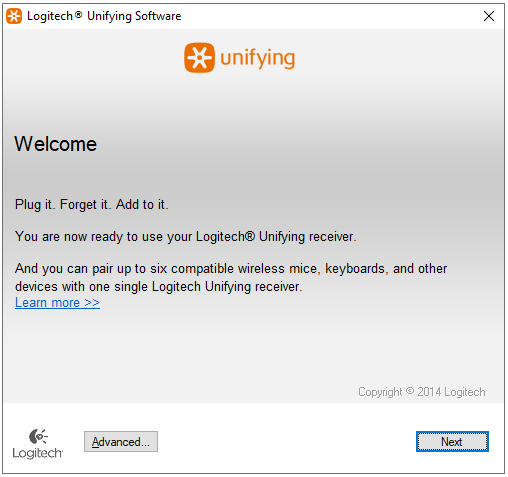
Click Next
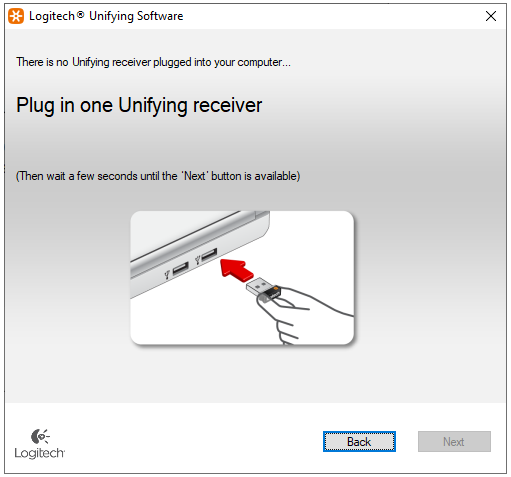
Plugin receiver: then click Next
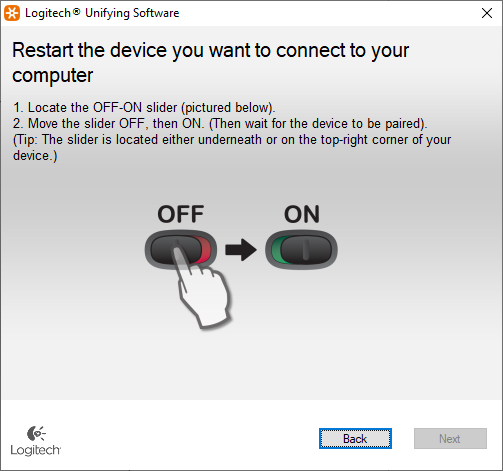
Turn on your device, or restart to get detected
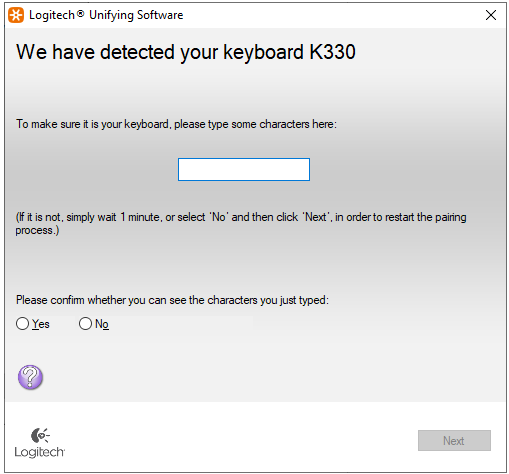
If it detects your device you will see something similar to this if you have a keyboard (if you have a mouse you see a message asking to move the mouse): if it’s working select Yes and click Next
Then you should see Congratulations message
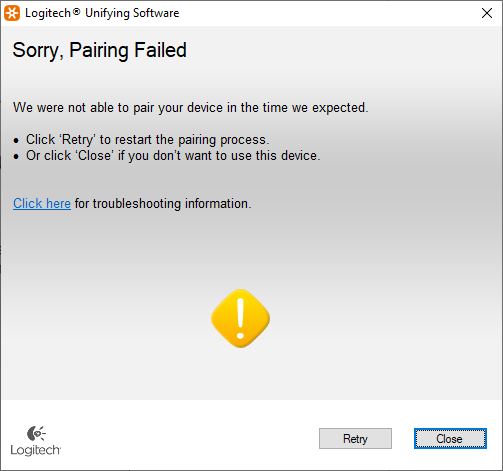
If you have an issue or the device not detected you will see a message like this, which means either your device not supported or fail to receive a signal, try again, check the battery, or try another USB port.
How to migrate from FRS (File Replication Service) to DFSR (Distributed File System Replication) on Windows server 2019? Microsoft has introduced later in Windows server 2008, if you are adding Domain controller Windows server 2019, you will get an error and you must migrate from FRS to DFSR. When the DFSR migration process starts it copies the contents of SYSVOL to a parallel folder called SYSVOL_DFSR, and then it gets shares out in migration phases. Please make sure your current domain is in good health status and has good backup.
Make sure you have free space on the drive where SYSVOL exists (normally on C drive) on your domain controller
free space should be current SYSVOL folder, plus a 10% or more
Make sure you have Admin rights to all of your domains
Make sure the Active Directory replication is working and healthy
To check the replication status: PS C:\Windows\system32> repadmin /ReplSum
Maike sure the SYSVOL is shared on DC
To check share: PS C:\Windows\system32> net share
To test all connectivities : Dcdiag /e /test:sysvolcheck /test:advertising
Start of migration
First, we need to make sure all domain controllers are in Prepared State, you check by running the following command: dfsrmig /getmigrationstate
PS C:\Windows\system32> Dfsrmig /getmigrationstate All domain controllers have migrated successfully to the Global state (‘Start’). Migration has reached a consistent state on all domain controllers. Succeeded.
Then start setting each state and wait between states until “Migration has reached a consistent state on all domain controllers” time it takes could all depends on how long it takes to sync, most common network should not take more than 15 minutes, but a larger network or custom sync duration this could take longer.
First state
PS C:\Windows\system32> Dfsrmig /setglobalstate 1 Current DFSR global state: ‘Start‘ New DFSR global state: ‘Prepared‘
Migration will proceed to ‘Prepared’ state. DFSR service will copy the contents of SYSVOL to SYSVOL_DFSR folder.
If any domain controller is unable to start migration, try manual polling. Or run with option /CreateGlobalObjects. Migration can start anytime between 15 minutes to 1 hour.
Succeeded.
PS C:\Windows\system32> Dfsrmig /getmigrationstate All domain controllers have migrated successfully to the Global state (‘Prepared’). Migration has reached a consistent state on all domain controllers.
Succeeded.
Second state
PS C:\Windows\system32> Dfsrmig /setglobalstate 2 Current DFSR global state: ‘Prepared‘ New DFSR global state: ‘Redirected‘
Migration will proceed to ‘Redirected’ state. The SYSVOL share will be changed to SYSVOL_DFSR folder, which is replicated using DFSR.
Succeeded.
PS C:\Windows\system32> Dfsrmig /getmigrationstate All domain controllers have migrated successfully to the Global state (‘Redirected’). Migration has reached a consistent state on all domain controllers.
Succeeded.
Last state
PS C:\Windows\system32> Dfsrmig /setglobalstate 3 Current DFSR global state: ‘Redirected‘ New DFSR global state: ‘Eliminated‘
Migration will proceed to ‘Eliminated’ state. It is not possible to revert this step.
If any read-only domain controller is stuck in the ‘Eliminating’ state for too long run with option /DeleteRoNtfrsMember.
Succeeded.
PS C:\Windows\system32> Dfsrmig /getmigrationstate All domain controllers have migrated successfully to the Global state (‘Eliminated’). Migration has reached a consistent state on all domain controllers.
Succeeded.
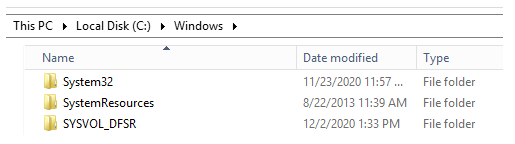
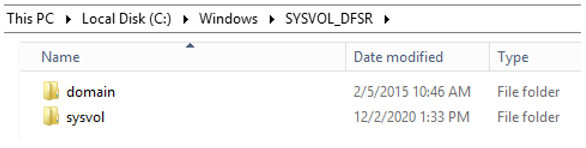
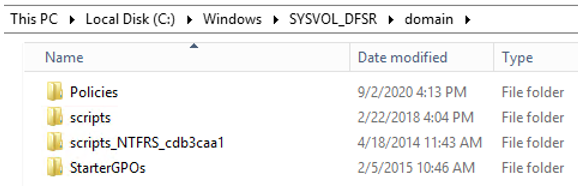
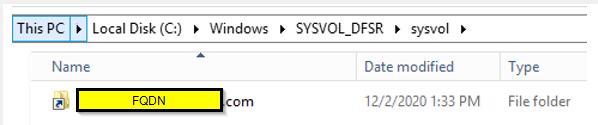
That’s it your migration is completed, you can check replication and domain controller windows folder you should see something similar as screenshot below:
on DC C:\Windows\SYSVOL_DFSRon DC C:\Windows\SYSVOL_DFSR\ you should see domain and sysvolon DC C:\Windows\SYSVOL_DFSR\domain you should see Policies, scrips, GPS’s, etc..on DC C:\Windows\SYSVOL_DFSR\sysvol you should see your domain(s)
Possible issues/solutions:
If you get permission denied you need to make sure your command prompt is open with Administrator
osTicket v1.15.1 is released on Dec 7, 2020, its open-source ticket system. You can find full release notes at https://github.com/osTicket/osTicket/releases. For osTicket version v1.15.1 PHP version PHP 7.2-7.4 the process is the same as before just make sure you have a good backup of the database and osTicket files.
a couple of new plugins added for v1.15: 2FA Google Authenticator Authentication Password Policy https://osticket.com/download/#ostPlugin
The Upgrade process is very simple, I am doing 1.14.3 to 1.15.1
Make sure you have a good backup of the Database and files of osTicket
Then put the system in the offline mode: by going to the URL of your osTicket support ticket /scp/settings.php
Download the new version from https://osticket.com/download/ and choose the osTicket Core, v1.15.1 (Latest Release) don’t download any Languages or plugins, you can add them after to void issues with the upgrade process.
Upload to your server v. 1.15.1 and replace current files/folders from the Upload folder from your downloaded, and exclude the script folder/files. Also, Maintain the directory hierarchy any changes could cause an issue with the upgrade process or something might not work well.
Optional: Script folder only needed if you are using remote piping, so if you are not using remote piping you don’t need to upload.
Make sure NOT to replace your \include\ost-config.php which does not include in the download.
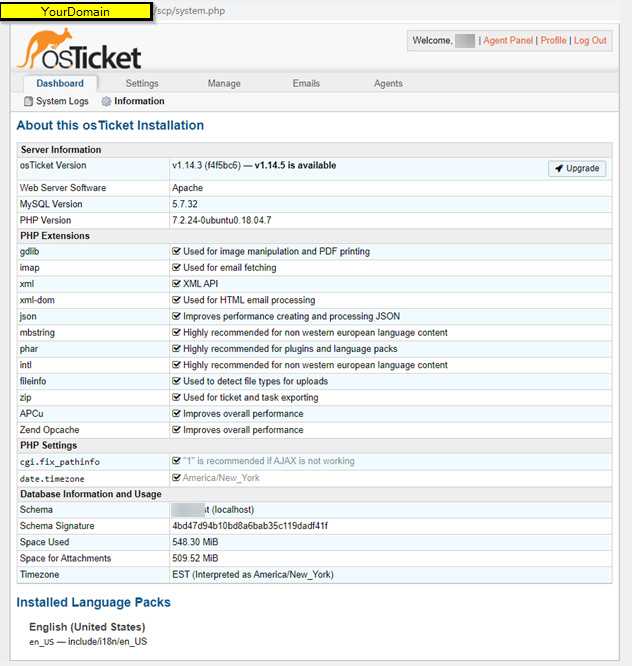
This is my current version: v1.14.3
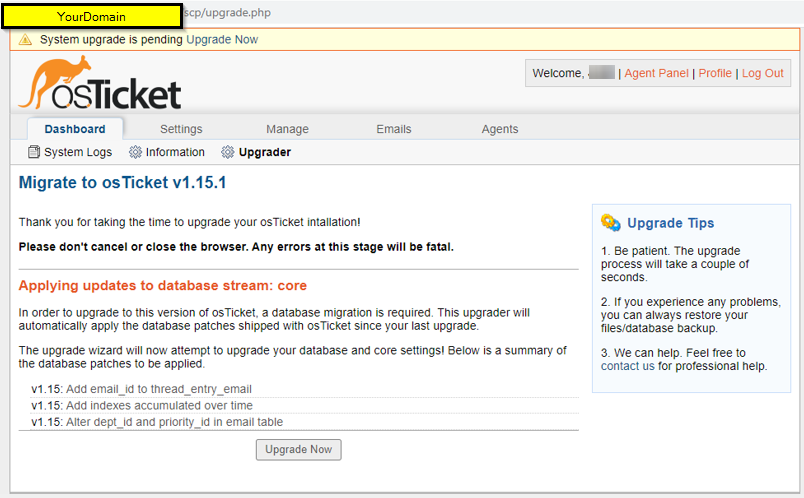
Make sure you have the correct permission, then go to the URL/SCP of the osTicket system and log in, you should see osTicket Upgrader, make sure your Prerequisites are all good, if any errors correct it, then click Start Upgrade Now
This version makes changes to database, click Upgrade Now
If everything goes well you should see Upgrade Completed!
After the installation
Delete the /setup folder and update any customization you may have, test it, then once all is good you can put the system back online. Also, remove the write permission to \include\ost-config.php to secure your config. If you have customized PHP core files, those need to be re-applied after the upgrade. Also, make sure your plugins are good, if needed upgrade do so, make sure it supported version. Good luck
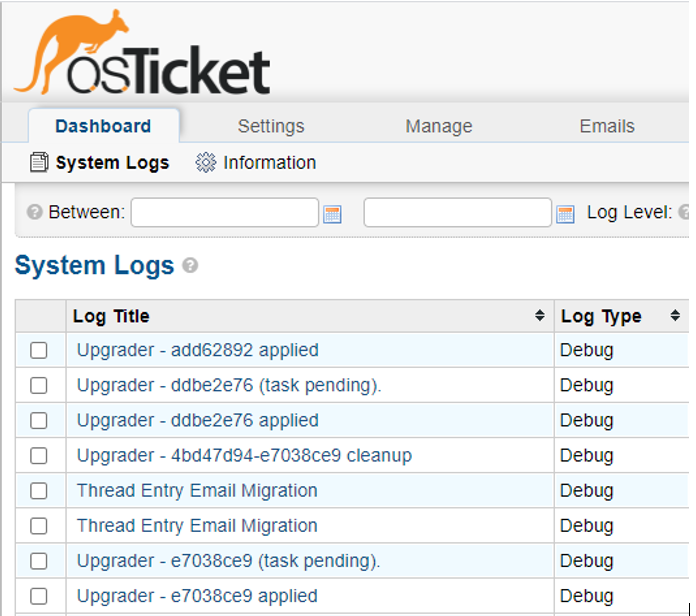
You can check the System Logs to see if there were any errors:
If you look at your Dashboard Information, it should show Up to date
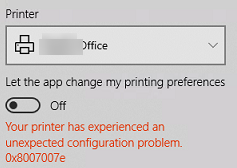
There are number of reason you get printer error when trying to print something. This could be document, photo, types of format that’s not supported or drivers not able to read the printer format. The error 0x8007007e is for Printconfig.dll not found in printer driver folder, you can search for it and copy and paste to one of the location to fix the issue. Here is how to do this
The error message looks like this:
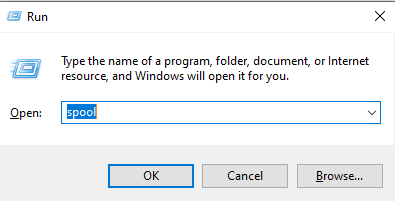
Using your Windows Key+R and type in spool, then hit Enter
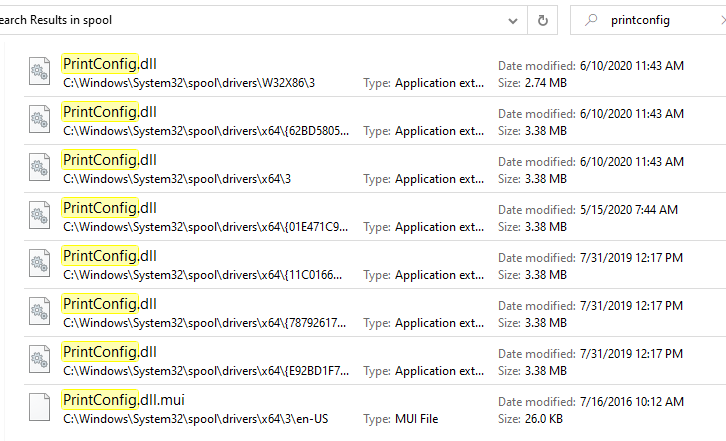
Then on the search box type “printconfig”
You should get search result like this:
Copy the PrintConfig.dll and paste into c:\Windows\System32\spool\drivers\x64\3 or c:\Windows\System32\spool\drivers\W32X86\3
That should fix your issue
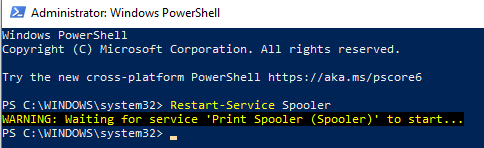
You may also need to restart print spooler, which you can do via PowerShell command: Restart-Service Spooler you do have to run PowerShell as admin
or you can simply restart the computer to flush out anything stuck on print Job, in case issue is due to software bug
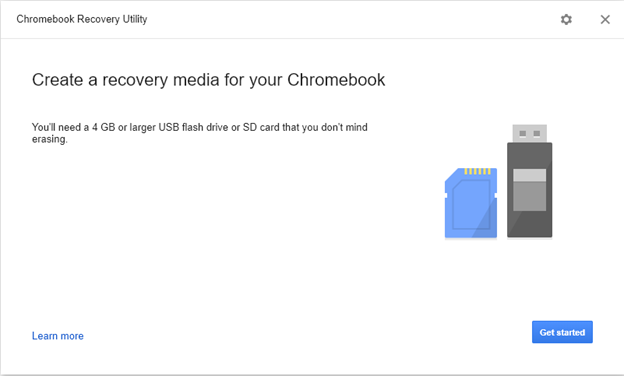
Chromebook is very popular and easy to use, most of the services we use today are cloud-based, so no need to install any software on your local computer. Your data sync up with Google drive account, in case some reason your Chromebook does not work and reset does not work, here is how you can recover it by using Chromebook recovery utility.
What you will need:
USB stick 4GB+ Chromebook Recovery Utility Working computer, so you can create recovery Image
When you open the Chromebook Recovery Utility, you will get see something like this: click Get started
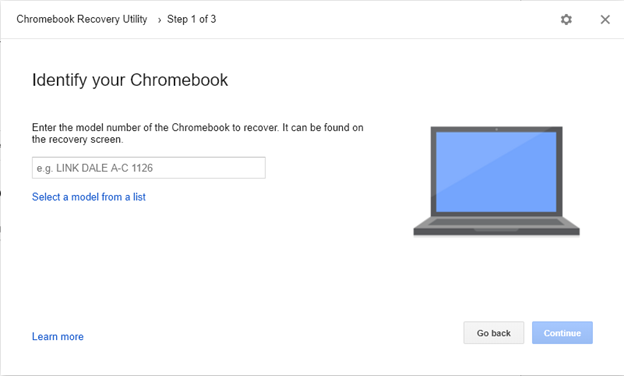
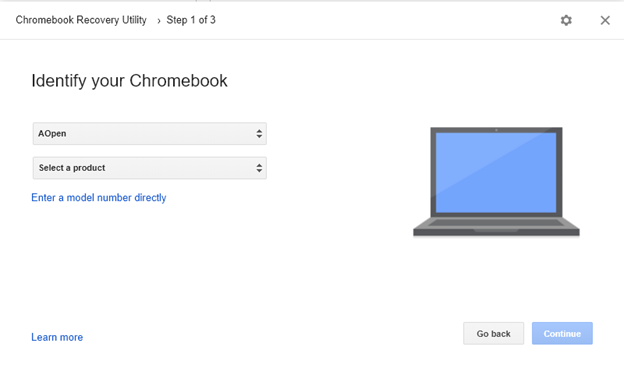
Select the Model of your Chromebook or next option by model selection
Or by Selecting Model from list, then click Continue
If you have not put in your USB or SD card put and click Continue
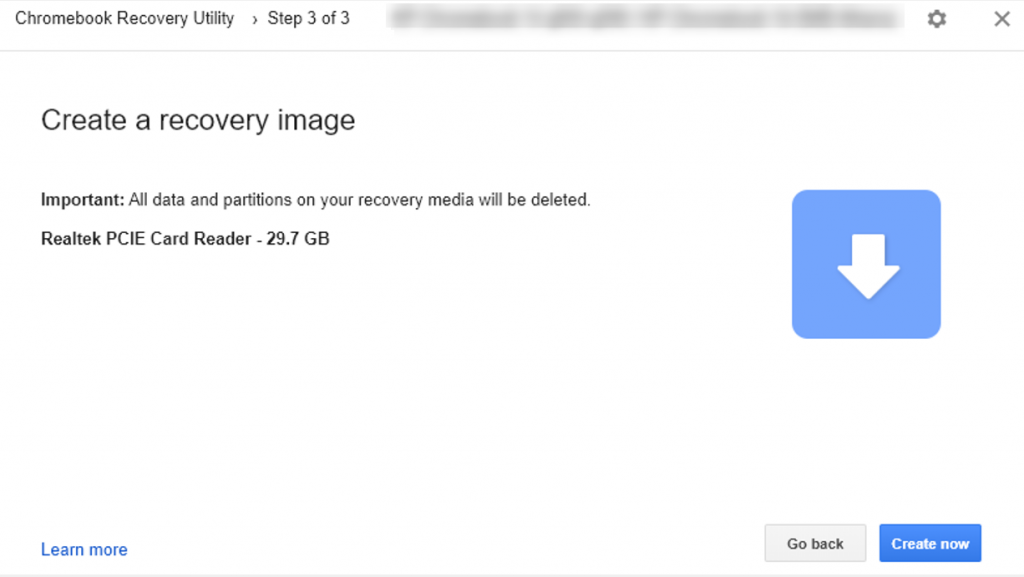
Make sure you have selected correct media, it will wipe out any data on it. If you are sure, click Create now
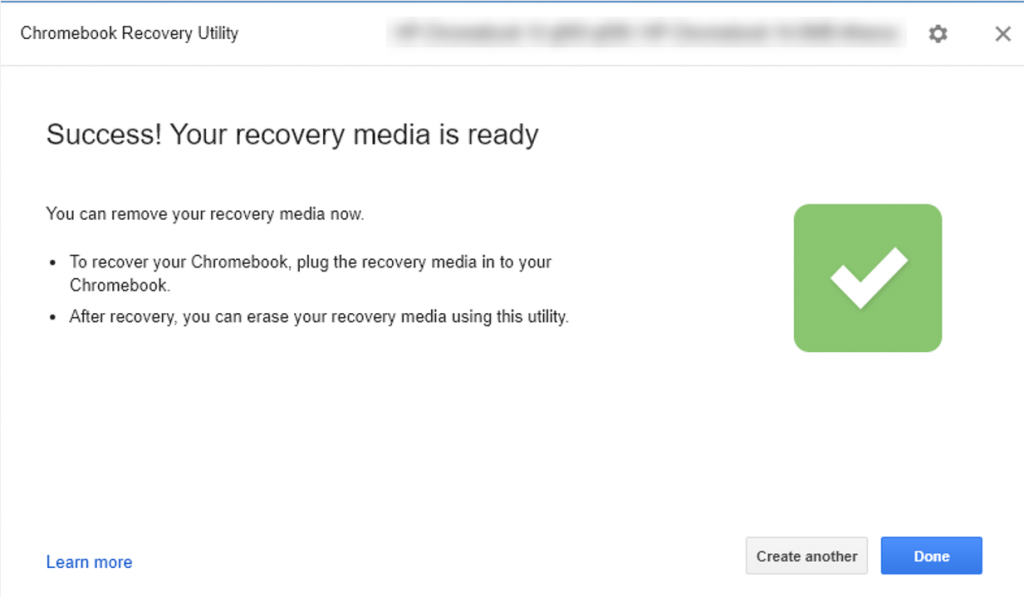
Once you click Create now, it will start downloading, then it will install on your external media, you should see Success and done option if everything goes well.
Enter into recovery mode
Now that you have the image, You can plugin USB or SD card to your Chromebook then Press and hold Esc + Refresh then press Power. Let go of Power, when a message shows on the screen, let go of the other keys. Once done you should see fresh installed Chromebook welcome screen