osTicket v1.15.1 is released on Dec 7, 2020, its open-source ticket system. You can find full release notes at https://github.com/osTicket/osTicket/releases. For osTicket version v1.15.1 PHP version PHP 7.2-7.4 the process is the same as before just make sure you have a good backup of the database and osTicket files.
a couple of new plugins added for v1.15:
2FA Google Authenticator
Authentication Password Policy
https://osticket.com/download/#ostPlugin
The Upgrade process is very simple, I am doing 1.14.3 to 1.15.1
- Make sure you have a good backup of the Database and files of osTicket
- Then put the system in the offline mode: by going to the URL of your osTicket support ticket /scp/settings.php
- Download the new version from https://osticket.com/download/ and choose the osTicket Core, v1.15.1 (Latest Release) don’t download any Languages or plugins, you can add them after to void issues with the upgrade process.
- Upload to your server v. 1.15.1 and replace current files/folders from the Upload folder from your downloaded, and exclude the script folder/files. Also, Maintain the directory hierarchy any changes could cause an issue with the upgrade process or something might not work well.
- Optional: Script folder only needed if you are using remote piping, so if you are not using remote piping you don’t need to upload.
- Make sure NOT to replace your \include\ost-config.php which does not include in the download.
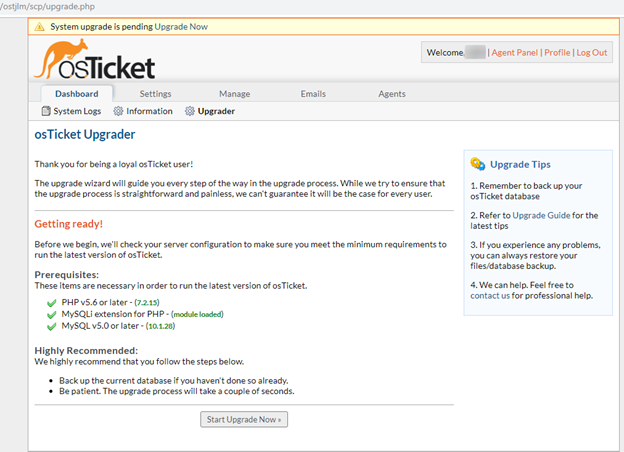
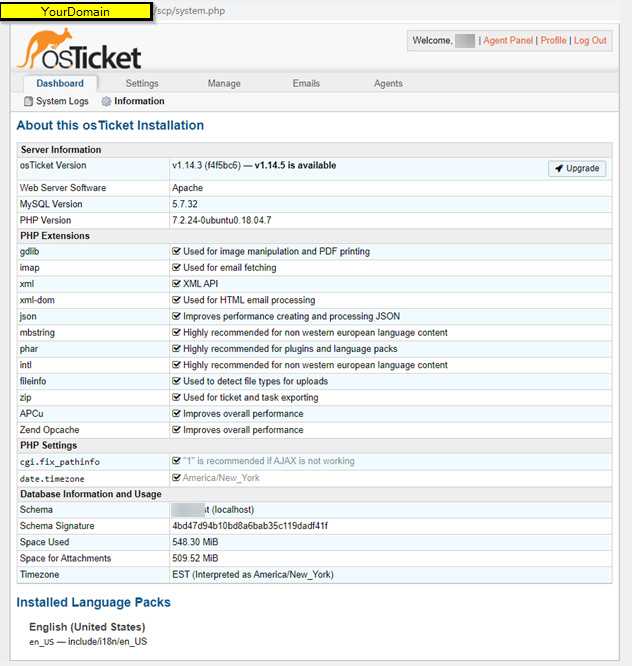
This is my current version: v1.14.3
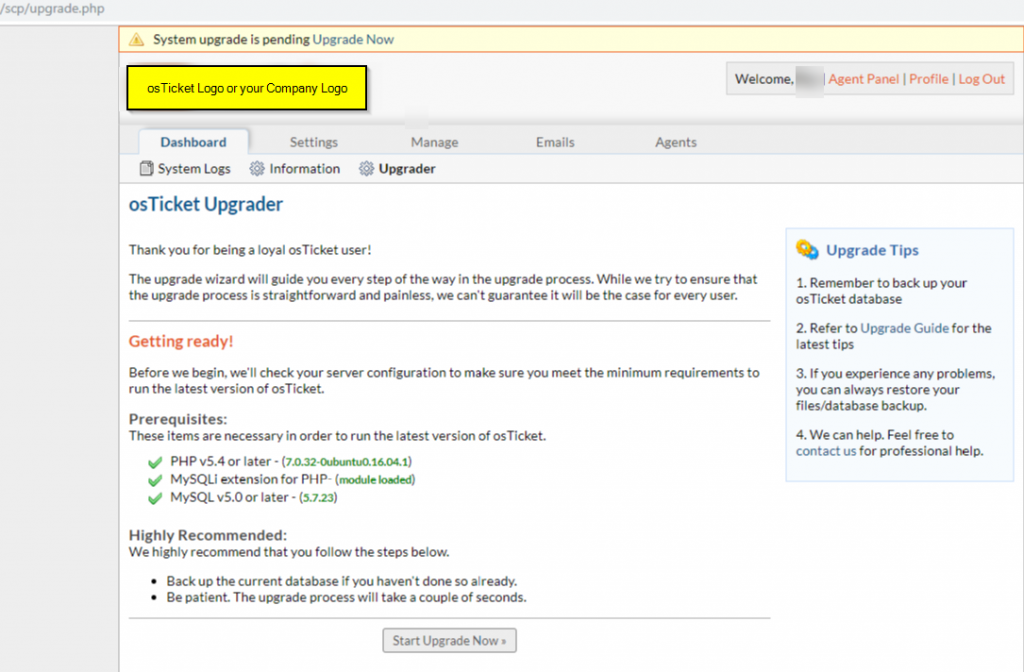
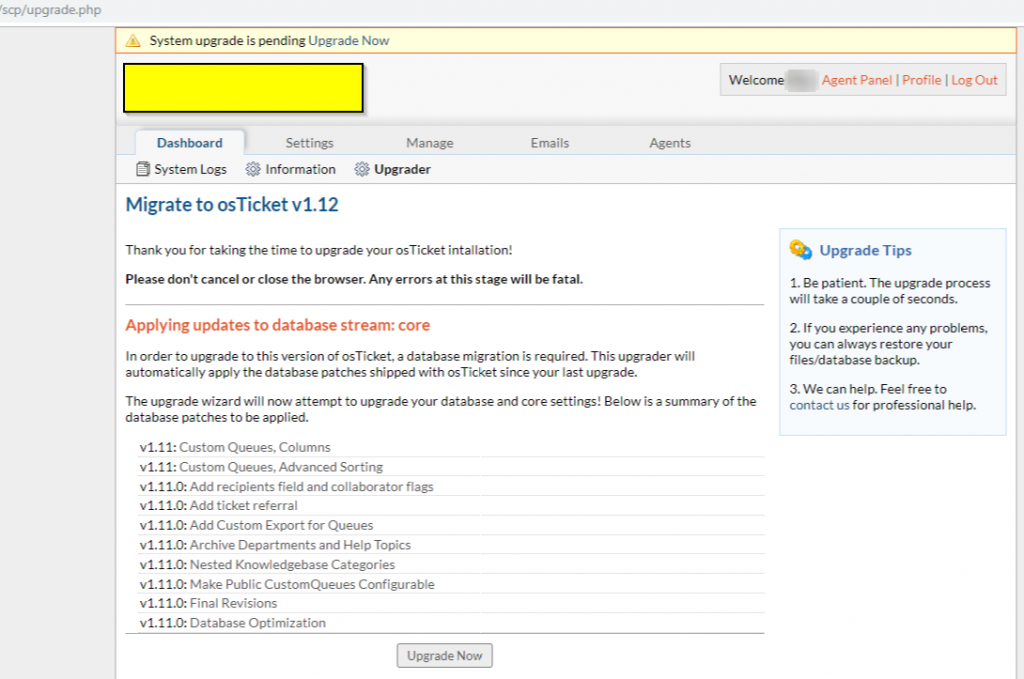
Make sure you have the correct permission, then go to the URL/SCP of the osTicket system and log in, you should see osTicket Upgrader, make sure your Prerequisites are all good, if any errors correct it, then click Start Upgrade Now

This version makes changes to database, click Upgrade Now
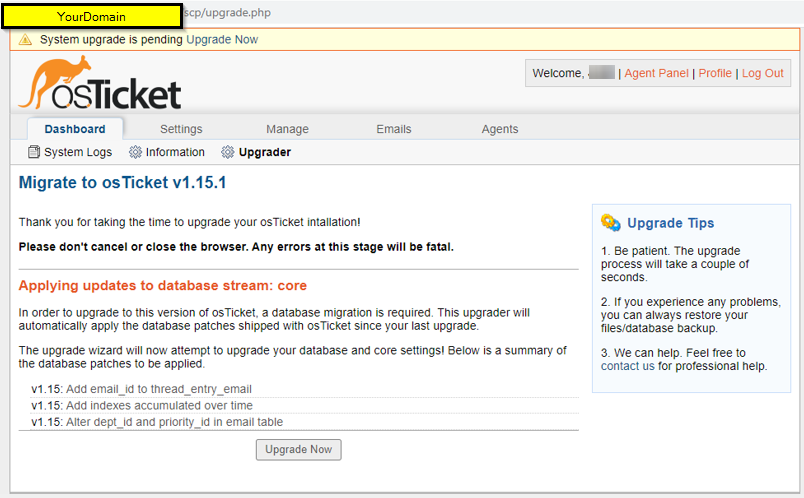
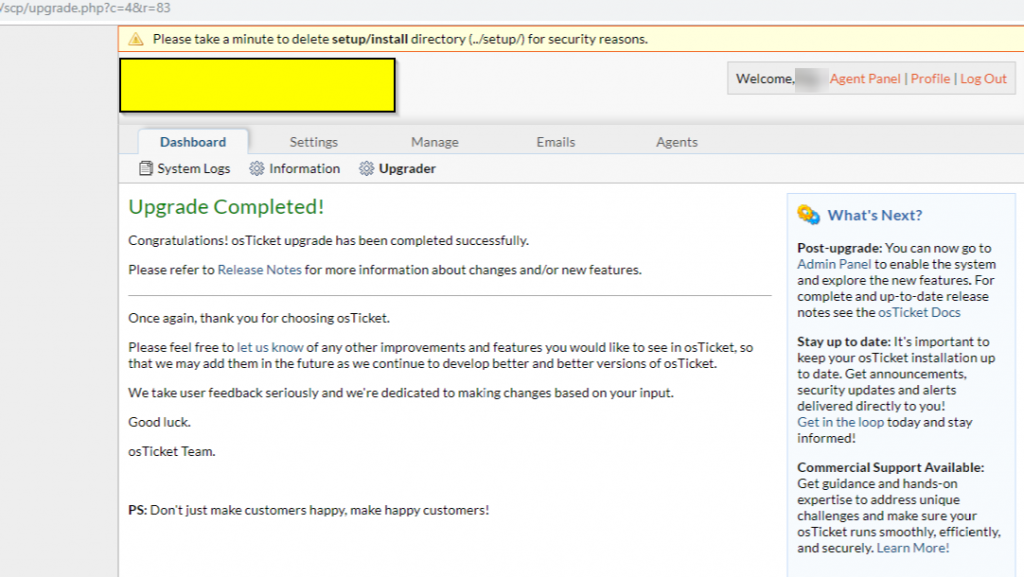
If everything goes well you should see Upgrade Completed!

After the installation
Delete the /setup folder and update any customization you may have, test it, then once all is good you can put the system back online. Also, remove the write permission to \include\ost-config.php to secure your config. If you have customized PHP core files, those need to be re-applied after the upgrade. Also, make sure your plugins are good, if needed upgrade do so, make sure it supported version. Good luck
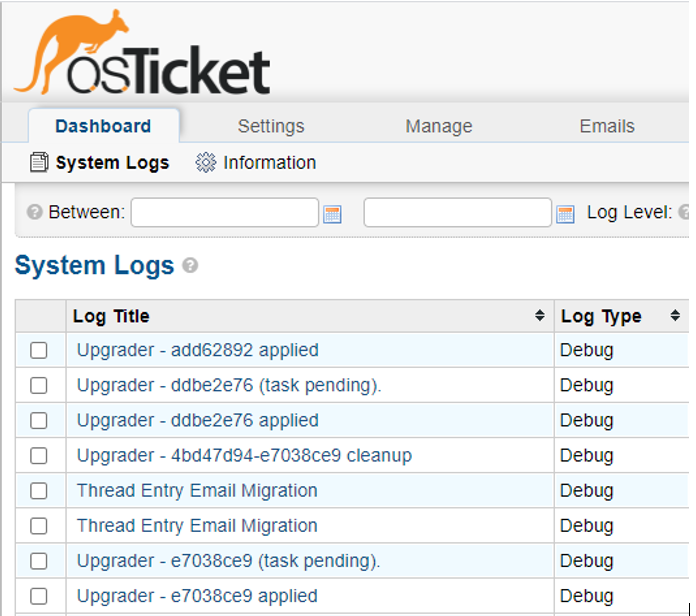
You can check the System Logs to see if there were any errors:
If you look at your Dashboard Information, it should show Up to date

If you still need more info you can check out their official documentation: https://docs.osticket.com/en/latest/