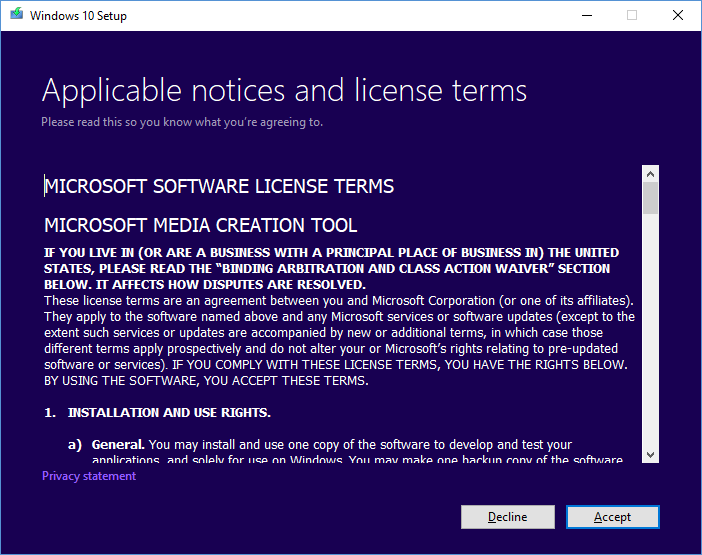
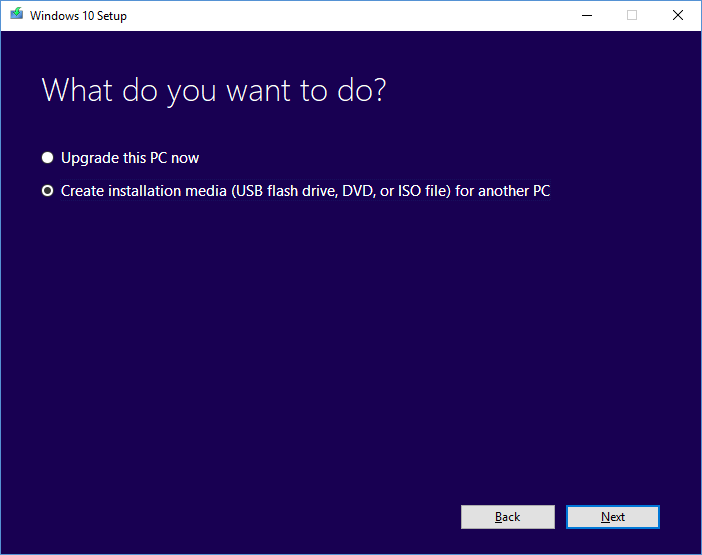
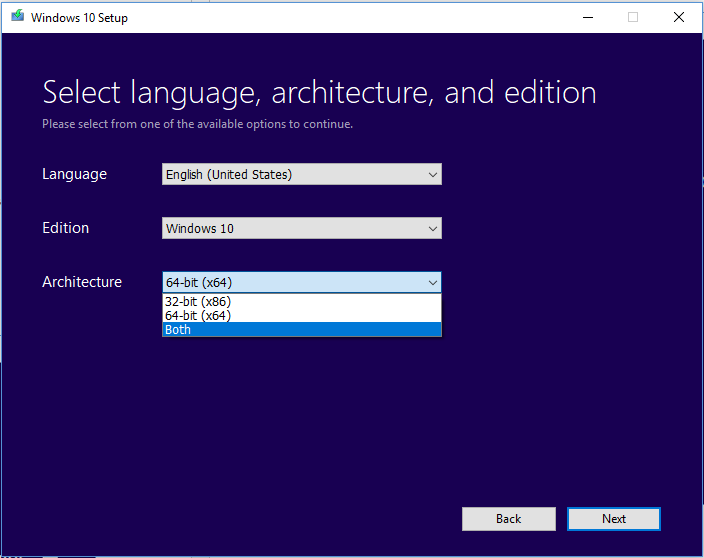
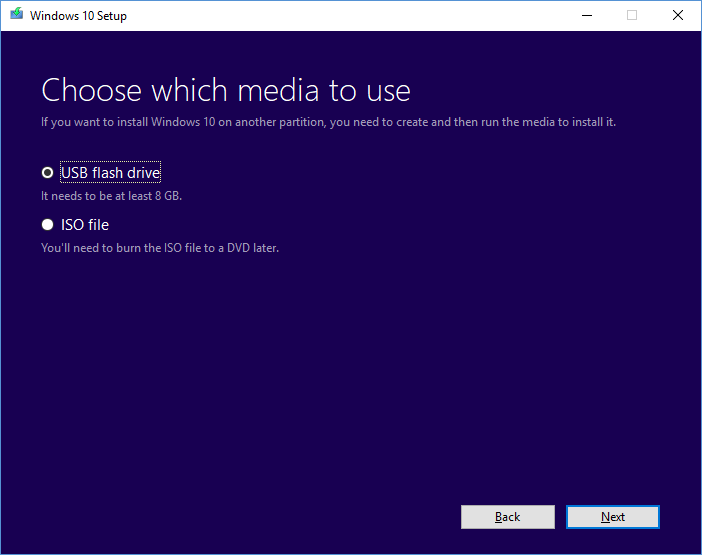
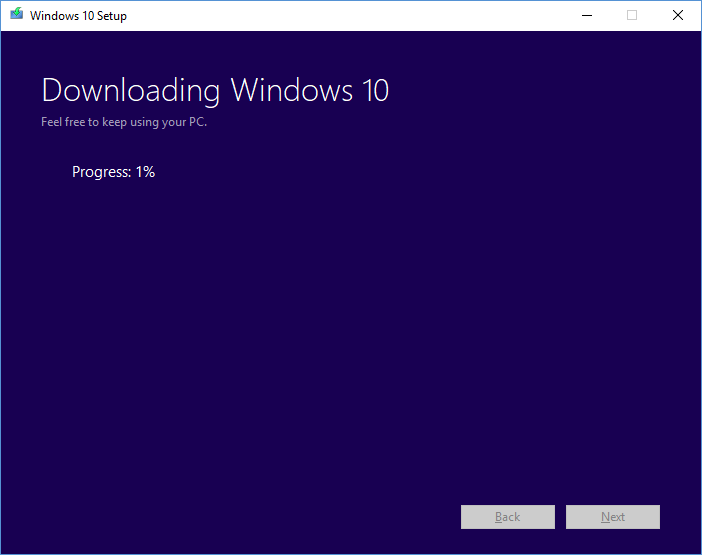
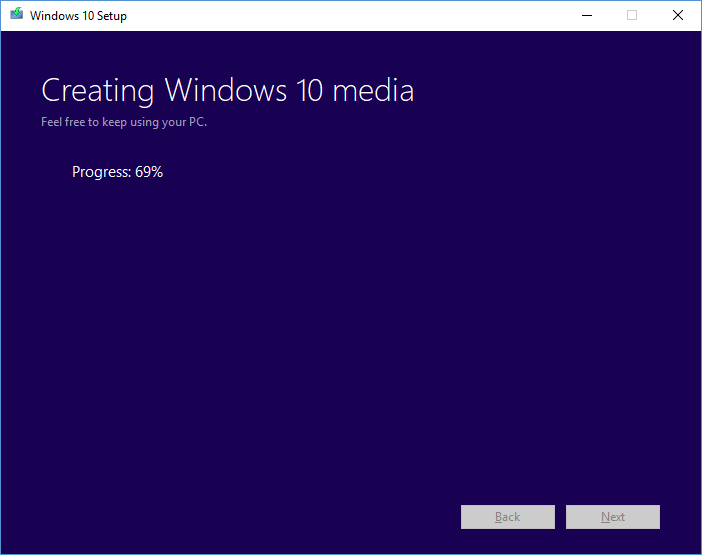
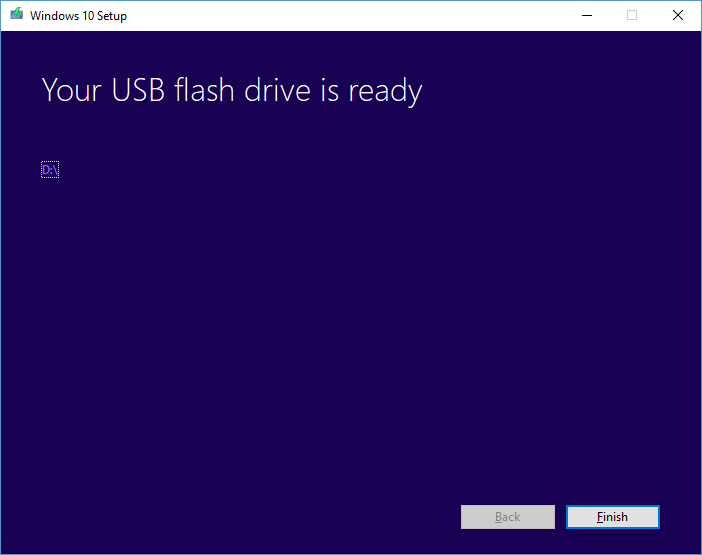
- USB flash drive with at least 8GB of space or more
- Windows PC with Internet access (you could download just ISO and burn it on USB)
- You will need Windows Key unless your computer has it built in, most new computers do or have a sticker on the bottom of the computer.
How to restore Remote Server Administration Tools on Windows 10
When you get the Microsoft windows to update your Remote Server Administrations Tools (RSAT) gets removed, this happened to me 3 times already after windows 10 updates. Many system admins use this to manage their server, so they don’t have to RDP to each server, even though now many tasks can be done via Powershell commands. Some of the GUI is not available for server, you need to know Powershell to manage, add or remove features or services. It does not happen for smaller updates, only major updates. Also, you may see other settings get reset like Suggested notification, default app, printer and you may want to double check your settings to make sure it’s not reset.
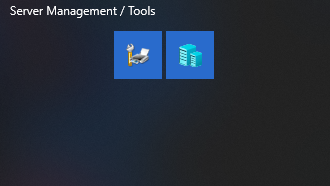
I had server admin tools and after the windows 10 updates, it got removed, as you can see in this screenshot:
Remote Server Administration Tools (RSAT) for Windows 10
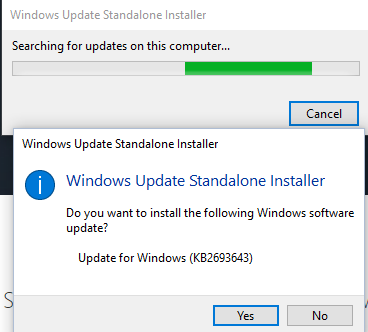
You can download it from Microsoft: https://www.microsoft.com/en-us/download/details.aspx?id=45520
Then just run the installer wizard
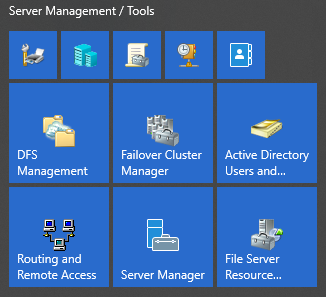
If everything went well you should see whatever you had pinned to your start menu shows up
I notice when I had Windows updates for 1709 and 1803 updates, hope this helps someone out there. Learning Powershell command is a way to go for doing server manage for many repetitive tasks. Knowing Powershell commands also helps for user device troubleshooting too.
How to change Windows 10 update settings
Windows 10 updates have been great to help protect end user data from common security risks. There are many changes happens when your computer gets updated, I have been looking around since Windows 10 was launched, it has come a long way. Microsoft has been changing categories around and also sometimes it resetting user custom settings. You do have some control over how often you want to get updates and when you want to get it. If your computer is part of a network, you can even send and receive updates within your network instead of downloading directly from Microsoft to save Internet bandwidth. Here are some settings you can change around to fit your needs
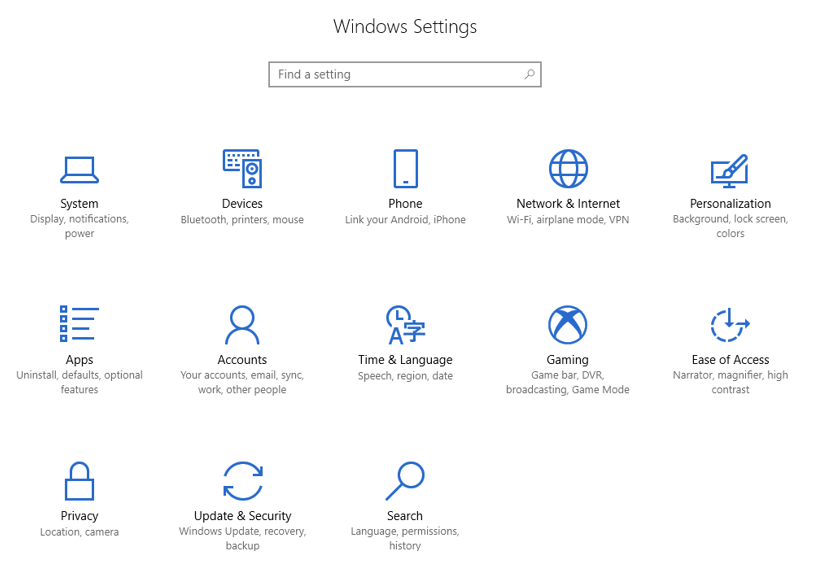
When you click on the Settings, this is how it looks like on Windows 10 version 1709
Windows updates had two options in 1607 It used to be called:
Current Branch
Current Branch in Business
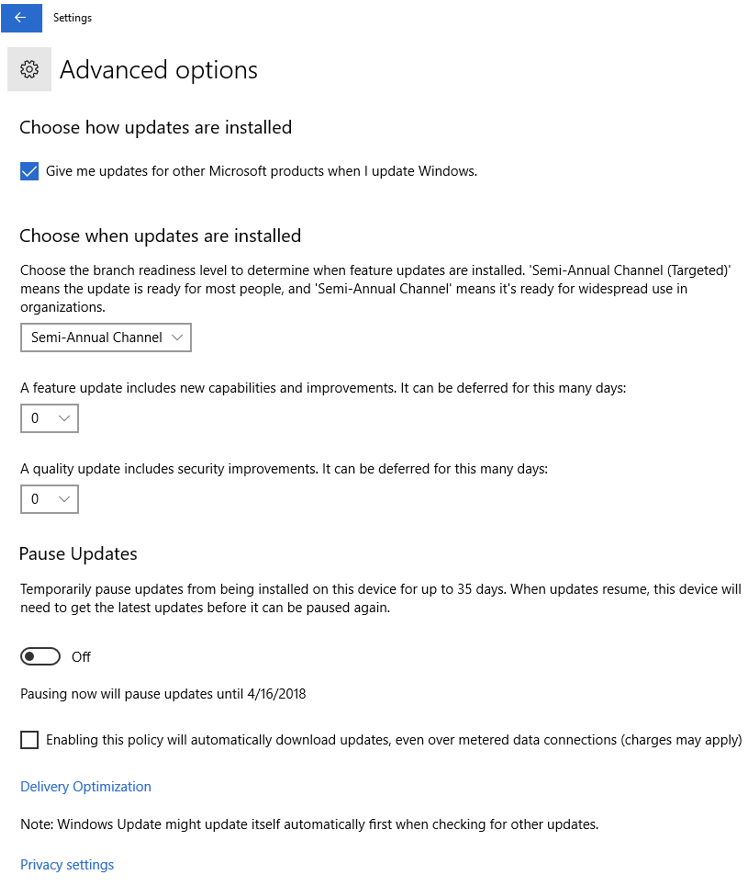
Now in 1703 and 1709, it’s called:
Semi-Annual (Targeted)
Semi-Annual Channel
On version 1709
Settings>Updates and Security
When you click on the Advanced options, you get the options to pause updates or choose when you want to get updates, also if you want to get other Microsoft products updates.
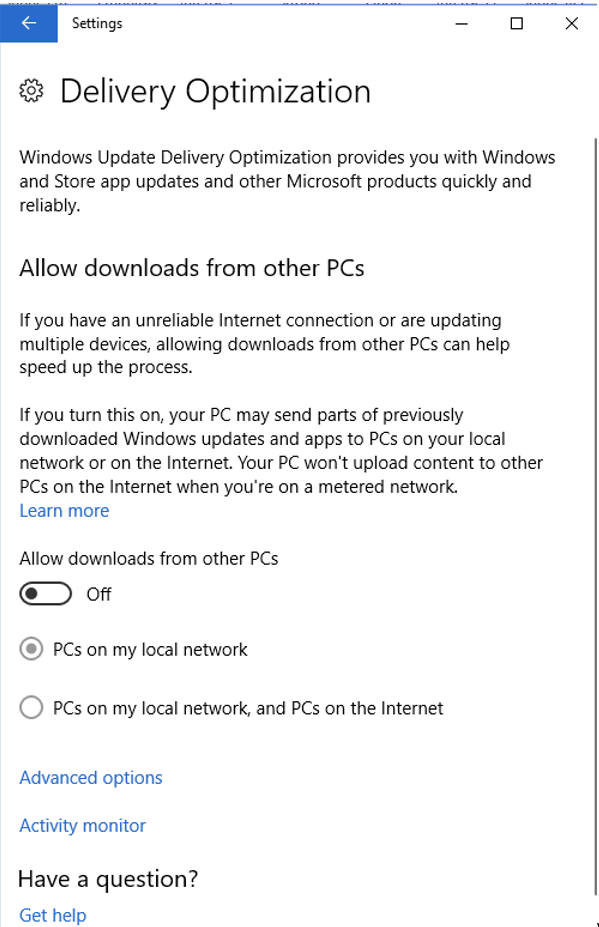
When you click on the Delivery Optimization, you get more options on how you want to get the updates, from the local network or directly from Microsoft, if you have any computer within your local network, it’s best to turn on the Allow downloads from other PCs, and make sure to select the “PCs on my local network” to save the Internet bandwidth.
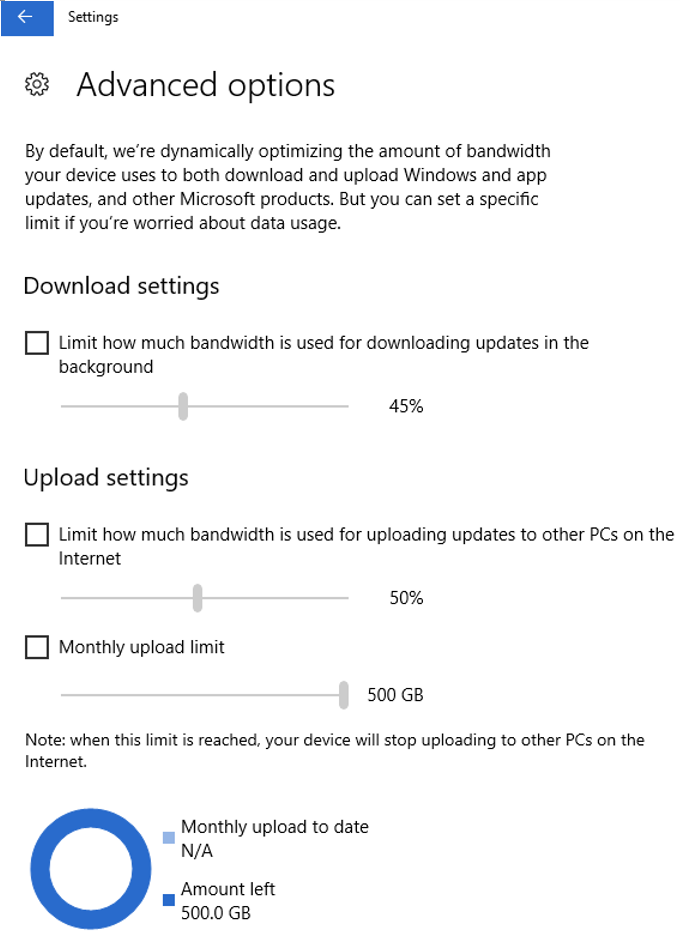
When you click Advanced options, you get even more control over how much of your local downloading/uploading within your network you want to do. If you have slower PC you can turn off or have it do very little, and if you have faster PC’s (these day most newer PC’s are almost like a server), you can set higher.
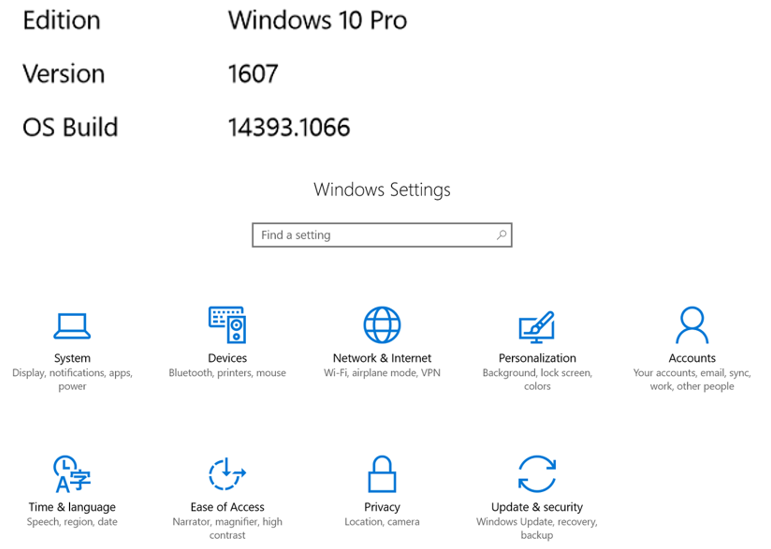
If you are still running Windows 10 1607 version, I would recommend that you do the updates, to keep your computer safe. Here are a couple of screenshots of 1607 version, it looks little different, had little less control.
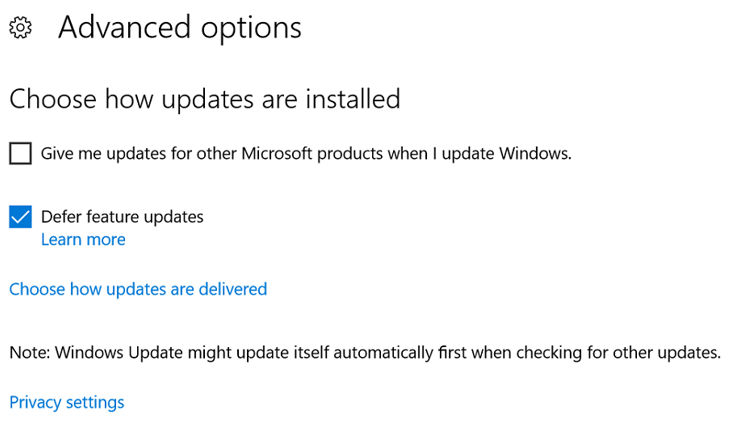
Settings>Windows Updates>Advanced options
Hope this helps some people out there, who are looking to make changes to Windows 10 updates settings. I am sure in future updates Microsoft will do more changes to make Windows 10 more secure, and also to note, some of the GUI (Graphical User Interfaces) are getting limited, if you know the commands or PowerShell you can still get access to it.
How to setup local user on Windows 10
In this article, I’ll guide you through the process of creating a local user account on your Windows 10 PC. This can be particularly useful if you want to restrict admin access, especially for kids, to minimize the risk of malware and viruses affecting your system. Setting up a local user account on Windows 10 can be perceived as either straightforward or slightly challenging, depending on your perspective. If you already have a Microsoft account (such as @Outlook.com, @Live.com, or @Hotmail.com), it’s advisable to use that for setting up the user account as it allows for document, photo, and video syncing, along with additional sharing options. If not, just follow the steps outlined below—it’s a simple process.
How to delete old wireless profile
How to delete an old wireless profile, which may have an old wireless password, which may be causing issues connecting to your Wi-Fi. Sometimes, Wi-Fi security settings changed on the router, then your Wi-Fi connection keeps trying to connect to your Wi-Fi, but the information which is saved does not match, so you will have to delete or change. Here is how to delete and re-enter correct info to fix your wireless issues.
- Go to Control Panel\All Control Panel Items\Network and Sharing Center
- In the tasks pane, click Manage wireless networks.
- Right-click the connection you want to delete, and then clickRemove network.
- In theManage Wireless Networks – Warning dialog box, click OK.
The connection is removed from the list of wireless connections that you can view or modify. If you still have issues, you may want to try disabling your Wi-Fi adapter and re-enabling. Hope this helps some of the users out there. Will post some other ways later on too.