Windows 10 updates have been great to help protect end user data from common security risks. There are many changes happens when your computer gets updated, I have been looking around since Windows 10 was launched, it has come a long way. Microsoft has been changing categories around and also sometimes it resetting user custom settings. You do have some control over how often you want to get updates and when you want to get it. If your computer is part of a network, you can even send and receive updates within your network instead of downloading directly from Microsoft to save Internet bandwidth. Here are some settings you can change around to fit your needs
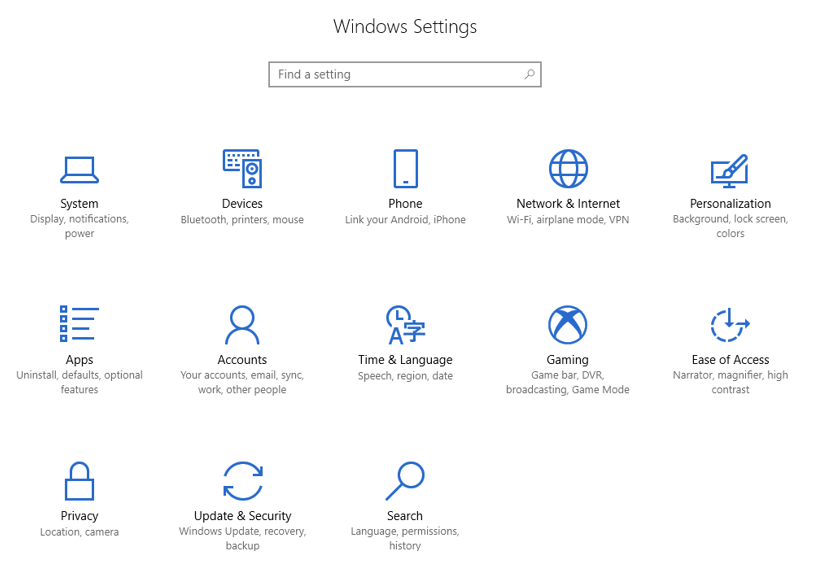
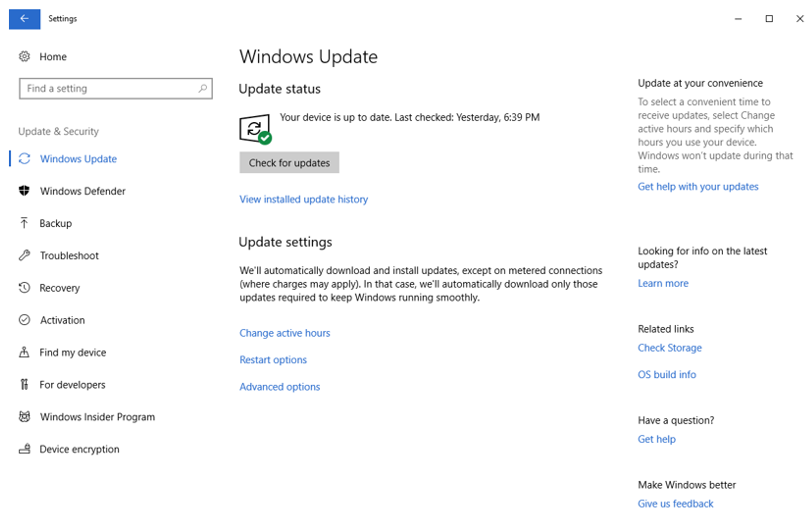
When you click on the Settings, this is how it looks like on Windows 10 version 1709
Windows updates had two options in 1607 It used to be called:
Current Branch
Current Branch in Business
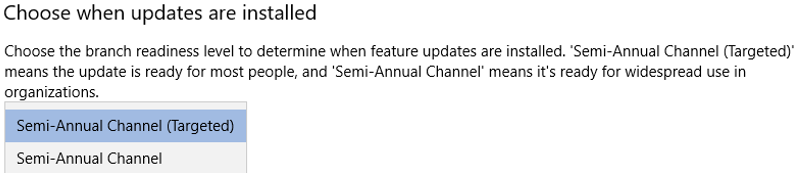
Now in 1703 and 1709, it’s called:
Semi-Annual (Targeted)
Semi-Annual Channel
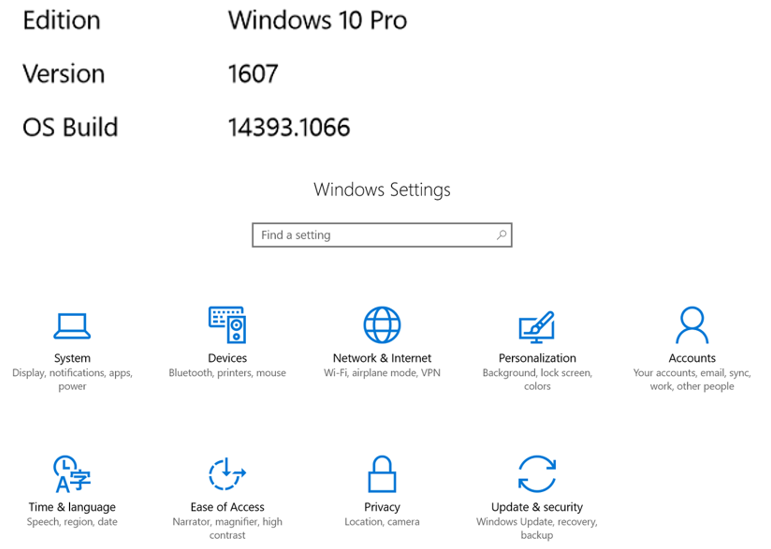
On version 1709
Settings>Updates and Security
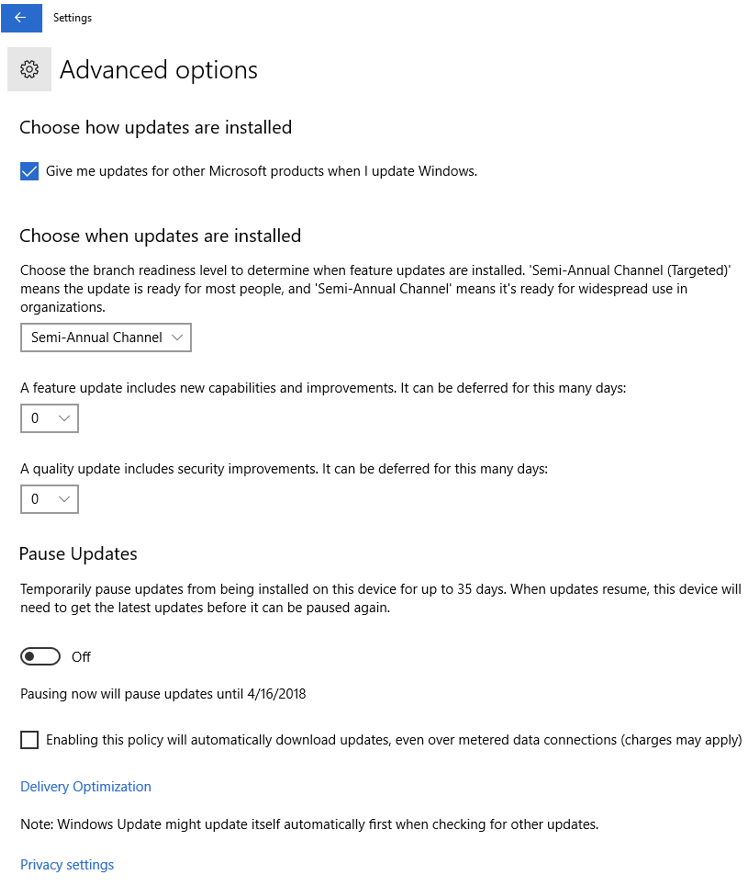
When you click on the Advanced options, you get the options to pause updates or choose when you want to get updates, also if you want to get other Microsoft products updates.
When you click on the Delivery Optimization, you get more options on how you want to get the updates, from the local network or directly from Microsoft, if you have any computer within your local network, it’s best to turn on the Allow downloads from other PCs, and make sure to select the “PCs on my local network” to save the Internet bandwidth.
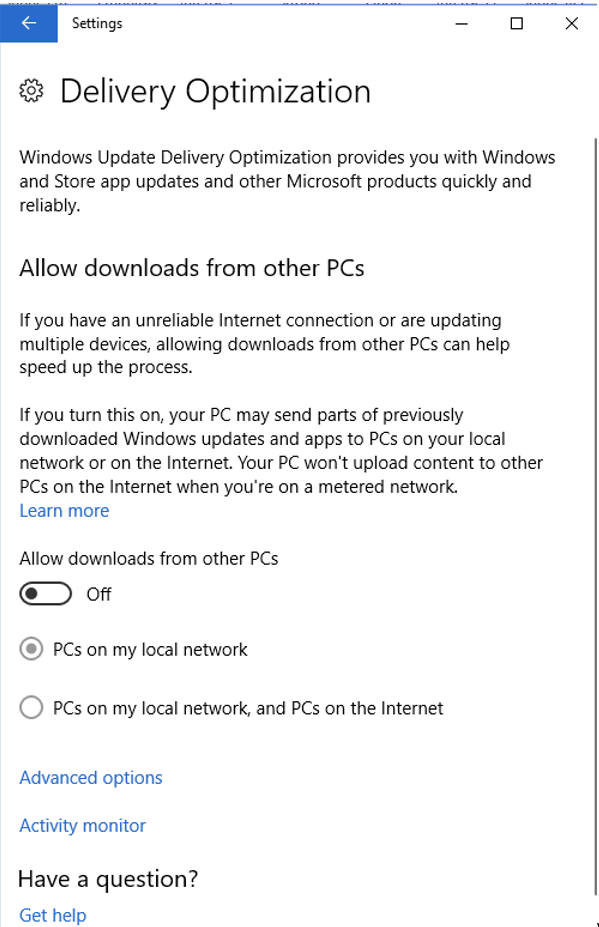
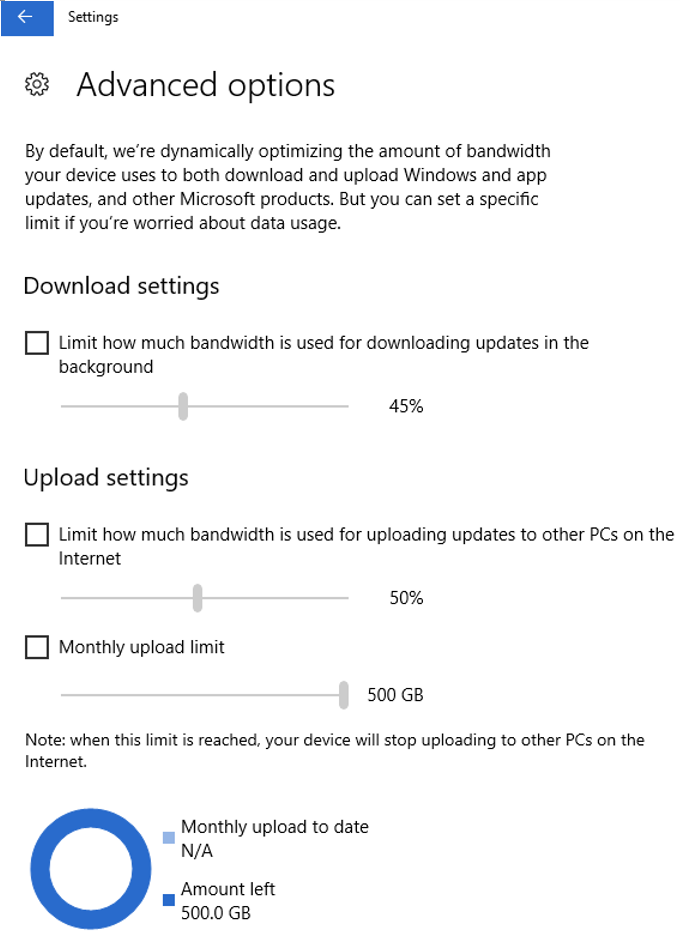
When you click Advanced options, you get even more control over how much of your local downloading/uploading within your network you want to do. If you have slower PC you can turn off or have it do very little, and if you have faster PC’s (these day most newer PC’s are almost like a server), you can set higher.
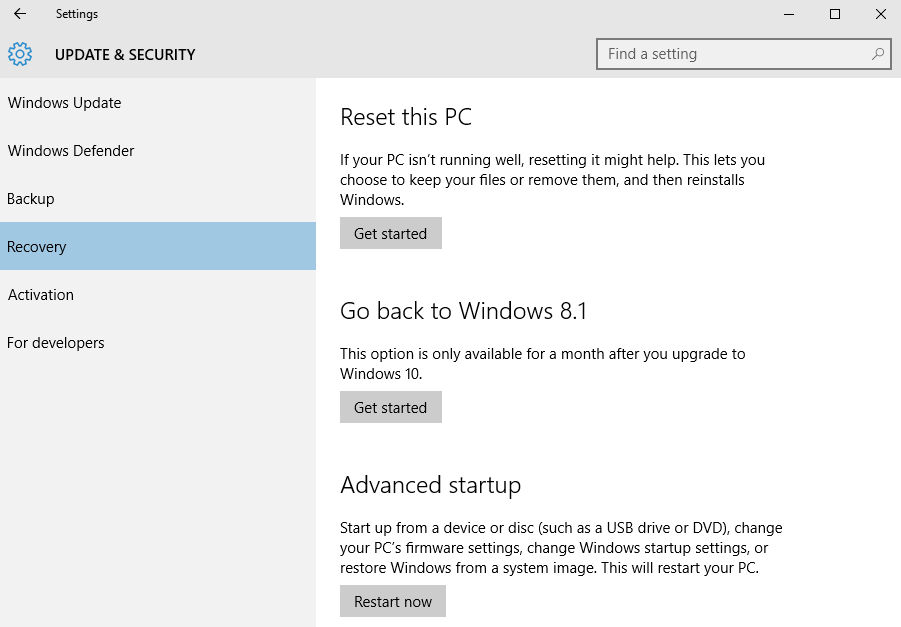
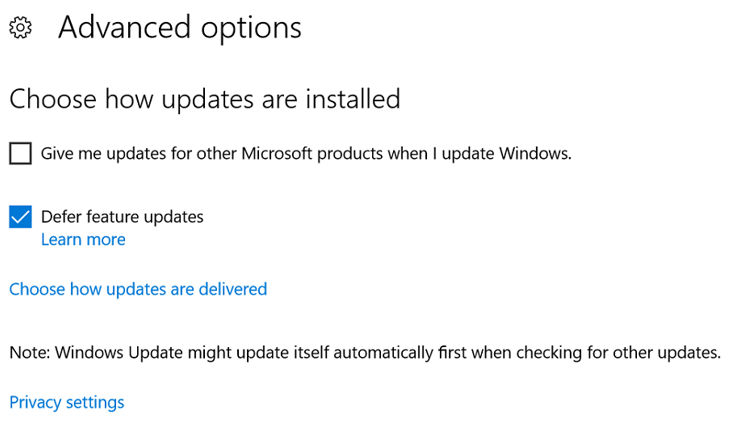
If you are still running Windows 10 1607 version, I would recommend that you do the updates, to keep your computer safe. Here are a couple of screenshots of 1607 version, it looks little different, had little less control.
Settings>Windows Updates>Advanced options
Hope this helps some people out there, who are looking to make changes to Windows 10 updates settings. I am sure in future updates Microsoft will do more changes to make Windows 10 more secure, and also to note, some of the GUI (Graphical User Interfaces) are getting limited, if you know the commands or PowerShell you can still get access to it.