Upgrading Windows 10, is very easy and most likely you will love it, especially if you are tired of tiles using windows 8 and 8.1. Windows 10 has remove the big tiles and put smaller with star menu, but you can choose to close it, if you don’t like or add, those of who likes it. There are many features you will like and some you don’t like, but reality is this is the way of technology going, so get up to date. Privacy is major to end users, but truth is if you are going to use the technology there is no ways to hide it. If you want to hide it then don’t use internet, which is simplest way to put it. Think about it, everyone who uses a internet, is somehow connected to another device, and that device have to know what you are looking for and where you are located, in order to give you the info back, which you are requesting. Yes, there are many ways to hide it, using software/hardware devices, but why would you want to do that? Anyways, there is how to upgrade to Windows 10, and if you don’t like after upgrading you will have 1 month to go back to which ever Windows you were using. I would recommend that you backup your data, just in case, even though everything should stay the same as far as data, application should also be upgraded. There may be a case older application might not run.
To get started, Click on Window Icon on bottom right Conner near clock
update: If you don’t find the Windows Icon you can download the tool from Microsoft from here: https://www.microsoft.com/en-us/software-download/windows10
![]()
Then click on “OK, let’s continue”

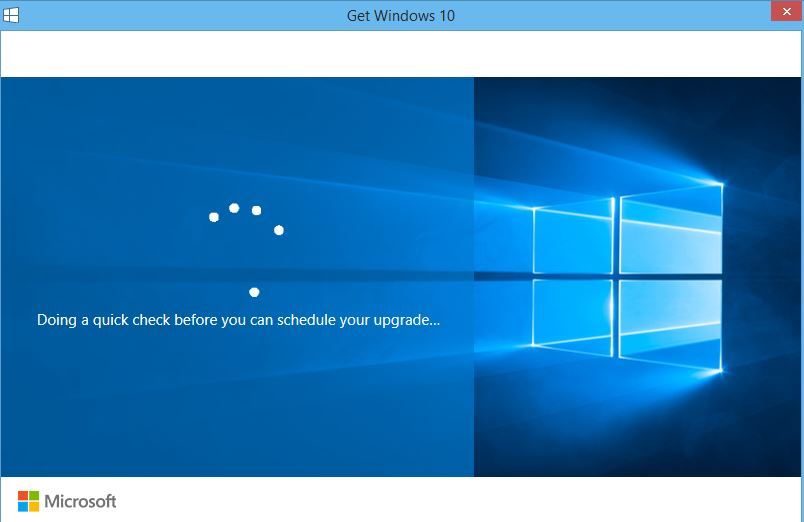
Then it goes through a quick check of your hardware and software:
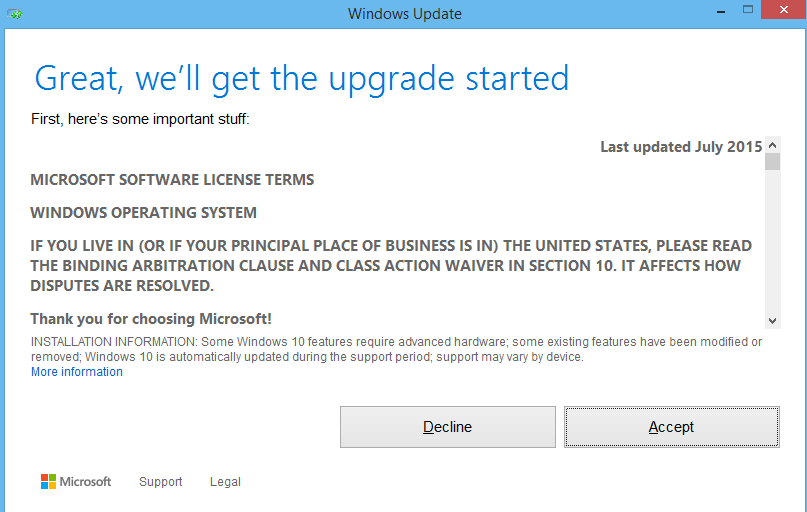
If everything goes well you will get the policy, read it and click Accept to continue
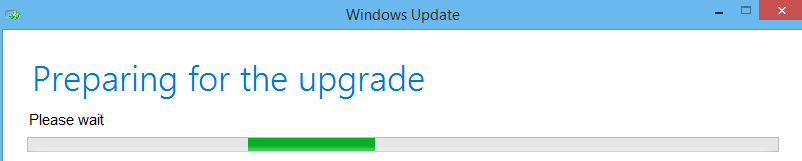
Then you will see Preparing for the upgrade message
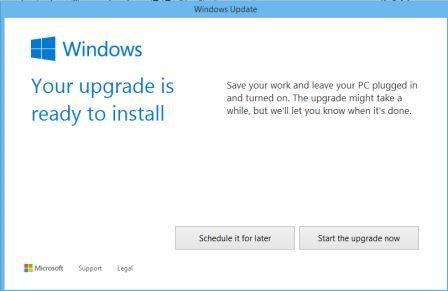
You will get an option after to choose to schedule it for later or Start the upgrade now
It will take some time to upgrade, it all depends on things like, how fast your hardware and how big data size, etc.…
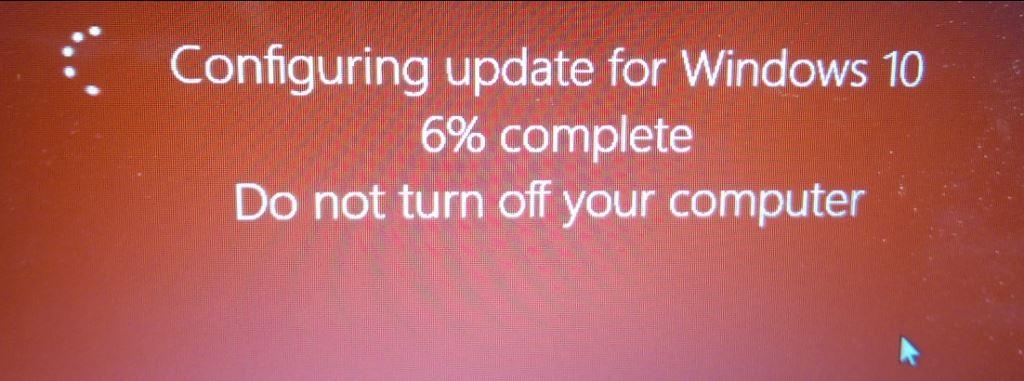
Once it reaches 100% it will automatically restart your computer.
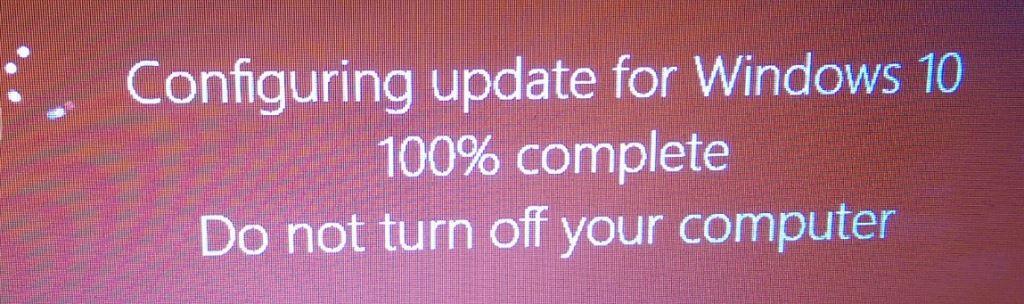
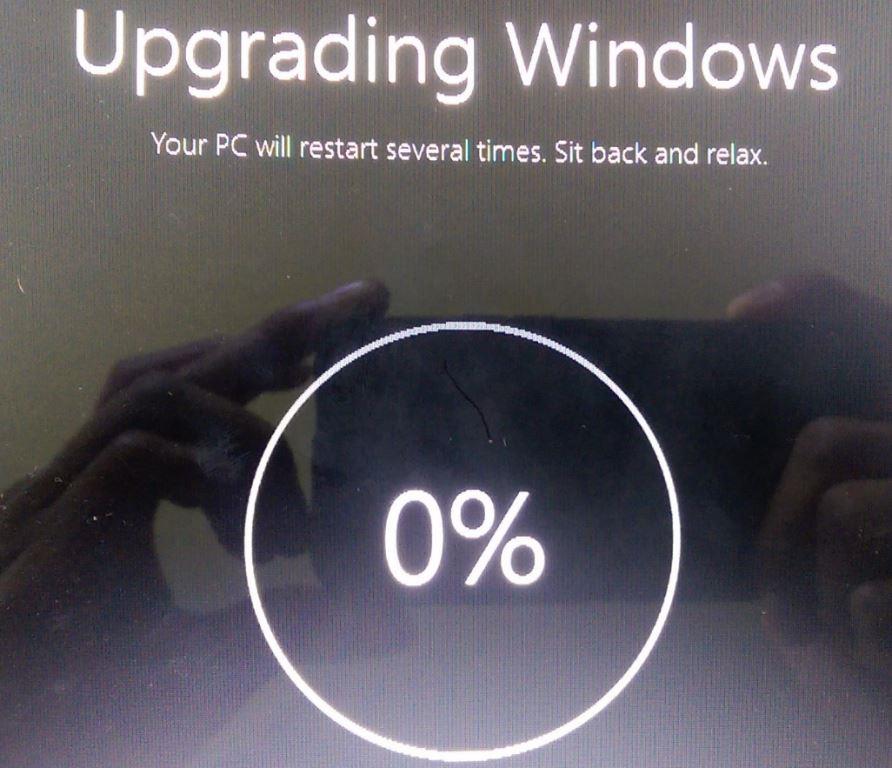
Then you will see the new Windows 10 screen finishing up the updates, it may restart several times.
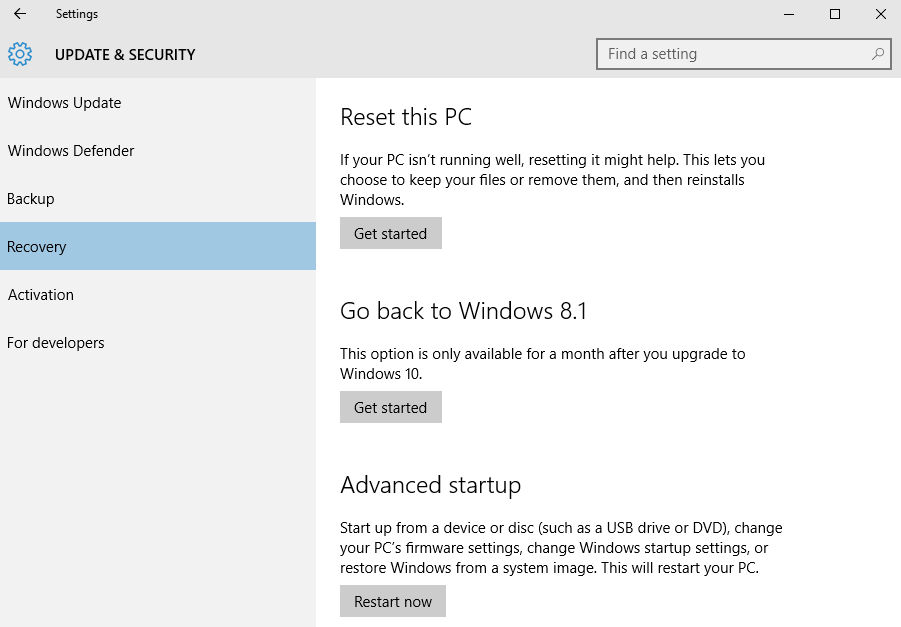
That’s it, now if for some reason you don’t like it, you will have up to one month before going back to whichever Windows you were running before the upgrade. Here is how to, on the search type settings then click on Recovery then click on “Go back to Windows” yours might say Windows 7, 8, or 8.1 click on Get started to start the process.