Setting up VPN on Windows 10 is similar to Windows 7 and 8, looks might be little different. You will need the VPN server information to connect, your system administrator needs to give permission before you can connect.
- Right click on the “Network icon” then Click on “Open Networking and Sharing Center”

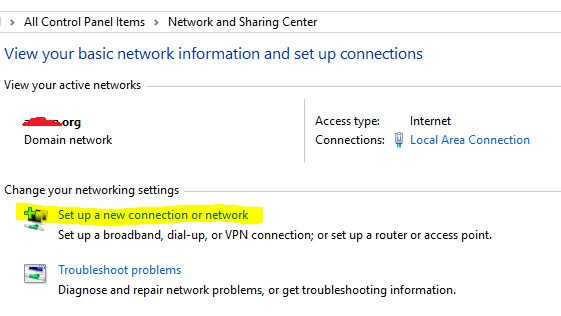
- Click on the “Set up a new connection or network”
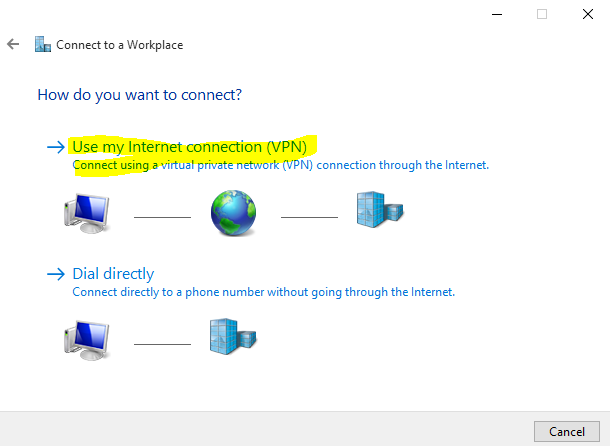
- Then choose the “Connect to a workplace” then Next

- Click on the “Use my Internet connection (VPN)”
- Then fill in your VPN details:
Type in Internet address: “VPN_address or IP”
Destination name: Name the connection this will show on your network name (similar to your Wi-Fi name)
Then Click “Create”
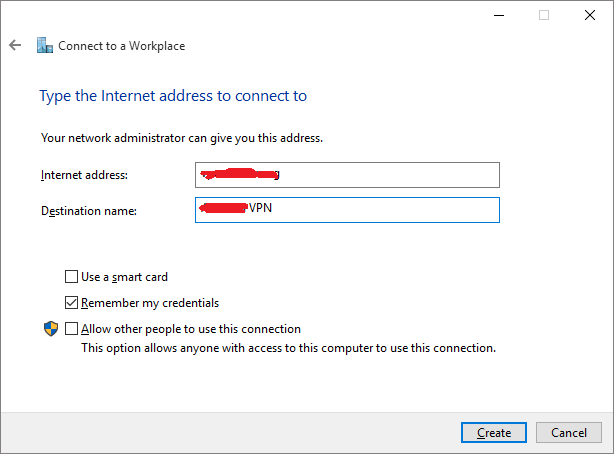
That is it, now you can connect to your new VPN connection by clicking on “Network Icon” you will see whatever you named your VPN. Note: if you have checked the “Remember my credentials” box, then it will connect to your VPN automatically, otherwise it will prompt you for username and password.