By mistaken you have deleted good VM and if you still have the VM disk, you can still bring it back online. As long as VM disk is not deleted from the Hyper-V it would be a very easy restore. Option 1 if you have not deleted VM from Hyper-V if you have deleted from Hyper-V follow option 2 after selecting VM from the Cluster Role.
Option 1
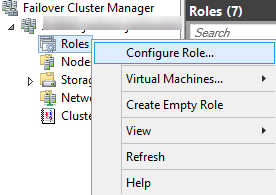
Open Failover Cluster Manager
Right click on the Roles>choose Configure Role …
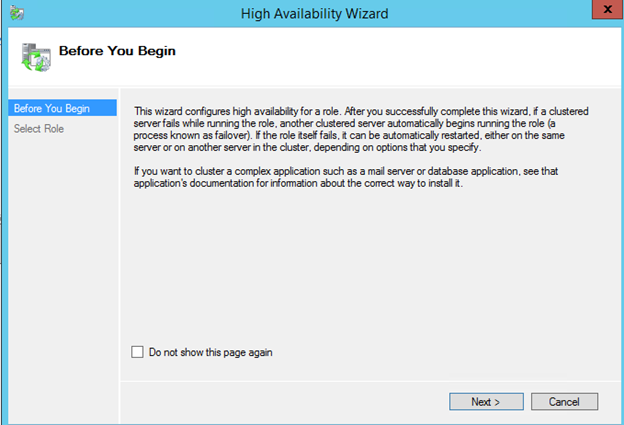
Then you may get this default message: click next
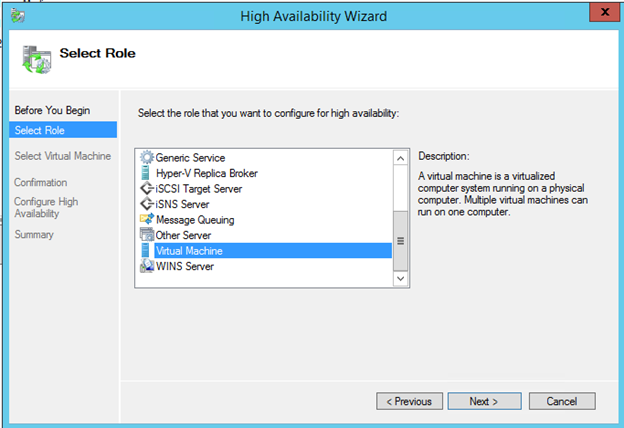
Select the Virtual Machine, then click Next
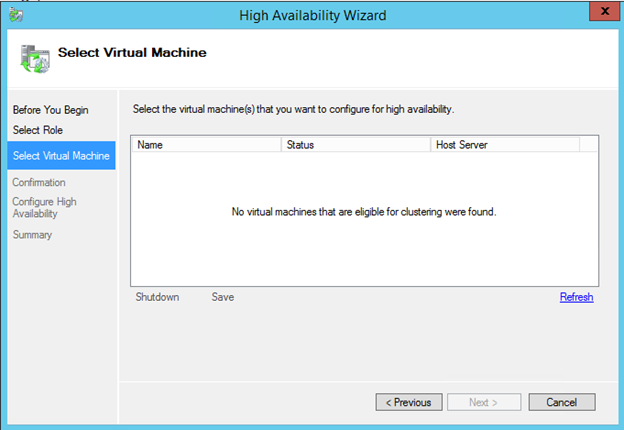
Then you will see your deleted VM here: select it and click Next

If you don’t see the VM go to Option 2
Confirmation, Click Next

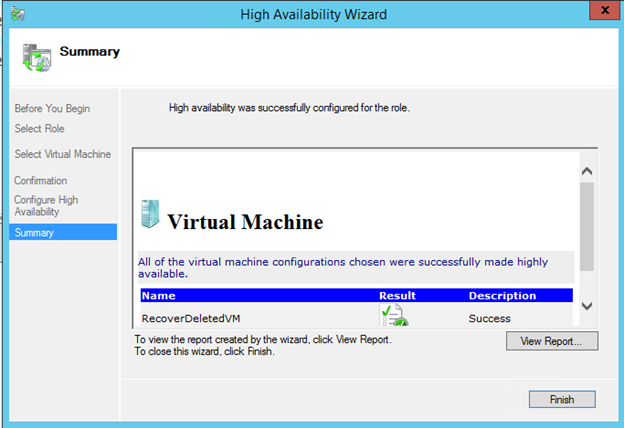
If everything goes well you should see success message with summary, if you want to see details click on View Report or click Finish.
Options 2
If you deleted VM and removed the Hyper-V host then you not see here, then you will need to add VM as new and use the same Disk
Adding new VM to Cluster with existing disk
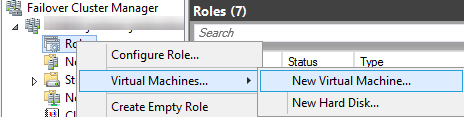
Select the Cluster node (Hyper-V host), then click ok

Then you may see the New Virtual Machine Wizard, click Next

Then the VM to whatever you like, then click Next

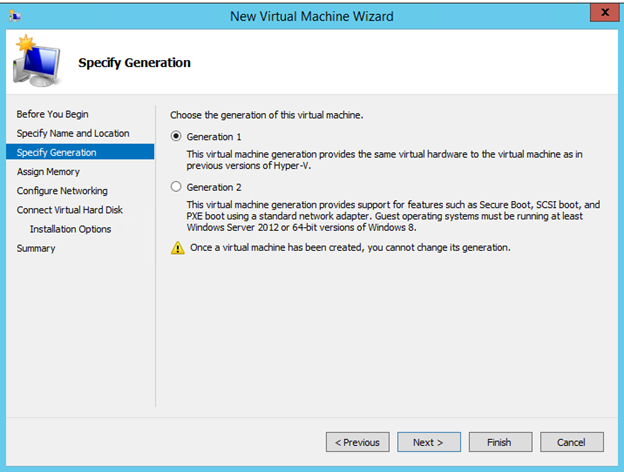
Select the Generation of the VM:
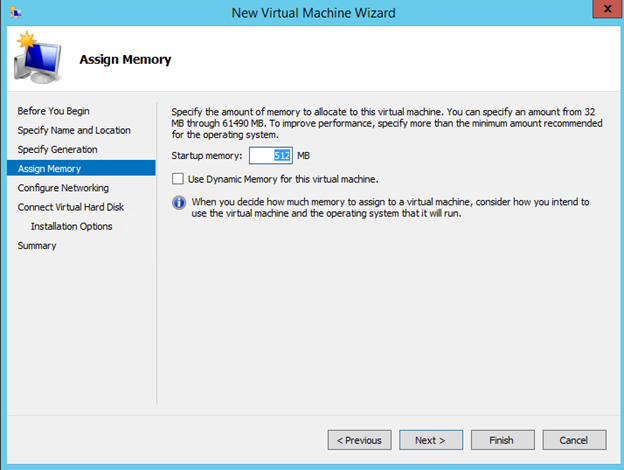
Then set Memory and click Next
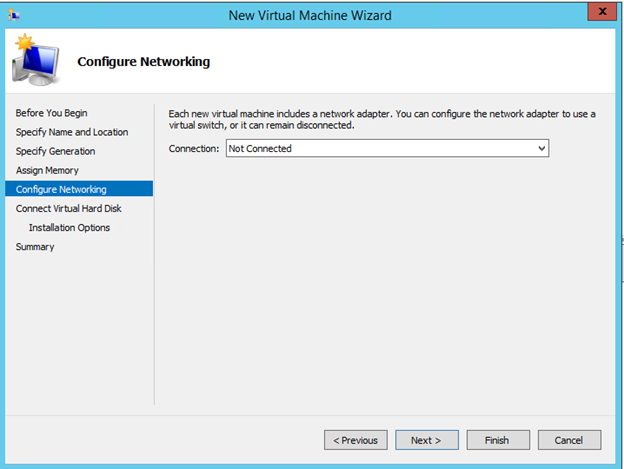
Select networking from list, then click Next
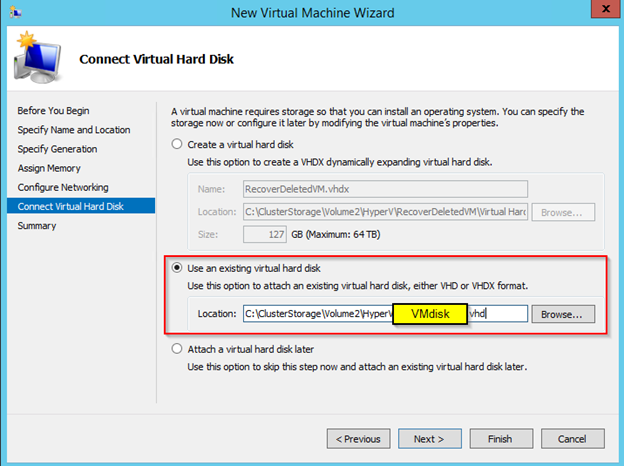
At this screen you will select the use an existing virtual hard disk, then click Next
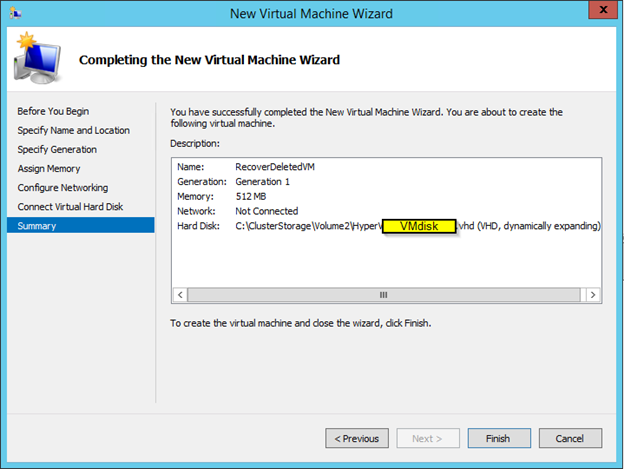
You should see the Summary of new VM, if everything is good, click Finish
If everything goes well, you should see the Success message, click View Report for details or click Finish

That’s it, you should see your recovered VM back in the Cluster