There are many open-source and paid versions out there to set up kiosks. I have set this up on Raspberry Pi version 1, 2, 3, and now 4. It’s a very simple setup, I am going to set the website URL default to loading when Raspberry Pi 4 boots up, but you can change it to whatever you like, it could be a slide show, video, etc.…. You can even use it as Signage, there are some others out there that are better for Signage so it gives you preconfigured.
What you will need:
- Raspberry Pi 4 (you can use an older version too, your settings may be different)
- SD memory card 8GB or larger
- Network connection LAN or WiFi
- Terminal to SSH to Raspberry or run the command on the Raspberry
- Unzip program and image burner software
Sections:
Adding script file to auto-start when Raspberry Pi boots up
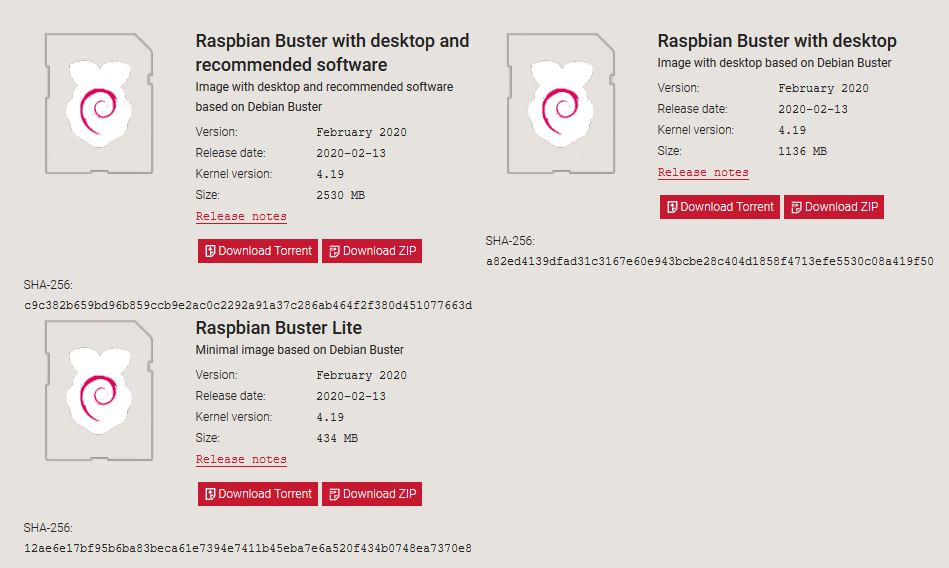
Download the “Raspbian Buster with desktop” or if you want the one with an application you can do so as well it’s Raspbian Buster with desktop and recommended software image, then you will need to unzip the download file. If your computer doesn’t have the unzip program you can download the 7zip from https://www.7-zip.org/download.html
Next, you will need the image burner software, if you have one use it or download this one https://www.balena.io/etcher/, it supports many operating systems including Windows, Linux, macOS, and Portable. Or https://sourceforge.net/projects/win32diskimager/ it’s a little outdated, but still works.
Download Raspbian Buster with desktop: https://www.raspberrypi.org/downloads/raspbian/
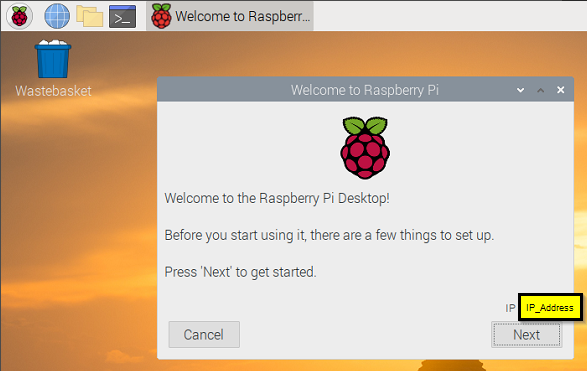
Once you have downloaded and used one of the image burner software to burn into SD card, then put in the Raspberry Pi 4 and start it up and if everything goes well you should see, click Next to go through basic settings
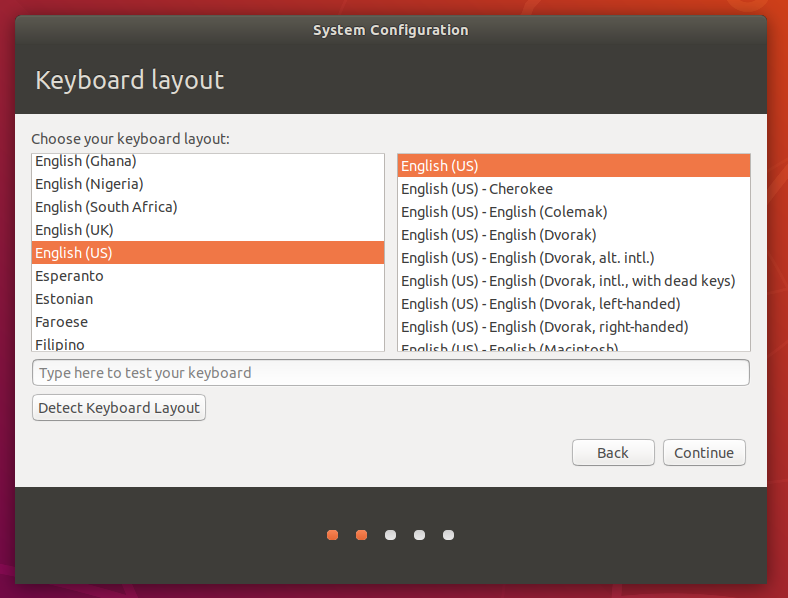
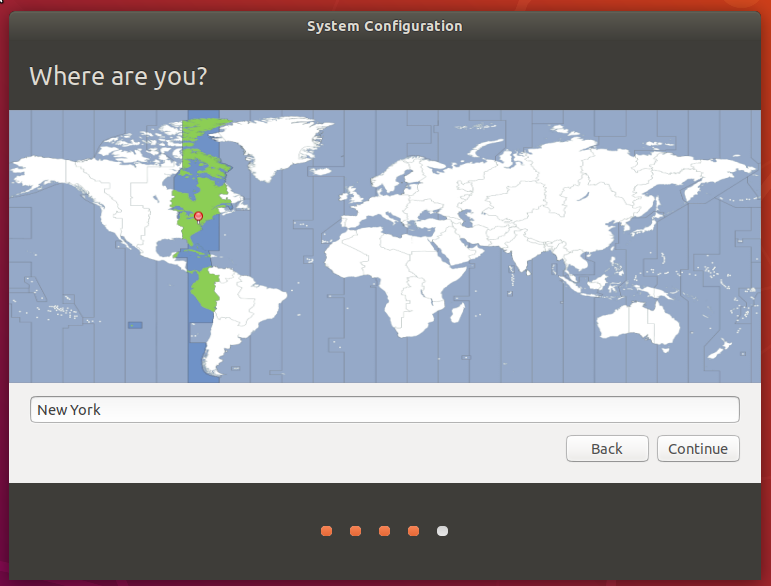
Set your local Country, Language and Timezone, then click Next

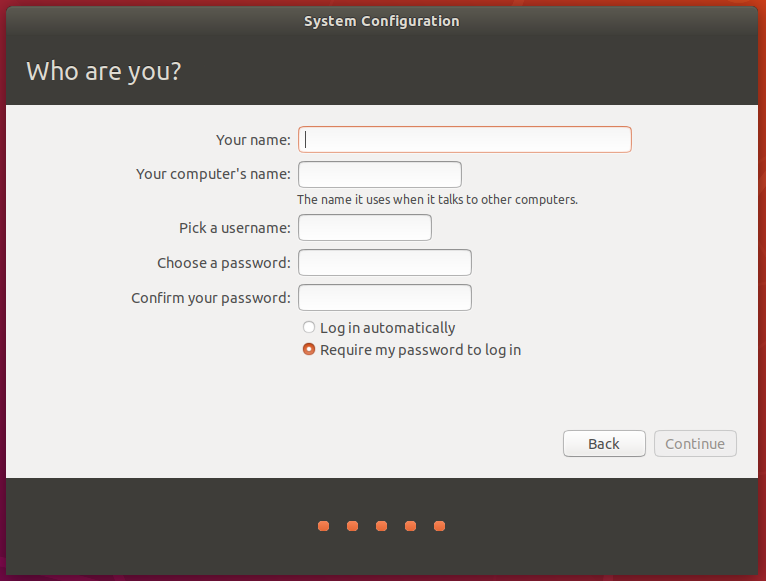
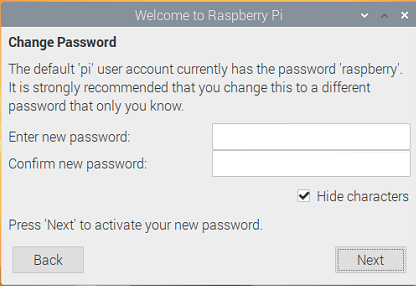
Change Default Password, enter new password and click Next
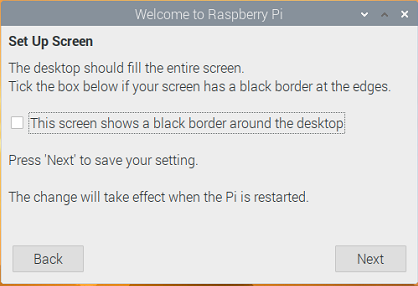
Setup up screen settings, You may need this to enable or disabled, click Next
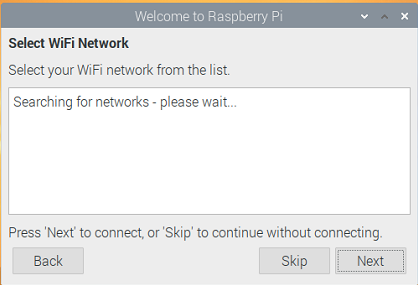
Select WiFi Network or click skip
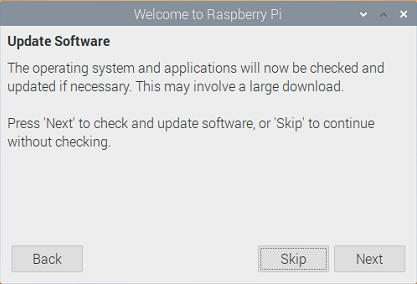
Update Software, you can skip or let it search and install
Running very good even while searching for updates, see Task Manger

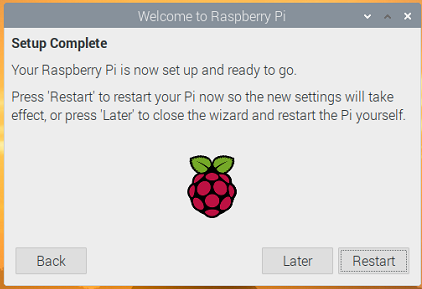
Once it’s finished searching, installing new updates or if you skipped you will see option to restart, click restart so all settings takes effects
Once the Raspberry Pi 4 restarts, open the Chromium once so it creates the Default/Preferences automatic, then just close it
Update the Raspberry Pi 4:
sudo apt update && sudo apt upgrade
Create a script file:
Now setting up the script file, you can name it whatever you like: example StartApp.sh, inside copy and paste this code and change the URL to whatever you like
!/bin/bash
# If Chromium crashes (usually due to rebooting), clear the crash flag so we don't have the annoying warning bar
# waits for 10 seconds before opening URL
# To disable screen saver timeout
xset s 0
# To disabled Monitor going to sleep
xset -dpms
# clean up if the power or ssh in and poweroff or if hostname changes
rm -rf ~/.config/chromium/Singleton*
# Waits for 10 seconds before starting up
sleep 10
# Make sure to change the user name if it's not default pi
sed -i 's/"exited_cleanly":false/"exited_cleanly":true/'  /home/pi/ .config/chromium/Default/Preferences
sed -i 's/"exit_type":"Crashed"/"exit_type":"Normal"/'  /home/pi/.config/chromium/Default/Preferences
chromium-browser --kiosk --disable-restore-session-state --disable-session-crashed-bubble --noerrordialogs --disable-infobars http://YourURL.com
You can add other options –no-default-browser-check –no-first-run that you like to prevent from pop up
Now make the .sh file executable:
chmod +x name_of_file.sh
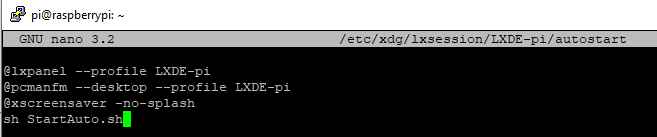
Adding script file to auto-start when Raspberry Pi boots up
sudo nano /etc/xdg/lxsession/LXDE-pi/autostart
@lxpanel –profile LXDE-pi
@pcmanfm –desktop –profile LXDE-pi
@xscreensaver -no-splash
# add the following, if your script file located other location then the root of the user, then you will need to put the path
sh StartAuto.sh
Other setting you may need to change so it runs smooth, without any issue:
If you want to enable SSH, so you can make changes via Remote:
sudo systemctl enable ssh
sudo systemctl start ssh
That’s it
common issues and solutions:
To remove the Mouse pointer:
sudo apt-get install unclutter
Preventing Sleep of Monitor:
it’s already included in the script file, but just in case you need to change it
sudo nano /etc/lightdm/lightdm.conf
In that file, look for:
[SeatDefault] or [Seat:*]
#uncomment and insert -s 0 dpms:
xserver-command=X -s 0 dpms
If you need to fill your screen, you will need to disable the Overscan:
raspi-config
once it loads, choose Advanced Options> Next, choose Overscan:
To Disable chromium update message:
sudo touch /etc/chromium-browser/customizations/01-disable-update-check;echo CHROMIUM_FLAGS=\”\${CHROMIUM_FLAGS} –check-for-update-interval=31536000\” | sudo tee /etc/chromium-browser/customizations/01-disable-update-check
To check the monitor resolution settings currently set to:
/opt/vc/bin/tvservice -s
Should display something like this:
state 0xa [HDMI CUSTOM RGB lim 16:9], 1920×1080 @ 60.00Hz, progressive
To check what’s available settings for your monitor:
/opt/vc/bin/tvservice -m DMT
You should see something like this:
Group DMT has 12 modes:
mode 4: 640×480 @ 60Hz 4:3, clock:25MHz progressive
mode 5: 640×480 @ 72Hz 4:3, clock:31MHz progressive
mode 6: 640×480 @ 75Hz 4:3, clock:31MHz progressive
mode 8: 800×600 @ 56Hz 4:3, clock:36MHz progressive
mode 9: 800×600 @ 60Hz 4:3, clock:40MHz progressive
mode 10: 800×600 @ 72Hz 4:3, clock:50MHz progressive
mode 11: 800×600 @ 75Hz 4:3, clock:49MHz progressive
mode 16: 1024×768 @ 60Hz 4:3, clock:65MHz progressive
mode 17: 1024×768 @ 70Hz 4:3, clock:75MHz progressive
mode 18: 1024×768 @ 75Hz 4:3, clock:78MHz progressive
mode 35: 1280×1024 @ 60Hz 5:4, clock:108MHz progressive
mode 39: 1360×768 @ 60Hz 16:9, clock:85MHz progressive
Or
/opt/vc/bin/tvservice -m CEA
You should see something like this:
Group CEA has 10 modes:
mode 1: 640×480 @ 60Hz 4:3, clock:25MHz progressive
mode 2: 720×480 @ 60Hz 4:3, clock:27MHz progressive
mode 3: 720×480 @ 60Hz 16:9, clock:27MHz progressive
mode 4: 1280×720 @ 60Hz 16:9, clock:74MHz progressive
mode 5: 1920×1080 @ 60Hz 16:9, clock:74MHz interlaced
mode 6: 720×480 @ 60Hz 4:3, clock:27MHz x2 interlaced
mode 7: 720×480 @ 60Hz 16:9, clock:27MHz x2 interlaced
(prefer) mode 16: 1920×1080 @ 60Hz 16:9, clock:148MHz progressive
mode 32: 1920×1080 @ 24Hz 16:9, clock:74MHz progressive
mode 34: 1920×1080 @ 30Hz 16:9, clock:74MHz progressive