How to install Ubuntu 18.04 Desktop fresh using Hyper-V manager on Windows 10 Pro to Quick Create. There are many ways to install it, this process is very simple, you could do manual, which requires you to download the Ubuntu 18.04 image, then go through the process of installation. This will give you options to use your Ubuntu virtual desktop and get a feel of Linux system, when not in use, turn it off, so it goes not take resources of your system.
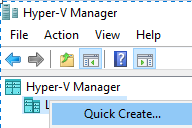
Open your Hyper-V Manger
Right click on Hyper-V host and choose Quick Create …
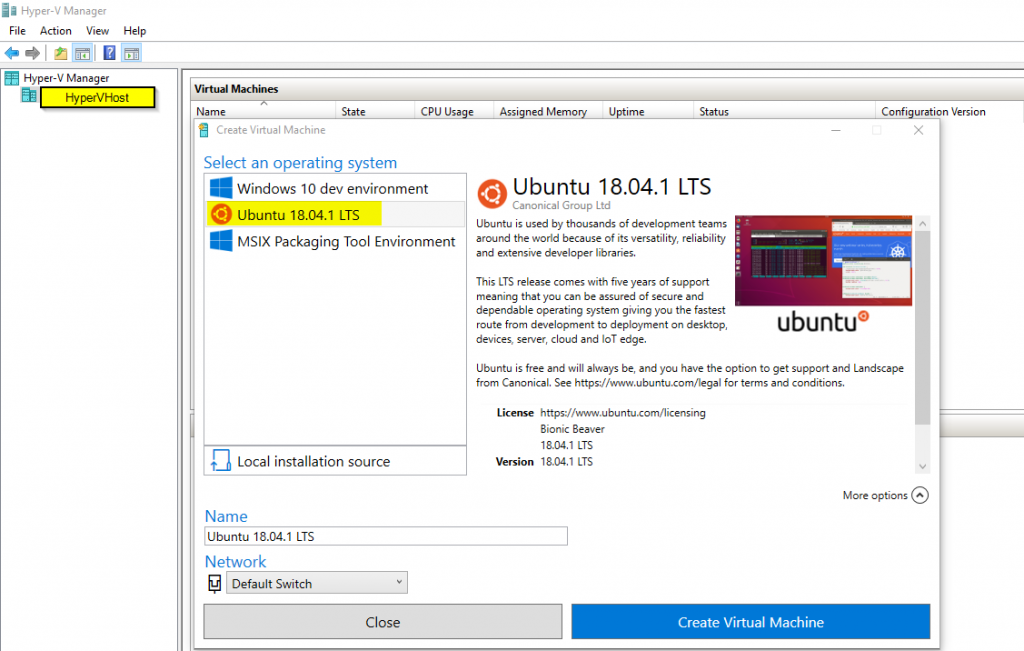
Then you will get option to select the Operating system, choose Ubuntu 18.04 LTS, and click Craete Virtual Machine. If you want to rename your VM, you could click on More options or you can rename later.
Then it will go through downloading the Ubuntu 18.04 LTS image, depending on your internet speed it may take awhile.

Then it will go through the automatic process of creating VM:
- Verifying image
- Extracting disk from an image archive
- Creating a Hard drive
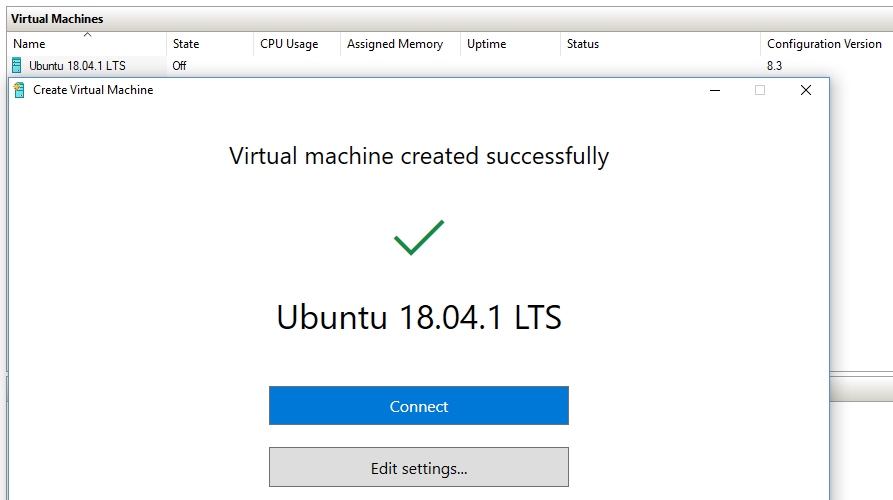
- Virtual machine create successfully
Then you should see option to connect to your new Ubuntu 18.04 Desktop, click Connect
Click on Power button or Start to turn on your Ubuntu 18.04 server

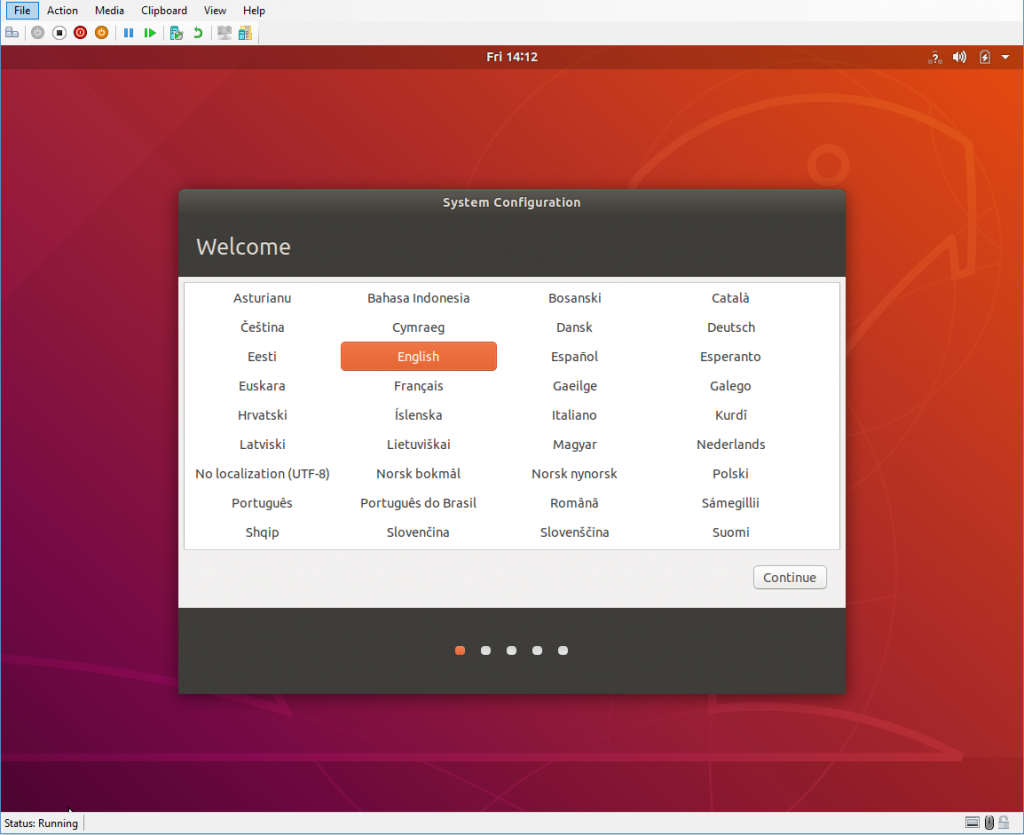
You should see starting and then Welcome screen. Select your Language then click Continue
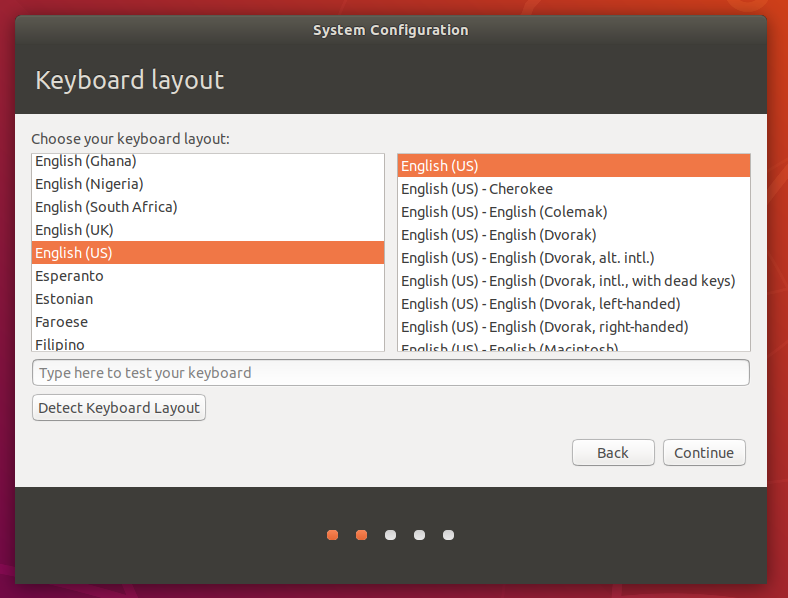
Select Keyboard layout, then click Continue
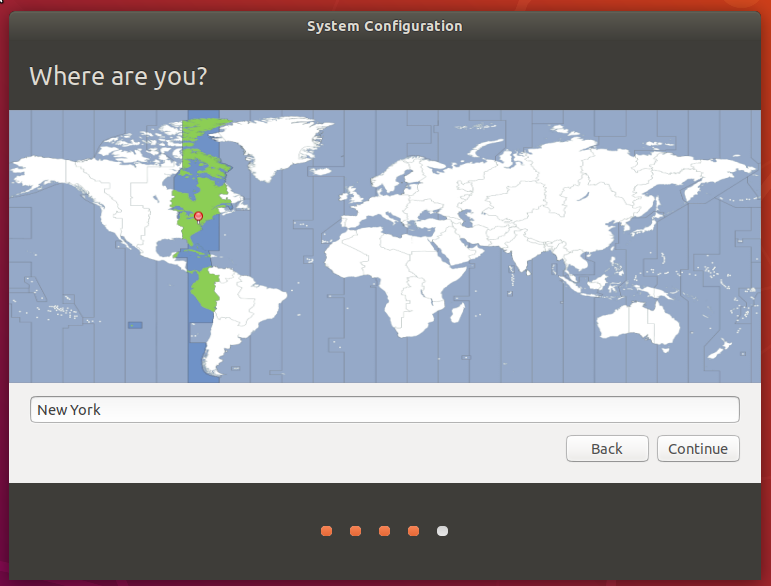
Select your Timezone, then click Continue
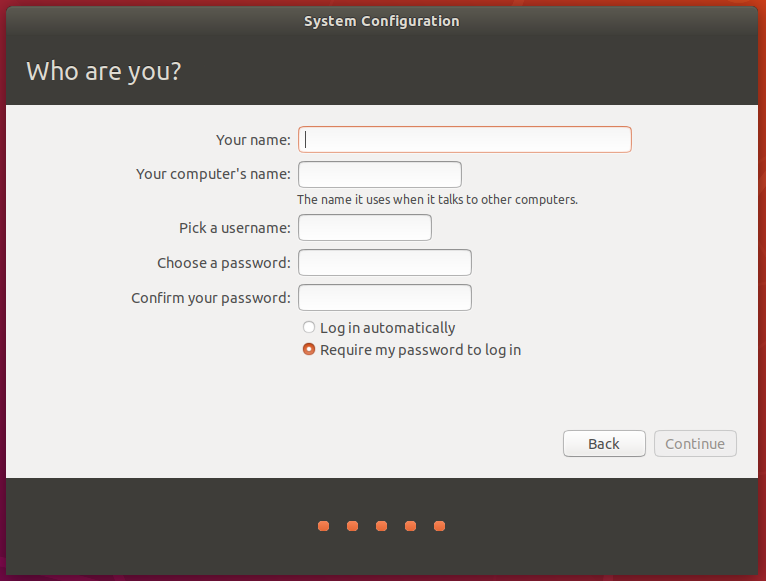
Fill in the login info, this would be admin account to login to your server, then click Continue
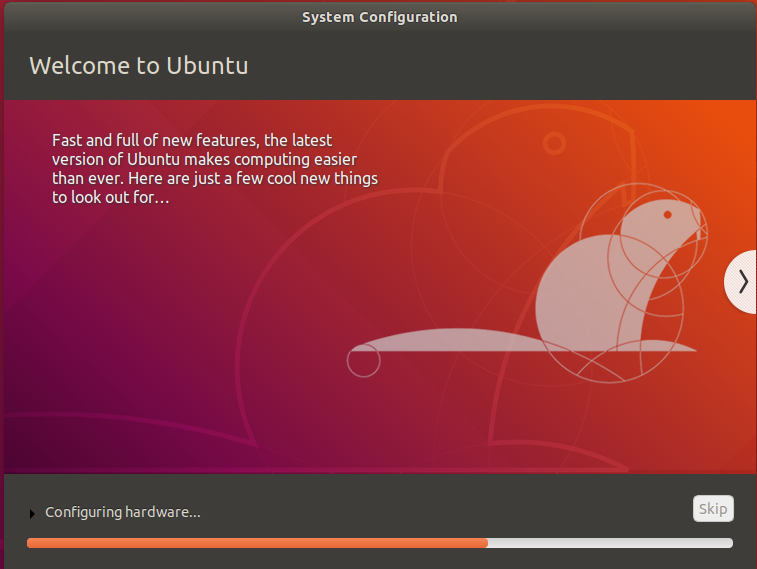
Then it will go through the System configuration automatically
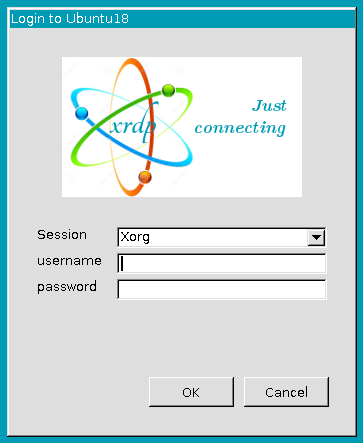
Then you should see login screen enter your user/password created earlier
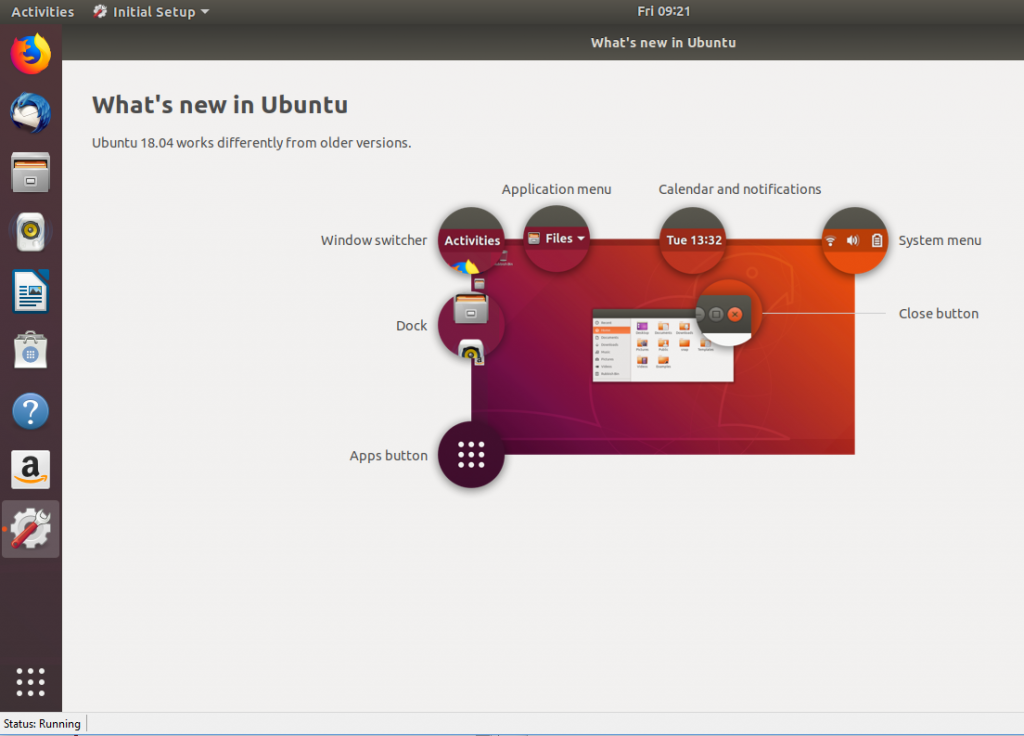
You should see your New Ubuntu 18.04 Desktop, it gives you few tips on What’s new in Ubuntu, go though and start using your Ubuntu Virtual desktop.
You can start using your Ubuntu 18.04 virtual desktop, see tips and tricks of common things you may find helpful, if this is your first time use of Ubuntu system.
Tips and Tricks:
Remove icon from favorites
Just right click icon you want to remove and choose Remove from Favorites

Opened applications
You will see little dot next to the application, you tell you that application is open.
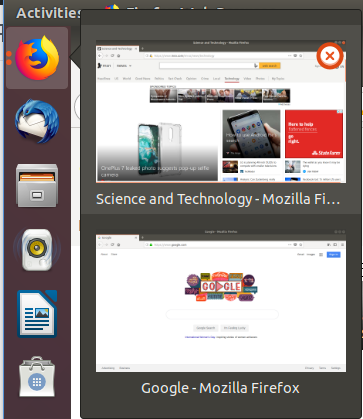
More than one Application open
You will see more than one little dots, if you click on it, it will give you thumb nail view of and you will be able to switch it or close the application.
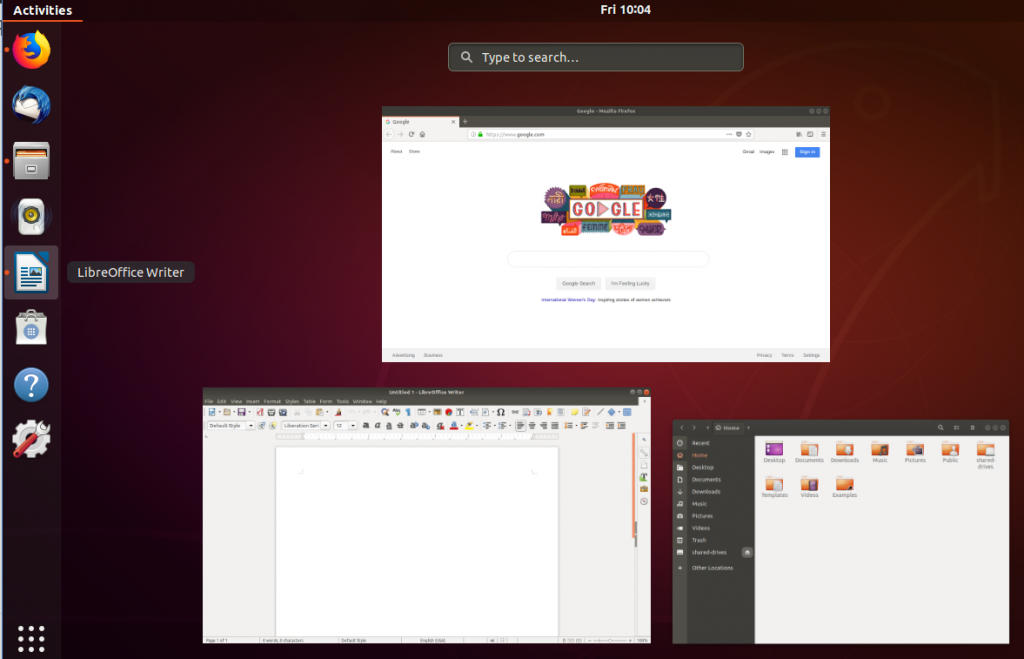
To see all opened Applications
Click on the Activities and it will give you thumbnail view of all opened applications, you can switch to it, or close it by click on X.
To see Applications
You can click on 9 dotted icon bottom left hand side, you will see all application or Frequent used
- Software – where you can install new applications
- Software & Updates – Where you can install updates and third-part software options
- Startup Application – gives you list of application at start of your Ubuntu system
- Settings – list of all settings like control panel
- Files – your documents or personal files
- Rhythmbox – is default music player

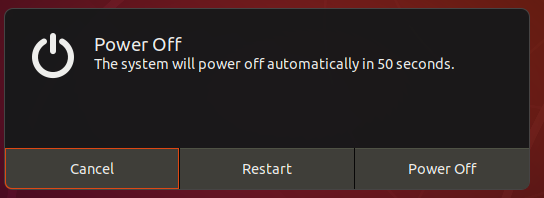
Shutdown Ubuntu Virtual Machine
Click on the Arrow on top left, you will see Power icon, if you want to just lock it, click on Lock icon.
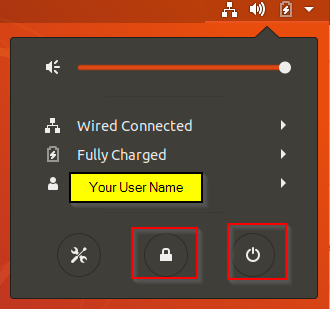
Change User info
If you need to change user name or any setting, click on the Arrow next to your user name it will give you option to make changes

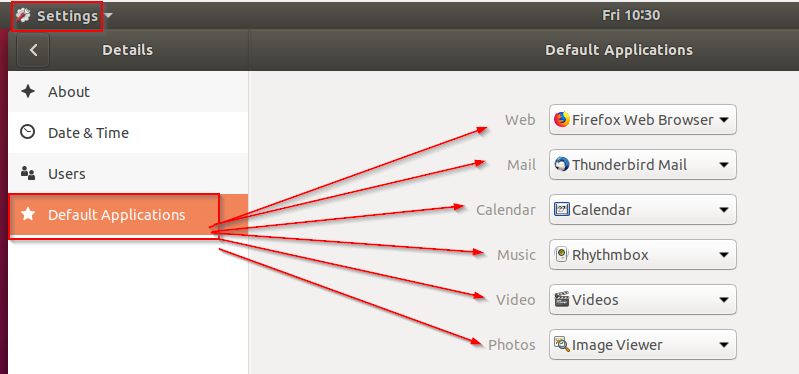
Change default applications
Click on Settings>Default Applications>Then change it to what you like