How to hide Windows updates

Windows 10 recently having many issues, here is how to hide updates that may be causing issues. Windows 10 updates install automatically by default and it also updates some drivers, which may cause an issue with your device or application. The First thing to do is check to see if you have any updates pending if so update it and see if your issues are fixed. If your issues are not fixed then you want to try uninstalling the recent update. After uninstalling the recent update and restarting your computer fixes the issue you can hide that update so Windows 10 doesn’t automatically try the install again. Here is how to hide the updates, so it does not re-install. You should still try to update windows updates to protect your computers, not all updates causing issues.

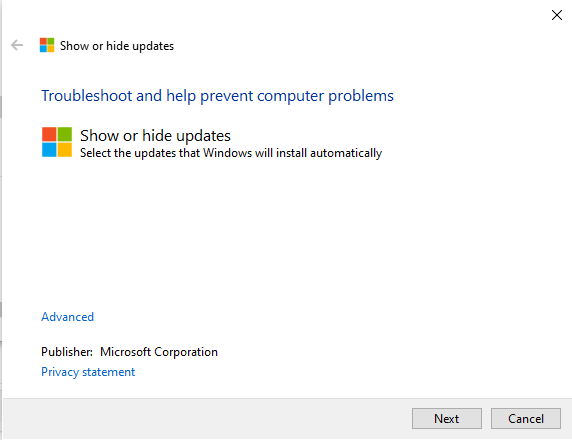
You will need to Download the “Show or hide updates” troubleshooter package from the (no longer available via Microsoft website), then follow the instructions, I am going to show you one of the updates that are causing issues with Start Menu and Microsoft Edge on some computers. Once you have downloaded the Show and hide update package, run it and click Next

it will scan for issues

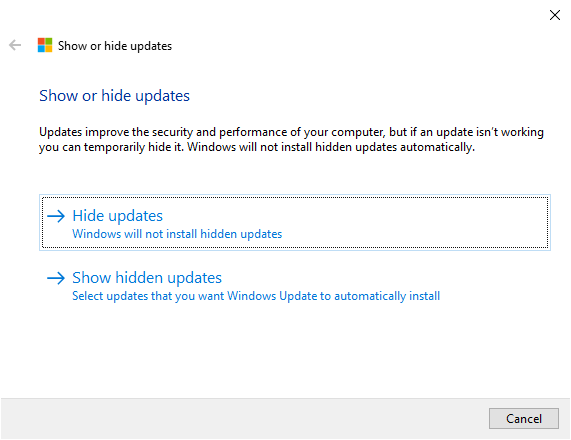
Then give you options to Hide updates or Show hidden updates, click on hide update

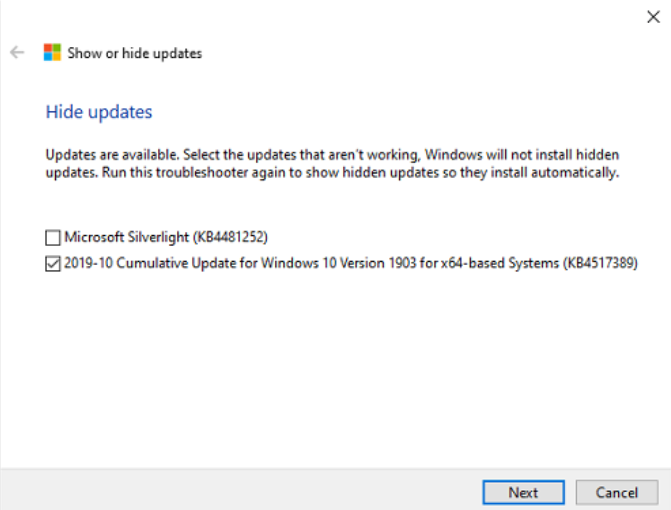
Select the update you want to hide, and click Next

You should see Troubleshooting has completed, click Close

That’s it, if you need to unhide it, you can following the same process, just have to click on Show hidden updates in earlier step then you will be able to install that update. I hope this helps out some users who are having issues with Windows updates.


How to Disable Touch Screen

There are cases when you want to disable the touch screen when using some application that may cause issues or just you are not using it. You will need to be an administrator to make changes, otherwise, you will get a message, you don’t have rights. Here is how to do disabled, make sure you have another source of input, like external keyboard/mouse, otherwise you will not be able to use your device.

Open Device Manger by going to control panel or just search for device manager

Then expand the Device Manager>Human Interface Devices>Right click on the HID-compliant touch screen and select Disable device

You will get warning message box: Do you really want to disable it? Click Yes Make sure you have external keyboard or mouse, otherwise you will not be able to use your device at all.

That’s it, if you want to re-enable it, just right click on it and it will give you Enable device option


Built-in OpenSSH client on Windows 10

Windows 10 has been adding more features which support open source like SSH client built-in, Windows updates started installing by default around April 2018 OpenSSH client. It’s a tool for Linux admin to connect from Windows computer before this Windows user has to install manually SSH client for Windows commonly used Putty, if you need a full set of feature of the SSH visit: https://www.openssl.org/

Now you can find it in Windows 10 under:
Settings>Apps & features>Then click on Manage optional features

You should see there OpenSSH client

To use it just open Windows command prompt or power shell and type ssh

to connect to your Linux server just type: ssh UserName@LinuxServerIP_or_DNS_Name

The first time it will prompt host key fingerprint and ask you to confirm to get connected type yes and enter your password

You should be connected to your Linux server
Start using Linux right from your Windows computer, when done just type exit as you normally would.

In case you need to remove known hosts added to your computer you can find it at C:\Users\YourUserName\.ssh\known_hosts

Next time you connect to the same server and known hosts has not been removed it will just ask for your password
Enjoy it Linux inside Window world 🙂