If you are not sure if your email settings are working or not, you can send a test email via the PowerShell command.
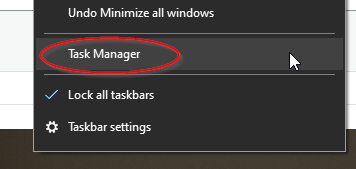
Open PowerShell: command
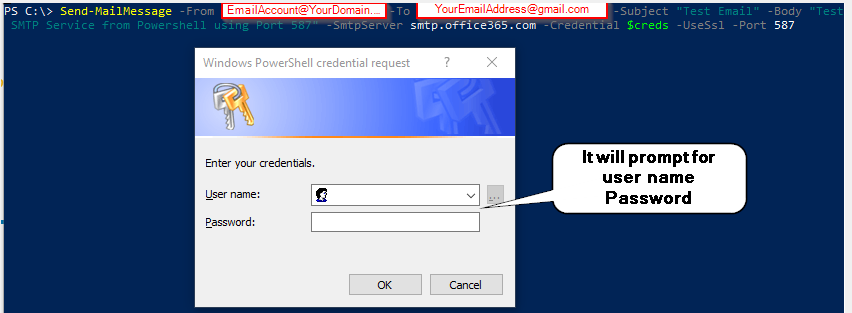
note: From email is an email with an issue or one you trying to set up and To email can be any email address where you can check to see if you get the test email.
Send-MailMessage -From EmailAccount@YourDomain.com -To YourEmailAddress@gmail.com -Subject “Test Email” -Body “Test SMTP Service from Powershell using Port 587” -SmtpServer smtp.office365.com -Credential $creds -UseSsl -Port 587
It will prompt you to enter your username and password
If everything goes well, you will not see anything, otherwise, it will give you an error message
If you have a typo or forget to put -From or -To you might get errors, something like this:
Send-MailMessage : A positional parameter cannot be found that accepts argument