It’s always best to stay up to date with technologies that you are using these days, due to lots of data getting hacked because they are not updated. I had written a post earlier on how to upgrade Ubuntu 14.04 to 16.04, the process is the same. Make sure you have a good backup and your backup is tested to be sure data you are backup are good. If you have an option you can do an upgrade on a test server and work out any issues, that way when you do upgrade on the production system it goes smooth.
Check list before starting upgrade process
- Data backed up and verified, which includes configs, PHP, Databases, etc…
- Make sure your application supports newer packages versions
- List of application/services so it can be tested after the upgrade
- Direct access to the server, remote session will give you an error
- Stopping application/services, not required but if dealing with a database it’s safer
- Double-check storage space for an upgrade to download/install, you will need about 10GB
To get list of packages:
dpkg -l | grep php | tee packages.txt
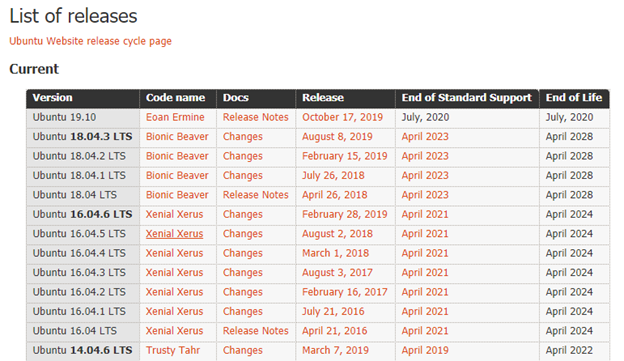
Current supported Ubuntu version: https://wiki.ubuntu.com/Releases
Login to the server directly to do the upgrade, also before the upgrade make sure you are up to date and don’t have any issues with your server or resources.

You can run following commands to check for any updates:
sudo apt update
sudo apt upgrade
sudo apt dist-upgrade

To start the upgrade process
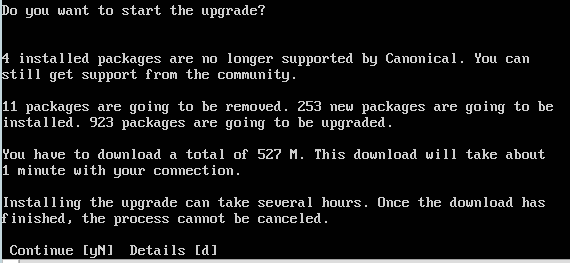
Run the following command it will go through a check of currently installed packages and give you the option to check and make sure you are ok to start to upgrade. You should check and make sure your application support new version, so it does not break your application after the upgrade. You can press d to get detailed list, when done press q and it will bring you back to option to Continue or N to cancel. Press y and Enter when you ready
sudo do-release-upgrade
If you have apache installed you will get this prompt, which you can select option best fit your needs.

If you get option for sshd_config, select keep the local version currently installed

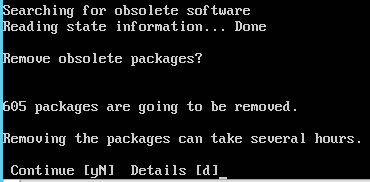
It will scan for any obsolete software and will give you option to remove it
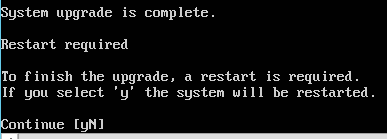
Once that done, then it will ask to restart the server press y and Enter
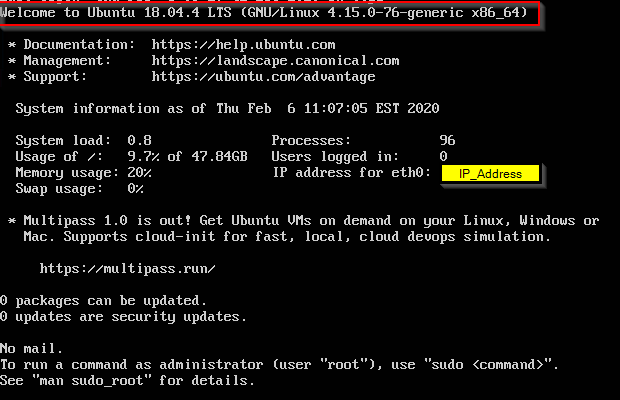
Once the server comes back you should see Ubuntu 18.04.x
Total size was about 10.5 GB and it took about 2 hours, yours may be different based on server resources, an application installed, etc…
common issues and solutions:
Very common if you are using web server you might have issue with PHP:
To check PHP version: php -v

Re-enable PHP, if upgrade from older version:
sudo a2enmod php7.2
sudo service apache2 restart
To install full PHP packages you can run following command:
sudo apt install php php-cgi libapache2-mod-php php-common php-pear php-mbstring

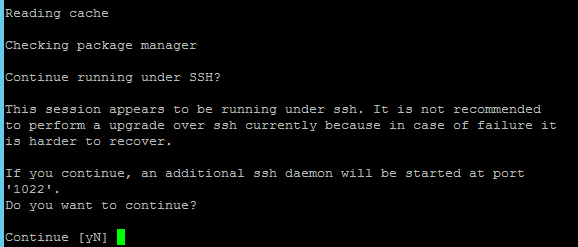
If you run the upgrade via SSH session you will get this message, which is not recommended:
Find all PHP version installed on your system:
dpkg -l | grep ‘\(php\)’
or
php -i | grep ‘php.ini’
or
php -i | grep ‘Configuration File’
Find all mysql version installed:
dpkg -l | grep ‘(mysql)’
How to remove old PHP version:
Before running this command, make sure you have backup of your php.ini or any custom changes did. This command will wipe out everything
Sudo apt purge php5*