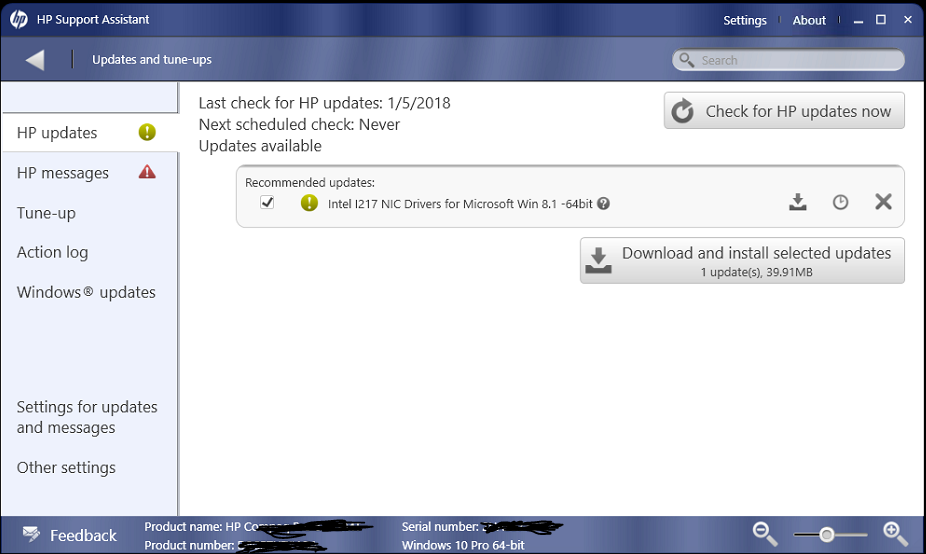
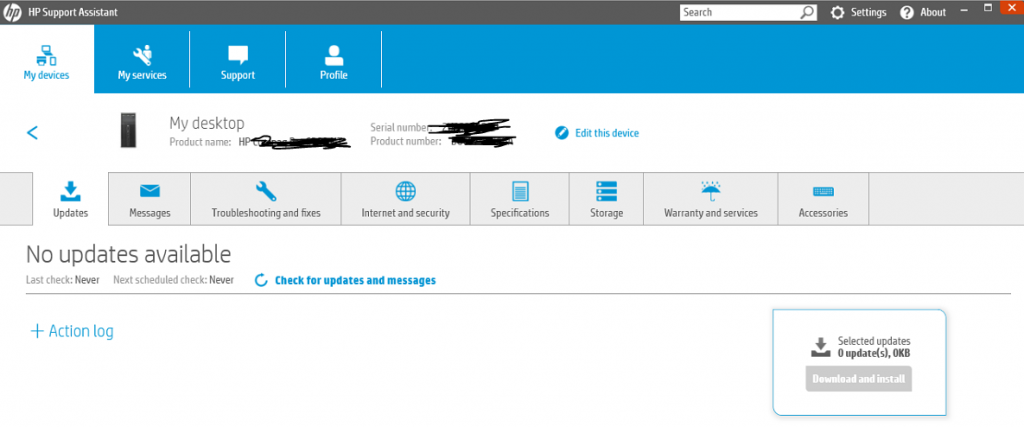
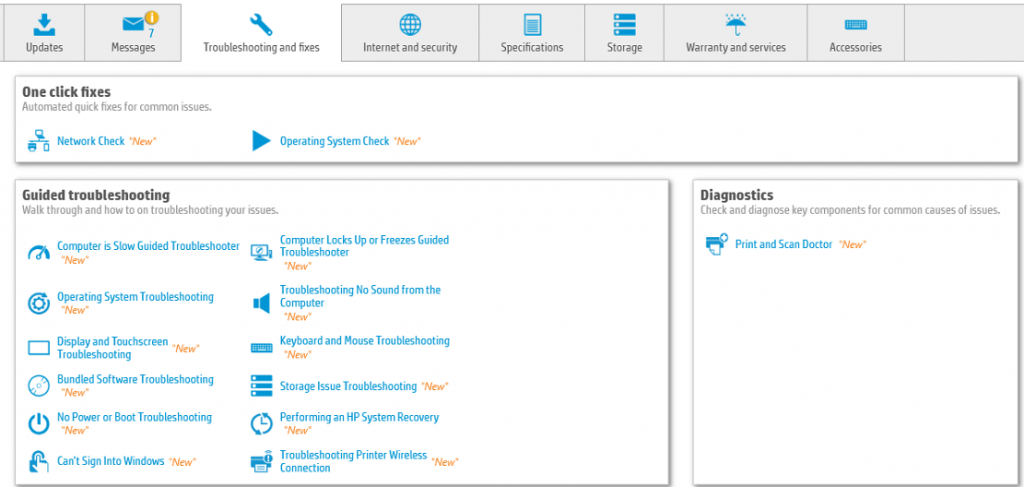
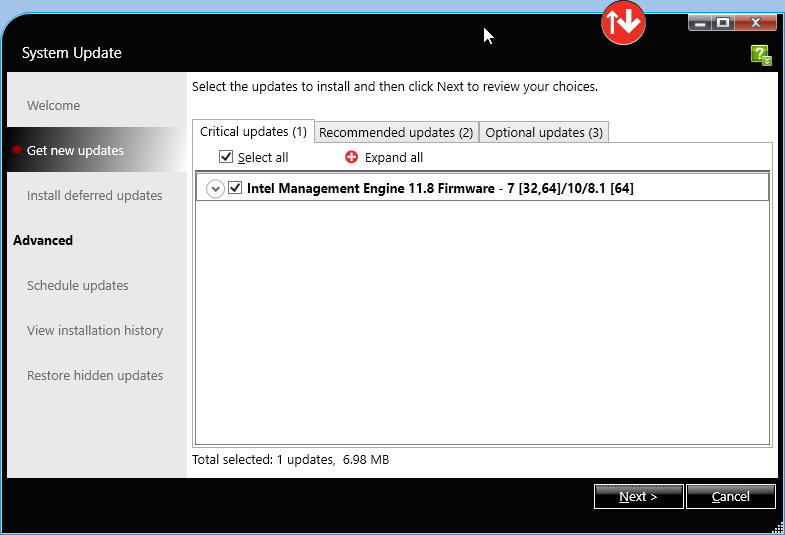
Most vendors have their own software to update their system drivers. Here I am going to list for Dell, HP and Lenovo. I am sure other vendor may have their own too.
Dell
It’s called Dell Command Update you can download it from Dell website https://www.dell.com
or You can also do via the website: https://www.dell.com You will need to know your system service tag, then go to drivers Then let the “Let us analyze your system to find the latest updates.” For you
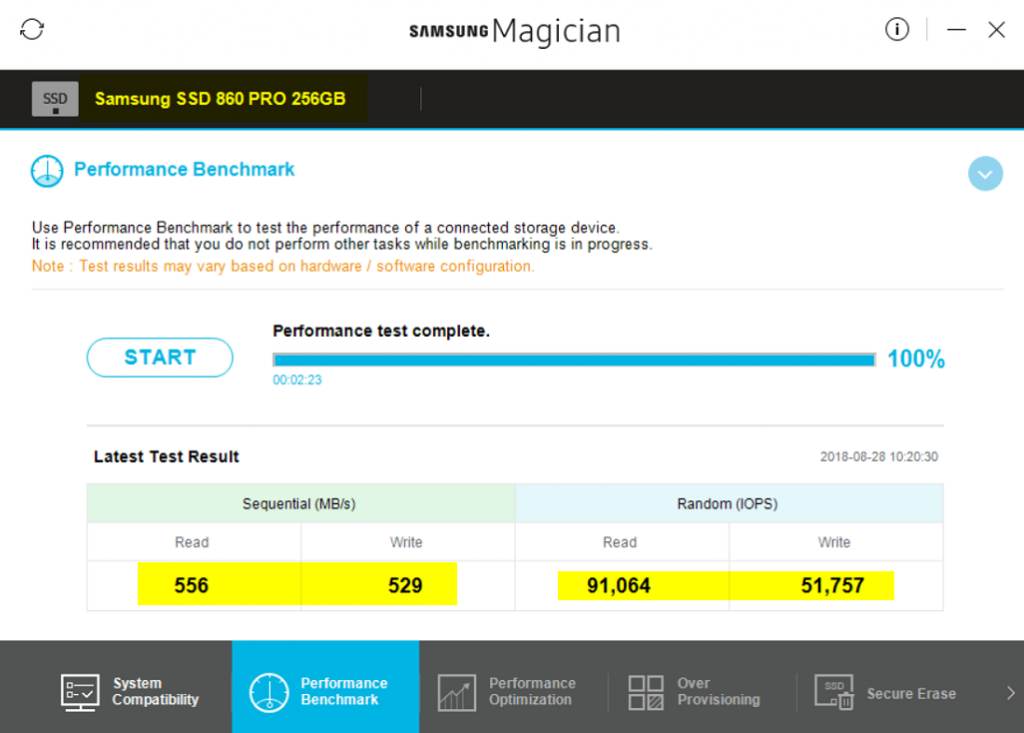
It’s worth replacing your old spinning drive with a solid-state drive, take a look at my post on how to clone old drive to Samsung solid state drive or San Disk. If your computer is just running slow, take a look at the performance to see which part of your computer is slowing down. Most likely it’s a hard drive, there are cases CPU, Memory and maybe network connection cause slowness. Here I have done a benchmark of spinning drive and solid state drive, so you can see the big difference between it.
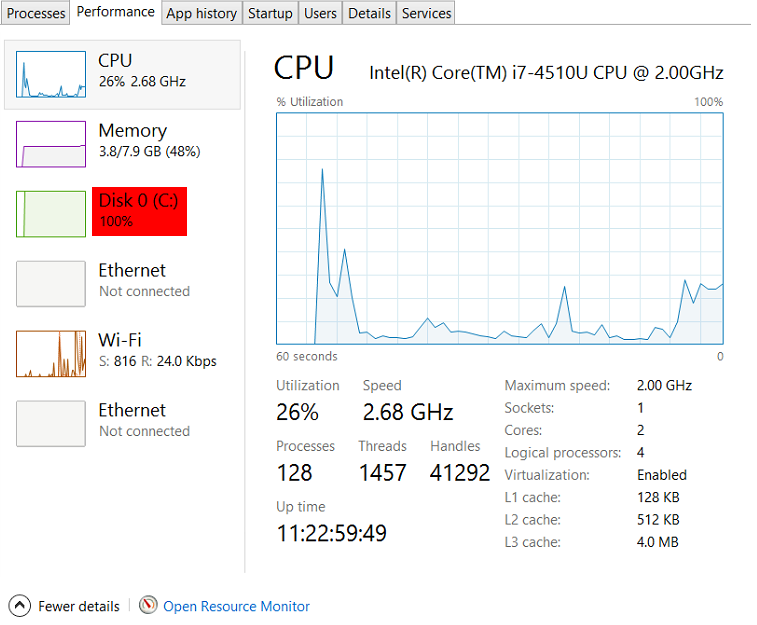
Looking at task manager while using old spinning drive, if you click on the Disk it will give you more details of which application using it.
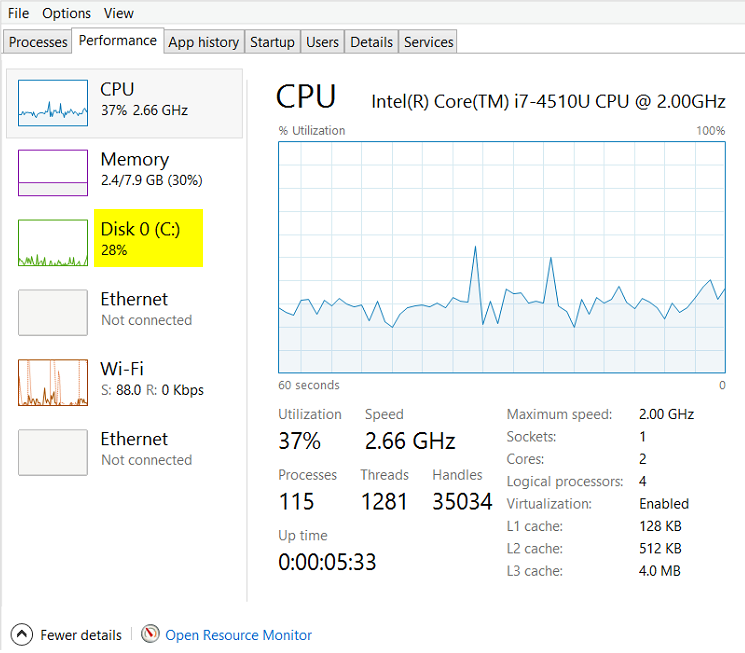
Looking at task manager while using the solid state drive, this is more like normal PC should be like on load usage of CPU, Memory, Disk etc…
Benchmark on old spinning drive:
Benchmark on solid state drive:
You can see big differences between spinning drive and solid state drive. This saves you time and frustration of waiting for your application to load. It also help you get things done faster, so now you will have more time to enjoy.
These days most of us are using more then one monitor screens and there are times, when we have open application on one screen and disconnect it without moving application back to active Window. Whatever that application is now open but you can’t see on your active monitor/screen. Restarting computer of course will clear out your issue, but you don’t want to loose what you have open. So if you know the keyboard shortcuts then it will help you here.
Option 1:
Alt+Tab to Application you want to move even though you may not see on screen
Then, use Windows+Left or Right arrow to move that application, you may need to press Windows+Arrow few time to see on your screen
Option 2:
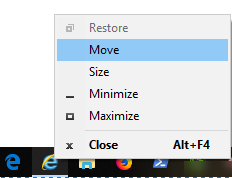
Press Shift key and right-click application then select Move
Then use Right or Left arrow to move application
Last Option:
Would be just Restarting your computer should clear out the settings
There you have it, I will add more options, as I explore it. Many user don’t restart their computer for few weeks or months, which mean many changes to your computer settings/application may not take effect until your computer is restarted, so it’s best to restart your computer at least once a week.
When you replace your old spinning drive with any solid state drive will double your computer speed. There are many solid state drive vendors and versions of the drives, some are more reliable than others. I had written one post for SanDisk SSD drive and this one I am writing about the Samsung SSD software, much easier to use. I have been using Samsung drive for a long time and it’s the one I feel more reliable, that does not mean other vendors is not, you can use any vendors you like and I am sure they all have some kind of cloning software included or have to find something else. Cloning software saves you time and keeps all your data/software installed as if nothing changed to your computer system, but you will see the speed increase for sure. You will be thinking after why I have not done this upgrade before. Let’s get started.
What you will need: Tool to open your Laptop/Desktop to replace a hard drive USB to SATA cable (unless you have the second slot to put new drive) SSD drive same size or whatever your data total size is plus future free size to store more data
Download the cloning software: Data Migration Software at https://www.samsung.com/semiconductor/minisite/ssd/download/tools/
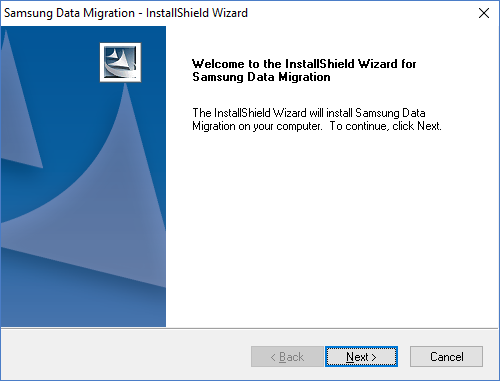
Once downloaded, double click to start the installation,
then choose the Language then click Next
Click Next
Read the Agreement, Accept and click the Next
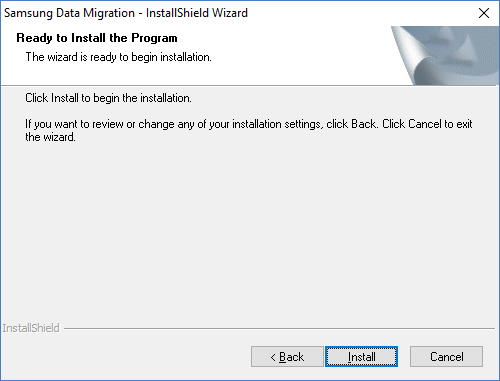
Then Click Install
Then click Finish
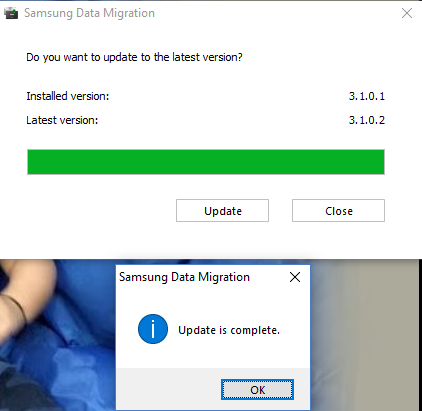
Then open the Samsung Data Migration software, you may have a shortcut on your desktop or you will find it in the program list. If for some reason you have an older version you may get update option, if you get that screen then do the Update by click on Update
It should go through same installation process as above, once updated it may open Samsung Data Migration software, if not open it manually to start the clone process.
At this point you can plugin your new drive, if you have not done yet. You should see your current drive and new Samsung SSD Drive on bottom, make sure it’s the right drive, you may have to click on refresh to see. If you don’t see the drive then you may have to install the driver.
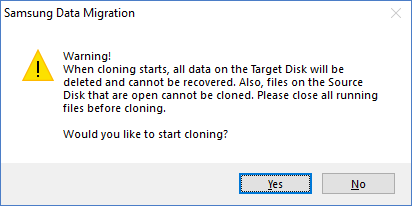
Once is confirmed that’s the right drive and everything else is closed, Click Start and you will get Warning screen asking Would you like to start cloning? Click Yes
The time it takes to cloning may vary base on data type, size of data and speed of your current drive, for me, it took about 1 hour. Make sure you don’t stop the process and if it’s laptop make sure to have your power cord is plugged in.
Click Close
Then you will get an option to Exit or Shut Down, Click ShutDown and remove an old drive and put the new drive in.
That’s it, once the computer comes back you will see much faster. No more waiting and now you can be happier 🙂
How to delete an old wireless profile, which may have an old wireless password, which may be causing issues connecting to your Wi-Fi. Sometimes, Wi-Fi security settings changed on the router, then your Wi-Fi connection keeps trying to connect to your Wi-Fi, but the information which is saved does not match, so you will have to delete or change. Here is how to delete and re-enter correct info to fix your wireless issues.
Go to Control Panel\All Control Panel Items\Network and Sharing Center
In the tasks pane, click Manage wireless networks.
Right-click the connection you want to delete, and then clickRemove network.
In theManage Wireless Networks – Warning dialog box, click OK.
The connection is removed from the list of wireless connections that you can view or modify. If you still have issues, you may want to try disabling your Wi-Fi adapter and re-enabling. Hope this helps some of the users out there. Will post some other ways later on too.