How to upgrade Ubuntu 14.04 to 16.04

If you are still running Ubuntu server 14.04, which will be End of Life this Aril 2019, so you should upgrade to 16.04 or 18.04. You can check out Ubuntu Release dates at https://wiki.ubuntu.com/Releases Even though Linux is more secure, that does not mean it should not be kept up to date, to keep your data safe. Longer you keep put out the updates harder it gets, due to many changes on each upgrade. You can check out my post on How to secure your Ubuntu server. Make sure you have a good backup and your backup is tested to be sure data you are backup are good. If you have an option you can do an upgrade on a test server and work out any issues, that way when you do upgrade on production system it goes smooth.

Check list before starting upgrade process

  • Data backed up and verified
  • Make sure your application supports newer packages versions
  • List of application/services so it can be tested after the upgrade
  • Direct access to the server, remote session will give you an error
  • Stopping application/services, not required but if dealing with a database it’s safer
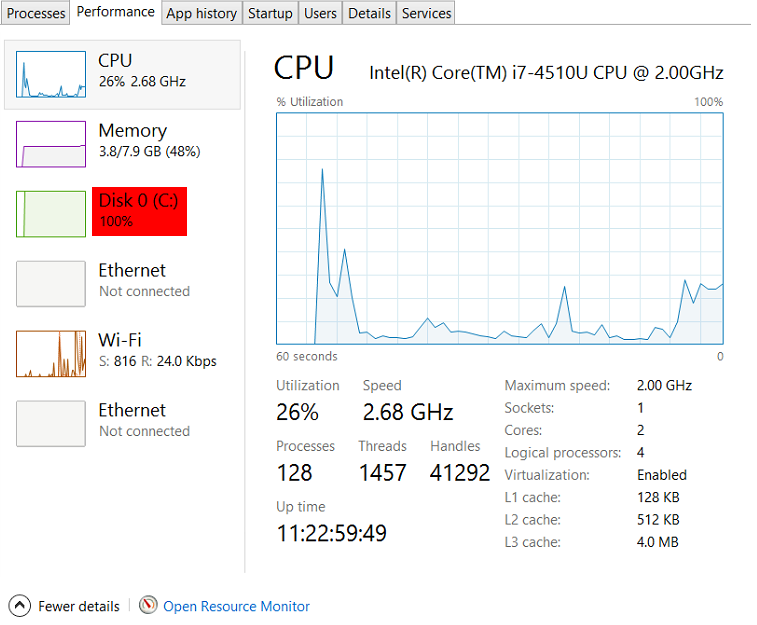
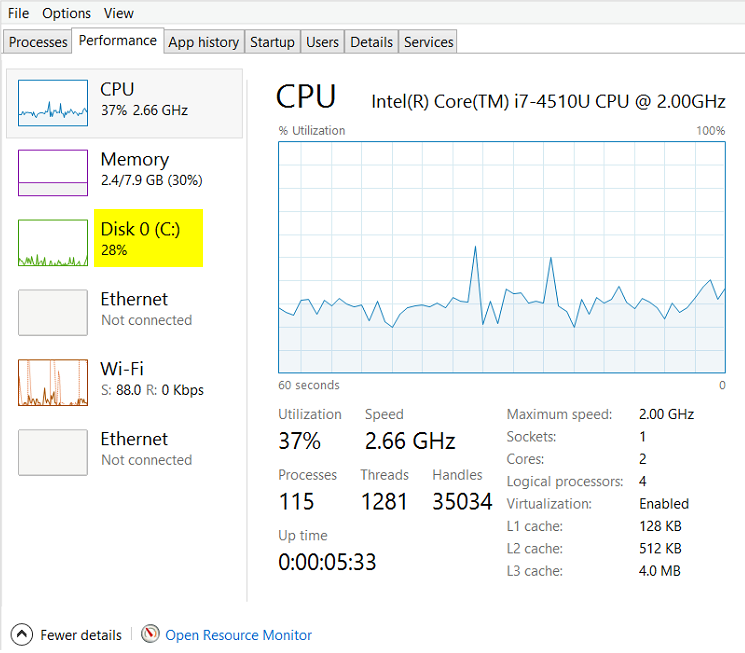
  • Double check storage space for an upgrade to download/install

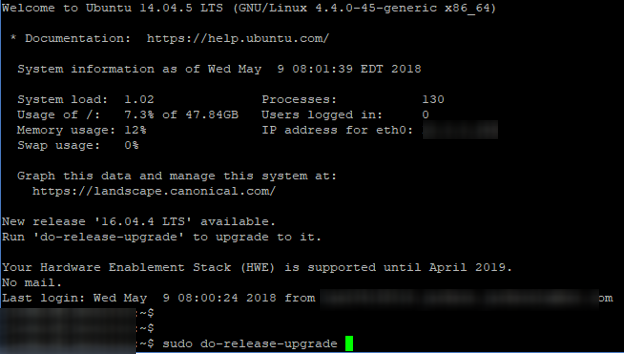
Login to server directly to do the upgrade
Command: sudo do-release-upgrade

It will go through a list of currently installed packages and then let you choose if you want to go for the upgrade or not.  If you need more details you should press d otherwise press y and ENTER

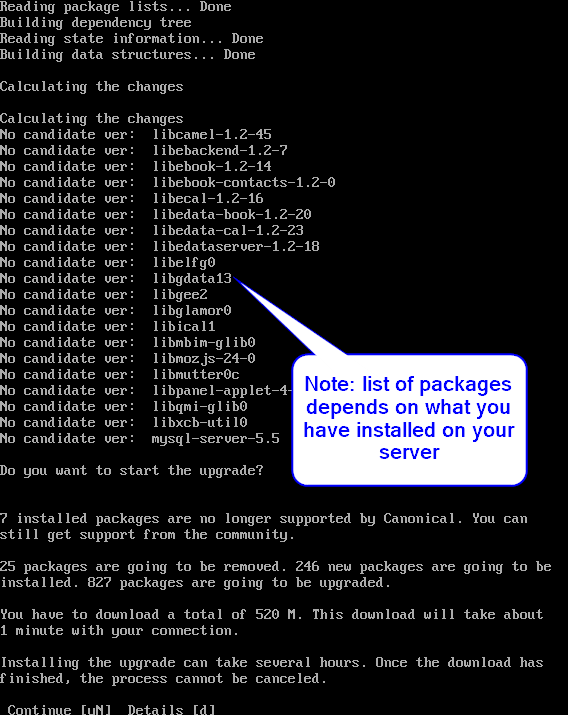
You may get a message like this select Yes, so if any services needed to be restarted it will automatically without asking you each time. It will start the process of removing obsolete packages, downloading, installing and setting up automatically, unless you have chosen No.

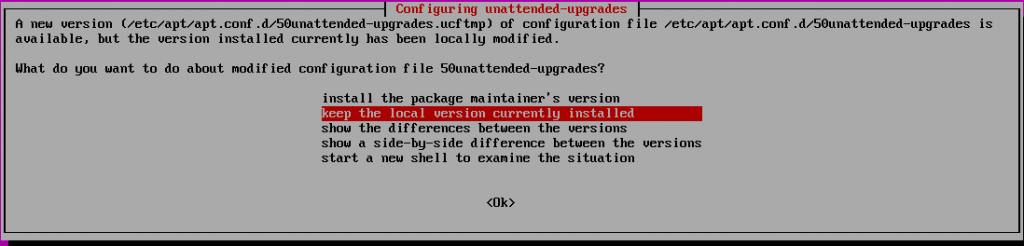
You may get this message and you can make your own choice to keep current version or install newer, you can select to show differences between the versions

It will go though upgrade process, then if everything goes well you should see message System upgrade is complete, then restart by pressing y and Enter key, so your server can restart to finish upgrading.

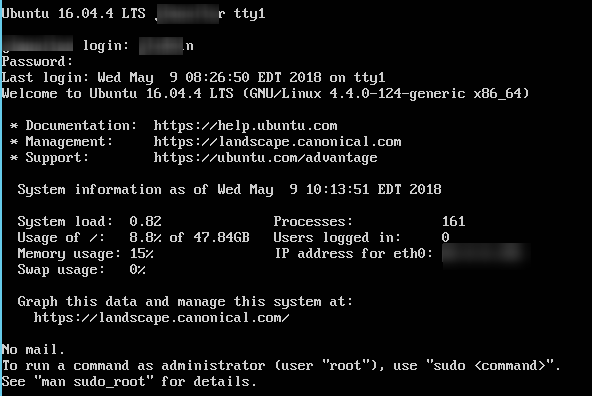
If everything went well you should see login screen

After an upgrade, you should do the following

  • This will check for any updates:
    • sudo apt-get update
  • This will install any updates that it found:
    • sudo apt upgrade
  • This will remove any packages no longer needed:
    • sudo apt-get autoremove 
  • Then check your application/services to make sure they are running and if there any errors fix it.

That’s it, hope this helps out someone out there, good luck

Common issues and solutions:

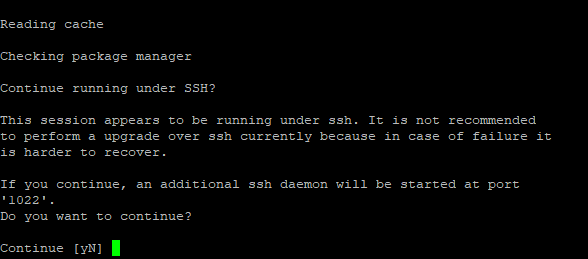
If you are remotely doing upgrade you will get this warning, if something goes wrong with your SSH connection while you are in the middle of an upgrade, then you would have issues getting into your server

You may have issues with PHP version, most likely you may have been running version 5.6, installing the PHP7.0 might fix your issues or newer version:

sudo apt-get install -y libapache2-mod-php7.0


Erase your personal data from an old Samsung Android phone

Erasing your personal data from an old phone, before you recycle or give to someone else is very important, otherwise, someone else might have access to your data. Also, if your old phone is not deregistered, then that phone is still tied to your account and someone else can NOT use that phone. There is so many version of Android devices out there, and this process is for Samsung, but the process might be similar for other Android devices. It’s two-step process one erase your personal data, then deregister, so that you are old no longer tied to your account. In case you are looking to reset your iPhone, I have written post check it out Erase your personal data from an old iPhone

Deregistering your old phone from your account

Go to settings>Lock Screen and Security>Find My Mobile


Then deselect all your account, you can also remove it by sign-in to your https://findmymobile.samsung.com account, then selecting your old phone to be removed.

Factory Data Reset

If you giving your old phone to someone else or recycling you must deregister from your account. Then do factory reset.
Go to settings>General Management

Then select Reset

Then select Factory Reset Data, it will list all your data that will be erased from your phone, at the bottom of screen press Reset

Once you have done deregistering and factory reset of your old phone, then you are all set. Note this does not mean your data can’t be recovered 100%, by using some kind of software, but at least it’s safer then having someone pickup your old phone and have full access. Also, recommended to change your account password, so in case someone does try to recover your data and tries to access your account, you might get alert depends on what kind of application, someone trying to use your account.


Erase your personal data from an old iPhone

how do I make sure my personal data is erased from my an old iPhone? If you have a working iPhone it’s a very easy process, but if your phone is broken phone, you have limited options. What if you lost your phone, you might still be able to wipe out. Here I will list some options that will help you.

If you still have phone and it’s still working

  • Open settings, then click on iCloud
  • turn off Find my iPhone, it may ask you to enter your iCloud account info. This will remove iPhone from your iCloud account.
  • Then reset your iPhone to the factory by going to:
  • Settings>General>Reset>select Erase All content and Settings

If you don’t have your phone.

  • You can login to your iCloud at https://www.icloud.com/
  • Click on All Devices, then select the device you want to erase
  • Then if you want to give to someone else click Remove from Account
  • or you can login to your iCloud account at https://appleid.apple.com
  • Once signed in go to manage devices and remove from your Account

If your iPhone is stolen

  • You can login to your iCloud at https://www.icloud.com/
  • Click on All Devices, then select the device you want to erase
  • Then mark as stolen, so no one can use it.

If you just do the factory reset and have not removed a device from your iCloud account, then the device is tied to your account, no one else can use it. It’s a new security feature, so if someone steals it, they can’t use that phone. Also be careful of buying used phone, if they were not deactivated security feature from prevous owner, then that device can’t be used. Note this does not mean your data can’t be recovered 100%, by using some kind of software, but at least it’s safer then having someone pickup your old phone and have full access. Also, recommended to change your account password, so in case someone does try to recover your data and tries to access your account, you might get alert depends on what kind of application, someone trying to use your account.


How to update firmware on Windows 10 computer

Microsoft has been installing drivers for your device when your computer gets an update. A user can manually update the system firmware on newer computers too, by going to Computer management. I had written a post how to secure against meltdown and spectre vulnerabilities which requires computer bios be updated to protect your computer. Some manufacture or model of your computer may need to go to their support page and install manually. This process is very easier for end users.

Open Computer management:

  • Pressing Windows Key+X
  • Select Computer Management

Or

  • Pressing Windows Key+R
  • Typing: compmgmt.msc then hit Enter
  • or devmgmt.msc it will open device manager

Or

  • Right clicking Windows Icon
  • select Computer Management

Once you have Computer Manager open, select Device Manager
on the Right side you will see Firmware, if you don’t then your computer is old or manufacture of your computer don’t support it, so you will have to manually.

Then right click on System Firmware>select update driver
Then select Search automatically for updated driver software …

Windows will automatically search and download firmware for you, then to finish the install, you will need to restart your computer.
Note: Make sure your computer is plugged into power source and do NOT stop or turn off your computer, this could cause your computer to stop working.

After firmware update, you should see now model of your computer and firmware version.

That’s it

How to check firmware version via Powershell:

command: Get-WmiObject win32_bios

How to check computer model via powershell:

In case you need to download firmware update manually you will need to know your computer model

command: Get-wmiobject win32_computersystem


Benchmark solid state drive performance

It’s worth replacing your old spinning drive with a solid-state drive, take a look at my post on how to clone old drive to Samsung solid state drive or San Disk. If your computer is just running slow, take a look at the performance to see which part of your computer is slowing down. Most likely it’s a hard drive, there are cases CPU, Memory and maybe network connection cause slowness. Here I have done a benchmark of spinning drive and solid state drive, so you can see the big difference between it.

Looking at task manager while using old spinning drive, if you click on the Disk it will give you more details of which application using it.

Looking at task manager while using the solid state drive, this is more like normal PC should be like on load usage of CPU, Memory, Disk etc…

Benchmark on old spinning drive:

Benchmark on solid state drive:

You can see big differences between spinning drive and solid state drive. This saves you time and frustration of waiting for your application to load. It also help you get things done faster, so now you will have more time to enjoy.