Install XAMPP on Windows 10

XAMPP is very popular many people use for the building, testing the application on your local system. It includes MariaDB, PHP, Perl, and options for FileZilla, Tomcat, etc… It’s free opensource, very easy to set up and use. It can be installed on Windows, Linux, and OS X. I am using Windows 10 Pro, I will go through the install and list some issues/ how to fix issues. You can use Bitnami Application to install ready-to-use applications. It’s well trusted with over 1 million applications per month, which you can use to install from your local installers, single VMs, multi-tier VMs, container images, or Kubernetes Helm charts.

Installation of XAMPP

You can download: https://www.apachefriends.org/download.html
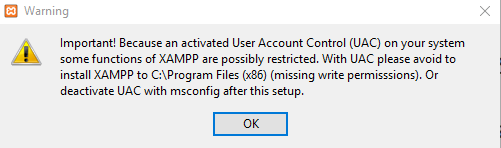
Once you have downloaded the XAMPP, open the installation to start installing, the default location is C:\xampp noted if you install inside of the Program File you might have an issue with permission

I am going to install on default location c:\xampp, click Next

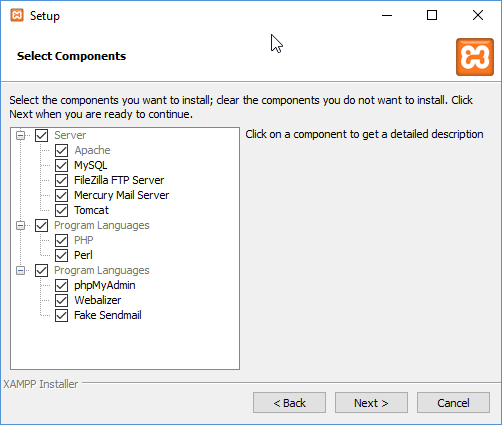
Then it will ask you which components you want to install, select one you like and then click Next

Then it will give you installation location choice, please choose and then click Next

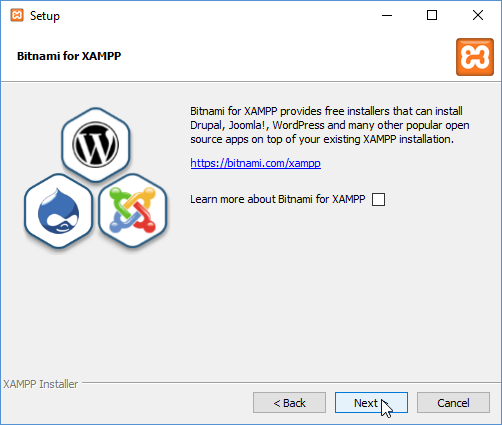
Then click Next (if you want to learn more about Bitnami, you can have it checked otherwise unchecked)

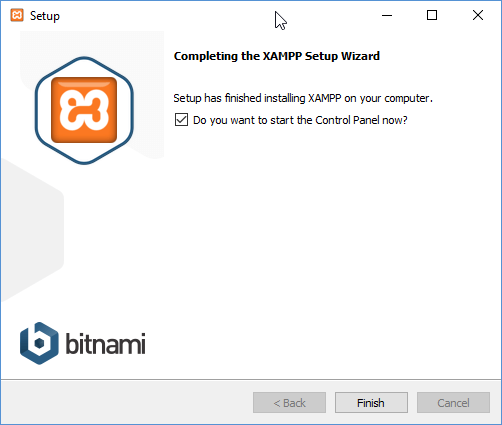
Ready to Install, click Next

Now, it’s going to install whatever you have selected in above choices of the component, then you will see finished screen. That’s it you can start using it.

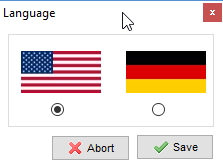
First time you will get option to select the Language, select it and click Save In case you need to change after you can go to XAMPP Control Panel>Config>Change Language

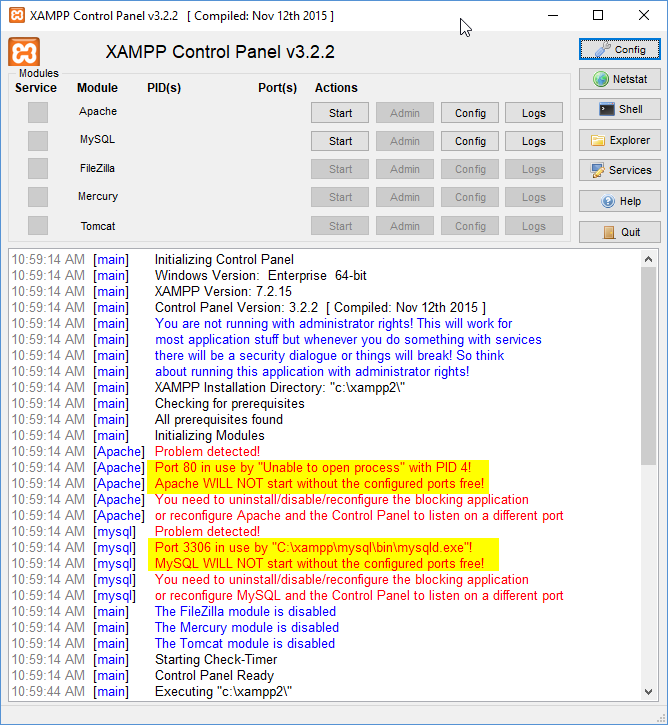
Then you should see the XAMPP Control Panel, here you can start using, default requirements web server and database, I am going to use Apache and MySQL. You might see error, ports in use, I will list below on fix.

Common Issues/Fixes

Apache port in use: open Config>Service and Port Settings>Apache
Change ports that are not in use both Main and SSL port

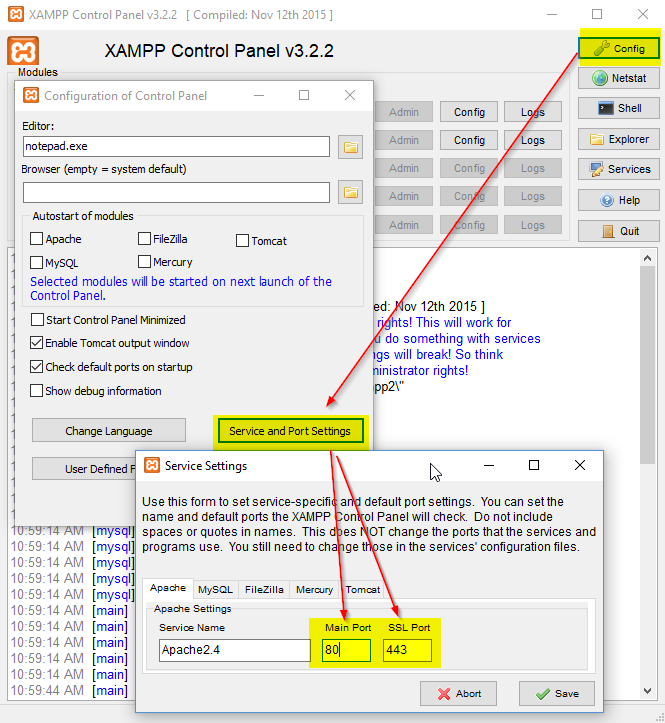
You might also need to change MySQL port, default is 3306

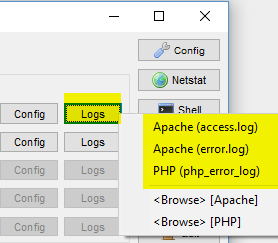
Once you have thing running and see any error, you can check out the logs for Apache and PHP, which will give you more details.


How to upgrade WordPress

Many websites and company Intranet runs on WordPress around the world. Keeping the WordPress software is very important to keep your data safe. The process can be very simple or it could involve a lot of planning and carefully testing a newer version, before upgrading the live system. If you have set up your WordPress correctly with the right permission and documented all the customization then it should be easy to upgrade. Your template/plugin is the key to your WordPress function. The template should be customized to void the system upgrade issues and tested.

Preparation for upgrade

  • Backup database and installation files, make sure your backup is good
  • Check your current Plugin and Template comparability
  • Have your customization documentation handy, review it make sure they are up to date
  • Make sure you have access to the server directly, in case you lose remote session
  • Plan out and communicate with your users

Upgrade options 1

Login to your WordPress admin pannel, make sure you have full permission

1. Click on Update>Update Now

If everything goes well you should see: latest version installed 5.0.2

Then you need to upgrade the Templates Themes

2. Click on Update> you will see the message:
“The following themes have new versions available. Check the ones you want to update and then click “Update Themes”.”

click on each or select all and update

3. If there are any Plugin updates you will see message:
“The following plugins have new versions available. Check the ones you want to update and then click “Update Plugins”. “

Upgrade options 2

The manual process, assumed you have already done the backup in case anything goes wrong you can restore it. Download WordPress and extract the WordPress you just downloaded

1. Delete the old wp-includes and wp-admin directories from server, so it should look something like this

2. Then upload the wp-includes and wp-admin to server
3. Upload wp-content folder to your server and overwrite existing files
4. upload all of the root directory files and overwite on server

Then go to your WordPress URL, you should see Database update Required, click Update WordPress Database

If everything goes well you should see Update Complete

In case you want to check your WordPress is up to date you can type in URL
/wp-admin/upgrade.php

Then you need to upgrade the Templates Themes/Plugin
Click on Update>
you should see message for Themes/Plugin update, click on each one an update it.

The following plugins have new versions available. Check the ones you want to update and then click “Update Plugins”.

The following themes have new versions available. Check the ones you want to update and then click “Update Themes”.

That’s it, of course to test your website, menu, links, etc…


How to upgrade osTicket to 1.10.4

The osTicket is a great truly open source ticket system, you can customize to fit your business needs. If you are running an older version of osTicket, it’s best to keep up to date with stable releases to keep your ticket system protected. If you wait too long for an upgrade and newer version have many changes then it would get harder. The upgrade process is about the same for most version unless major version which might have database changes and it will run the upgrade script. Here is how to upgrade from version 1.10.1 to 1.10.4

  1. Make sure you have a good backup of Database and files of osTicket
  2. Then put the system in the offline mode: by going to /scp/settings.php
  3. Download the new version from https://osticket.com/download/ and choose the osTicket Core, v1.10.4 (Latest Release)
  4. Upload to your server v. 1.10.4 and replace current files/folders from Upload folder from your downloaded, and exclude the script folder/files
  5. Make sure you have the correct permission, then go to the URL/SCP of the osTicket system and login
  6. Delete the /setup folder and update any customization you may have, once all is good you can put system back online

That’s it, if customized PHP core files, those needs to be re-applied after the upgrade. If are using plugins, make sure it supports the new version. Most if not all open source project is fully customizable and downside to is keeping up to date with any customization been done to the core system. You will find many solutions to the problem in a forum where people report and help out each other. Please read your error message and logs of your system web server, PHP, osTicket, it gives many ideas about why things are not working. Many of them due to PHP version not supported. If you were to get help from the forum, please include your system information, like osTicket, PHP version, web server, and remember forum support is free, so don’t order/demand to fix your issues.

Note because 1.10.1 to 1.10.4 upgrade did not have any database changes so you will not see the upgrader screen. If you want you can run manually upgrader: /scp/upgrade.php, most likely you will see the message: “Nothing to do! System already upgraded to v1.10.4 with no pending patches to apply. ”

Common issues/solution:

error: Valid CSRF Token Required
solution: edit include/class.ostsession.php line around 191

catch (DoesNotExist $e) {
$this->data = new SessionData([‘session_id’ => $id]);
+            $this->data->session_data = “”;


Update UniFi Wi-Fi Cloud controller key firmware

Ubiquiti UniFi wireless network is great for home, small, or even large business. It’s very easy to dashboard to over view of your whole network. Easy to manage and updates, once in while you might have issues if you are updating the firmware remotely and would not be able to log back into the dashboard. Here is how to update and be able to fix your issues, in case you looking around for solution.

It’s always a good idea to do any firmware update on site. if you are not onsite and started the firmware update you might not be able to access the dashboard and you will need to restart the key manually, in order to bring back online. Here is what it looks like after firmware upgraded and Lauch is grayedout.

You have two option, one if you still have access to site and using PoE switches, you can toggle the UniFi key port, so it will restart. Second option is have someone manually unplug UniFi key and plug it back in.

How to upgrade firmware?

Make sure you have good backup and you are onsite, or have backup route to get into network or have someone on site to help out if you can’t access it.

Login to the UniFi portal, then go to settings>Maintenance>scroll down to Cloud Key Firmware

Then check for update and then apply update

It will start download, install, then restart automatically, Your access points still be working fine, you will not be able to manage until controller comes back online

once it’s finish you should see Up To Date, you may need to refresh page and login.

Then you can update the access points or other devices, you should see upgrade option.

If there are no upgrade then you should see in Action to Locate/Restart

That’s it, make sure you do NOT stop the update process in the middle, otherwise you will not be able to use the device at all.


Nagios network monitor upgrade to Version 4.4.3

Nagios is a great open source network monitor released new version 4.4.3 last month.  It’s a great free tool, you can customize to fit your network and monitor live.  Know the issues before your user’s reports to you, you can see the history of your network health, so you know your network is stable or find out if you are having some issues in some part of your network.  So keeping up with the newest version to monitor your network is very important.  Let’s get started first, make sure you have a good backup and check your Nagios config if you have any errors correct it first.  Also, if you are using any plugin make sure they support the new version too.  I am using Ubuntu server and Apache for a web server.

To check the Nagios health:

Command: nagios -v /usr/local/nagios/etc/nagios.cfg

Your path to Nagios might be different and unless you are sudo user you will need to use sudo command.  You may have some warning of deprecated, you can update it and fix it before the update something like this:

WARNING: The retry_check_interval attribute is deprecated and will be removed in future versions. Please use retry_interva                l instead.

If everything looks good, then next download new version of Nagios.  You can download the Nagios core from https://www.nagios.org/downloads

at download page choose Nagios Core, then new version: 4.4.3

Update process:

  1. Extract: tar –zxvf nagios-4.4.3.tar.gz
  2. switch to the directory: cd nagios-4.4.3/
  3. Stop Nagios service: service nagios stop
  4. Run command to check: ./configure –with-command-group=nagios
  5. If everything is fine:  make all
  6. Then install it: make install

Check Nagios confignagios  -v / usr/local/nagios/etc/nagios.cfg

If any errors found then fix it and re-run the check config until no errors found, then start Nagios service: service nagios start

You might need to restart the apache2 service or whatever your web server is:  service apache2 restart

That’s it

Resources:

Nagios Core Manuals