How to attach bigger attachment in osTicket ticket system? The default setting is set to small or maybe what your web server support. If your web server already set to allow bigger attachment, then you can do it via osTicket settings page. If you have access to the server to make changes to your PHP.ini file then it’s very easy to do.
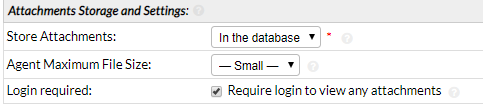
This is what your settings might look like:
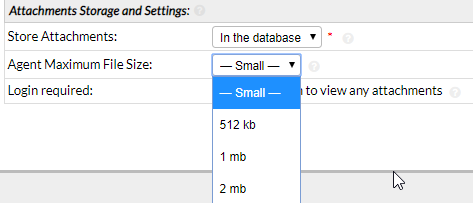
If your server php.ini file has already change then go to your osTicket /scp/settings.php at the bottom of the page you will see Attachment Storage and Settings, where you will see whatever your web server maximum set to.
Editing php.ini look for upload_max_filesize= change to whatever you like.
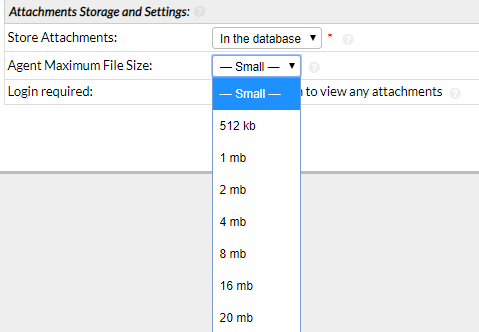
If you have increased via editing the PHP.ini file to higher you will get more options
You will need to restart your web services to get updated settings. That’s it, enjoy bigger attachments to your support ticket system osTicket, Thank you osTicket team.
How to install Ubuntu 18.04 Desktop fresh using Hyper-V manager on Windows 10 Pro to Quick Create. There are many ways to install it, this process is very simple, you could do manual, which requires you to download the Ubuntu 18.04 image, then go through the process of installation. This will give you options to use your Ubuntu virtual desktop and get a feel of Linux system, when not in use, turn it off, so it goes not take resources of your system.
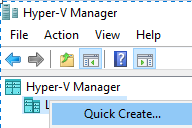
Open your Hyper-V Manger
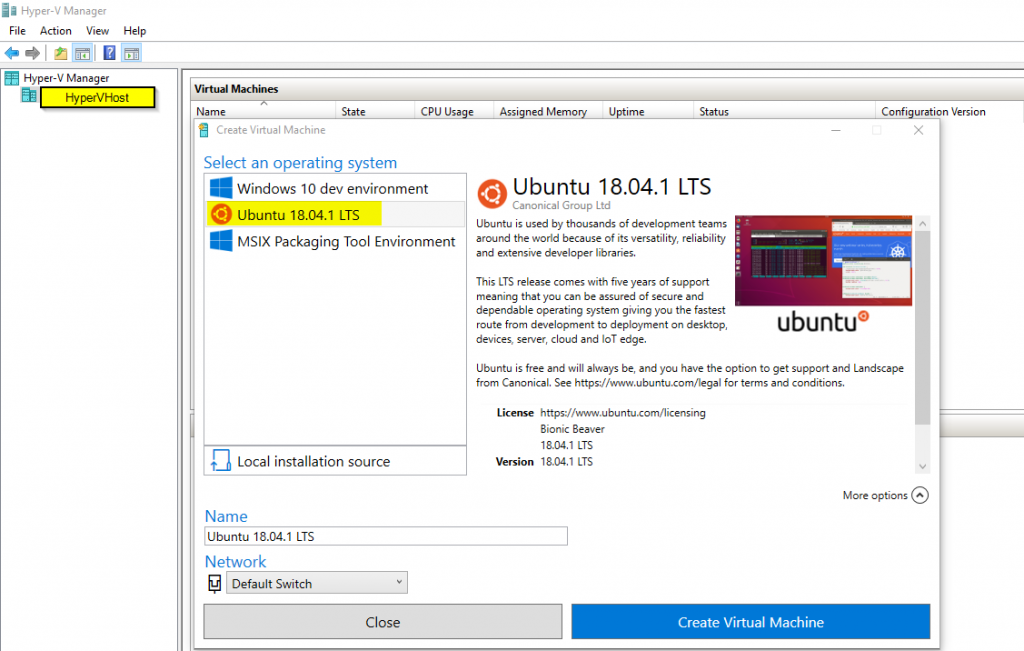
Right click on Hyper-V host and choose Quick Create …
Then you will get option to select the Operating system, choose Ubuntu 18.04 LTS, and click Craete Virtual Machine. If you want to rename your VM, you could click on More options or you can rename later.
Then it will go through downloading the Ubuntu 18.04 LTS image, depending on your internet speed it may take awhile.
Then it will go through the automatic process of creating VM:
Verifying image
Extracting disk from an image archive
Creating a Hard drive
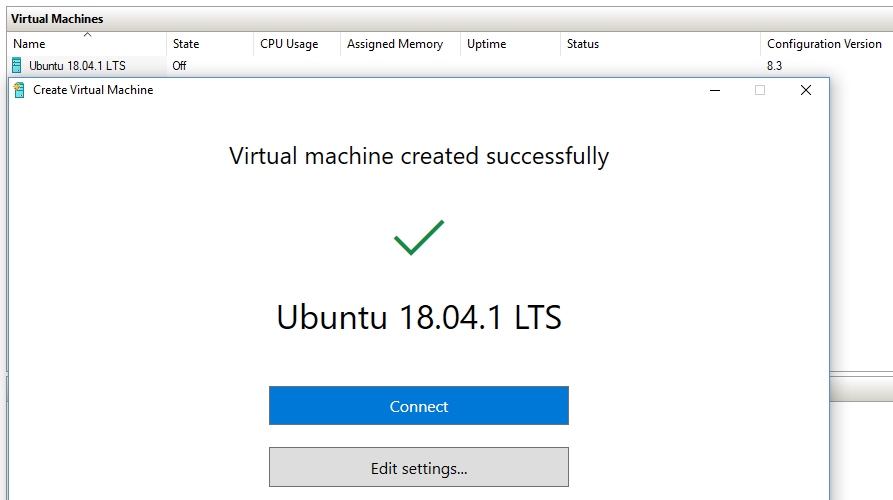
Virtual machine create successfully
Then you should see option to connect to your new Ubuntu 18.04 Desktop, click Connect
Click on Power button or Start to turn on your Ubuntu 18.04 server
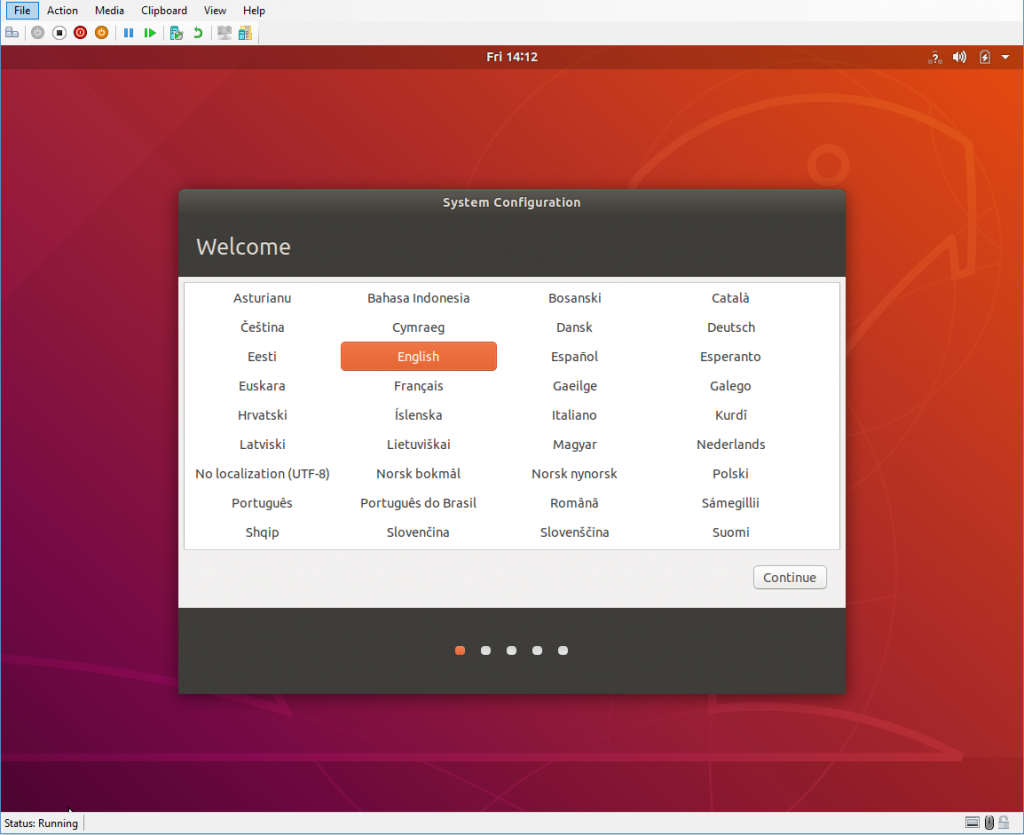
You should see starting and then Welcome screen. Select your Language then click Continue
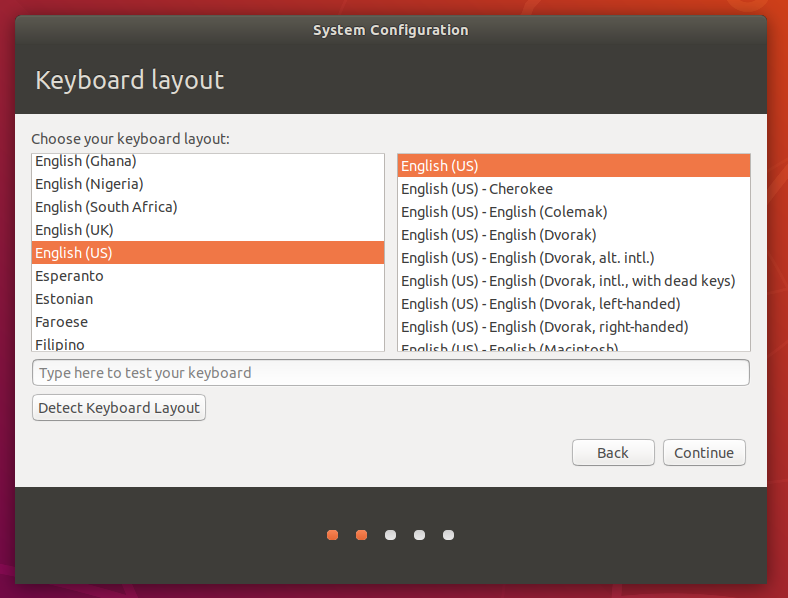
Select Keyboard layout, then click Continue
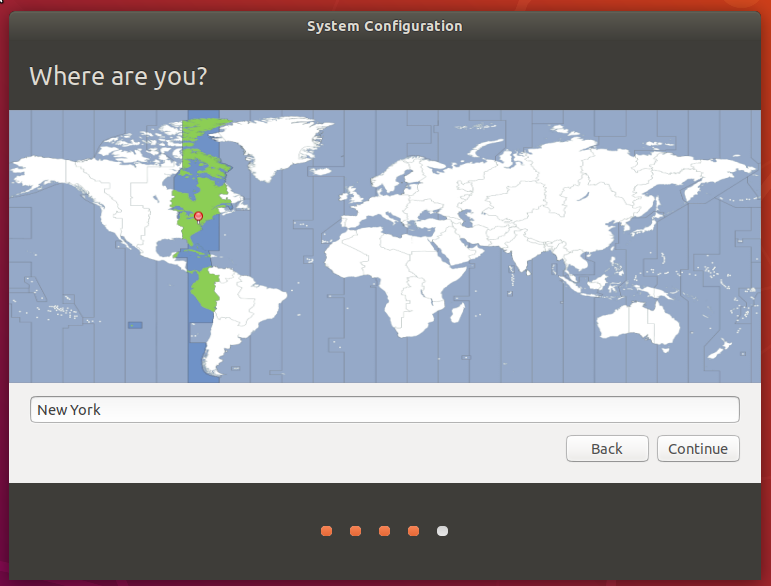
Select your Timezone, then click Continue
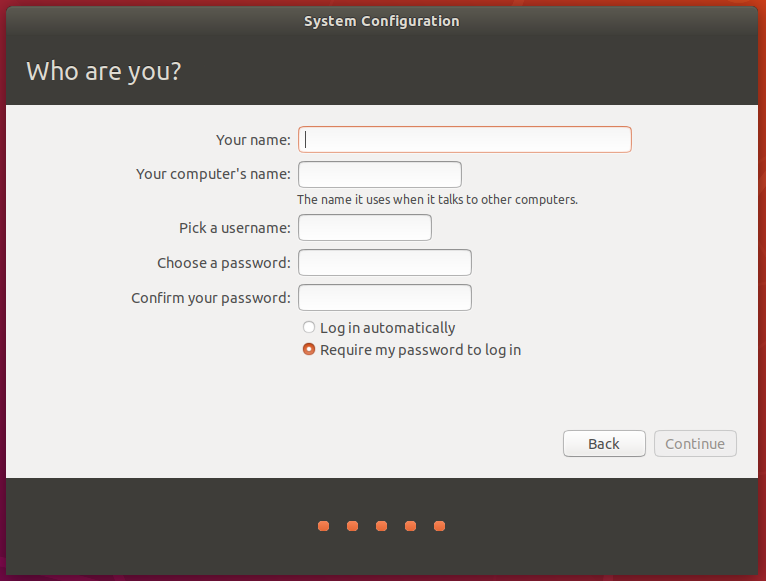
Fill in the login info, this would be admin account to login to your server, then click Continue
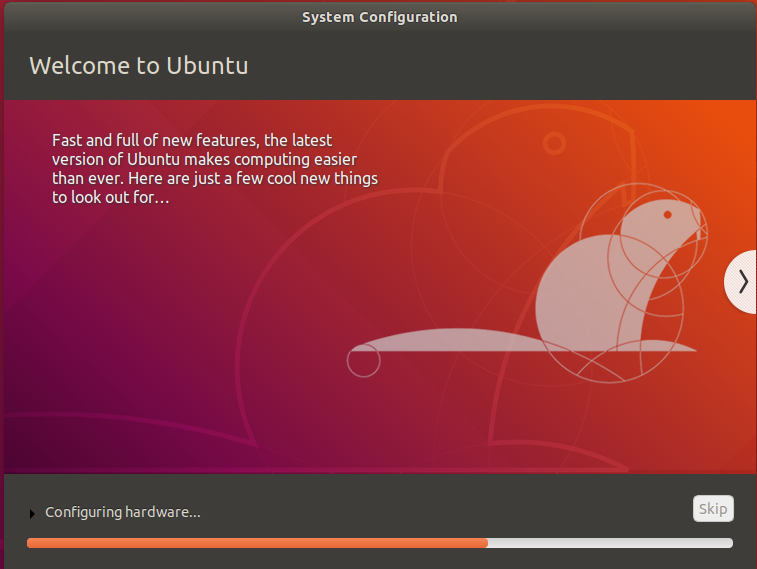
Then it will go through the System configuration automatically
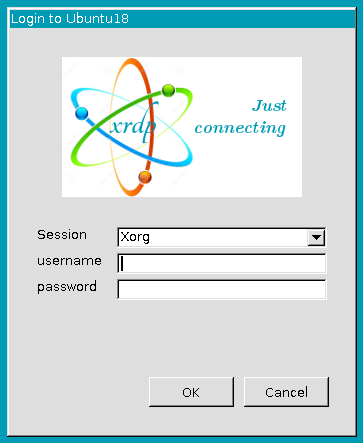
Then you should see login screen enter your user/password created earlier
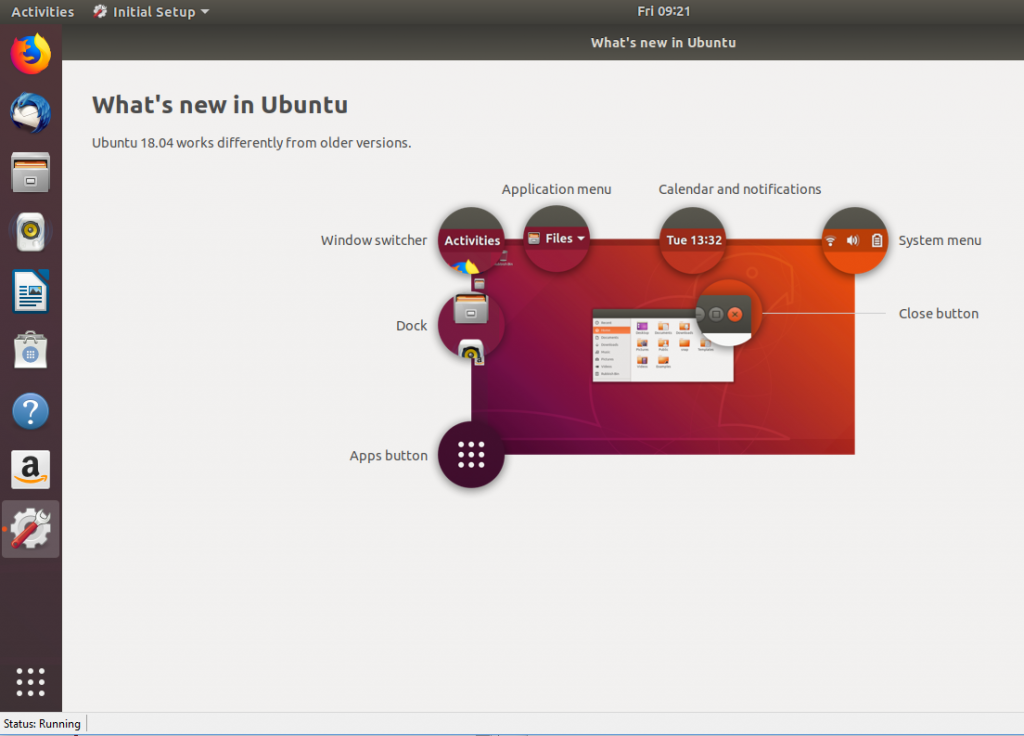
You should see your New Ubuntu 18.04 Desktop, it gives you few tips on What’s new in Ubuntu, go though and start using your Ubuntu Virtual desktop.
You can start using your Ubuntu 18.04 virtual desktop, see tips and tricks of common things you may find helpful, if this is your first time use of Ubuntu system.
Tips and Tricks:
Remove icon from favorites
Just right click icon you want to remove and choose Remove from Favorites
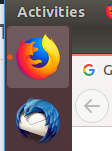
Opened applications
You will see little dot next to the application, you tell you that application is open.
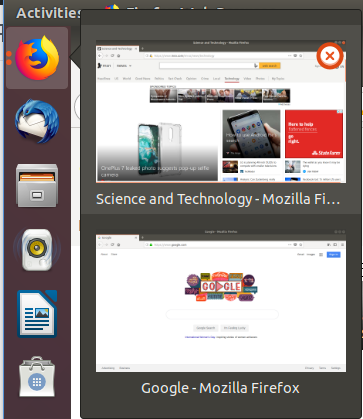
More than one Application open
You will see more than one little dots, if you click on it, it will give you thumb nail view of and you will be able to switch it or close the application.
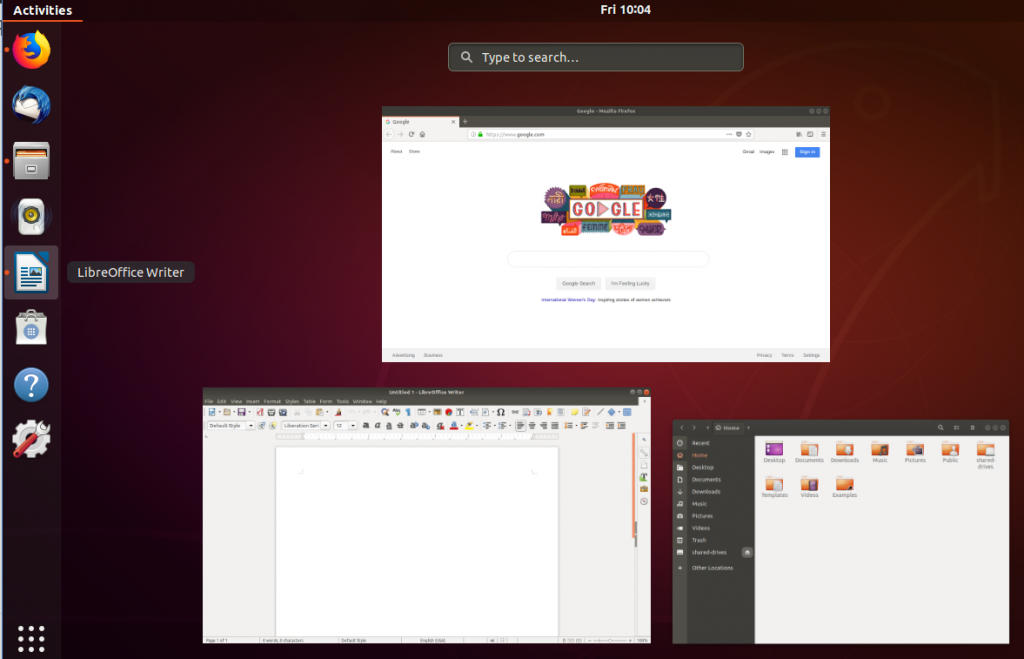
To see all opened Applications
Click on the Activities and it will give you thumbnail view of all opened applications, you can switch to it, or close it by click on X.
To see Applications
You can click on 9 dotted icon bottom left hand side, you will see all application or Frequent used
Software – where you can install new applications
Software & Updates – Where you can install updates and third-part software options
Startup Application – gives you list of application at start of your Ubuntu system
Settings – list of all settings like control panel
Files – your documents or personal files
Rhythmbox – is default music player
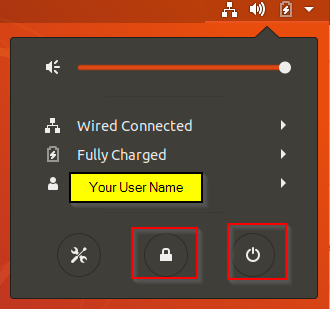
Shutdown Ubuntu Virtual Machine
Click on the Arrow on top left, you will see Power icon, if you want to just lock it, click on Lock icon.
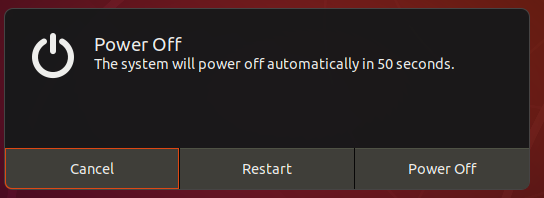
When you click on Power icon it will give you option to Restart/Power off or cancel
Change User info
If you need to change user name or any setting, click on the Arrow next to your user name it will give you option to make changes
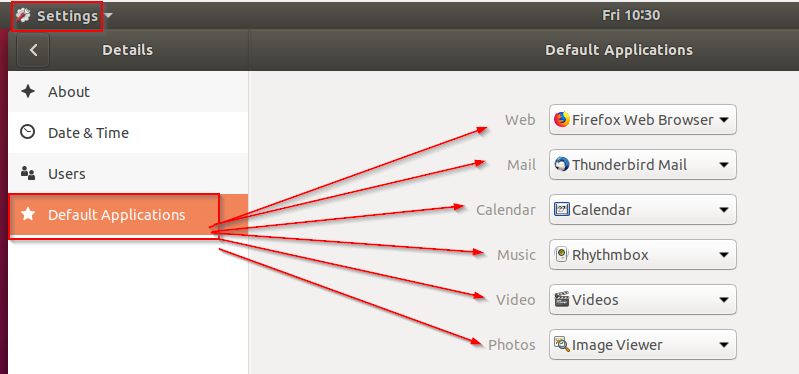
Change default applications
Click on Settings>Default Applications>Then change it to what you like
How to fix WordPress when upgrading and you get error another update is currently in progress? This could be very simple as wait for 15 minutes and it will clear the error message automatically or you may need to look at the log file to see what’s causing the hang
You might have to change the PHP.ini file to increase the maximum execution time default is 30 seconds. You might see a message like Fatal error: Maximum execution time of 30 seconds exceeded, then change it in your PHP.ini in around line 380 30 to whatever
max_execution_time=30
Your error of URL might be: /wp-admin/update-core.php?action=do-core-upgrade WordPress update is currently in progress Another update is currently in progress. If waiting for 15 minutes does not fix it, then you might need to go into the database and: delete the core_updater.lock option from your WordPress database
Also, make sure to clear your cache and restart the web service to get the updated setting for your PHP.ini, that should be it. If you still have error check logs and maybe plugin you used may not be supporting newer version of WordPress.
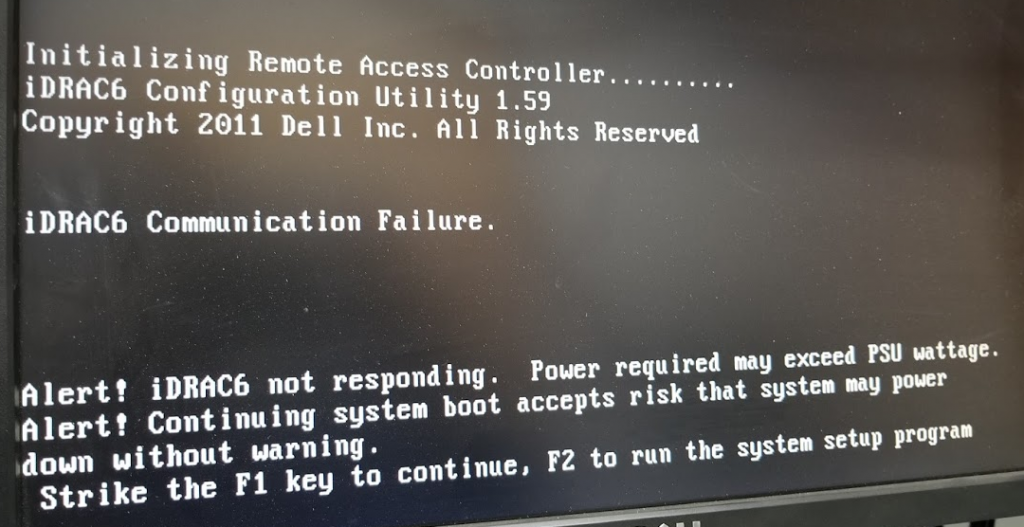
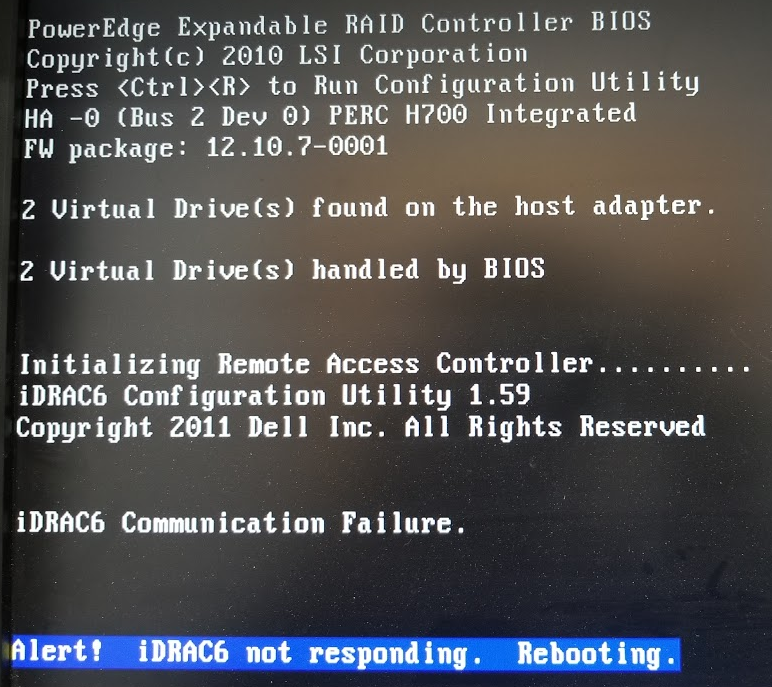
How to fix the Dell PowerEdge server error “iDRAC6 communication Failure” and maybe get “power required may exceed PSU wattage” on the Dell PowerEdge server. Server internal fans running full speed, but everything else is normal storage, networking, CPU, Hard etc… Very strange, not reported any issue what so ever. Restarting server did not fix the issue. Looked at some blogs saying need to change iDRAC card, replace mother board, etc… It may be in your case if you have anything internal failed component.
Here are some screen shots of the error message I seen.
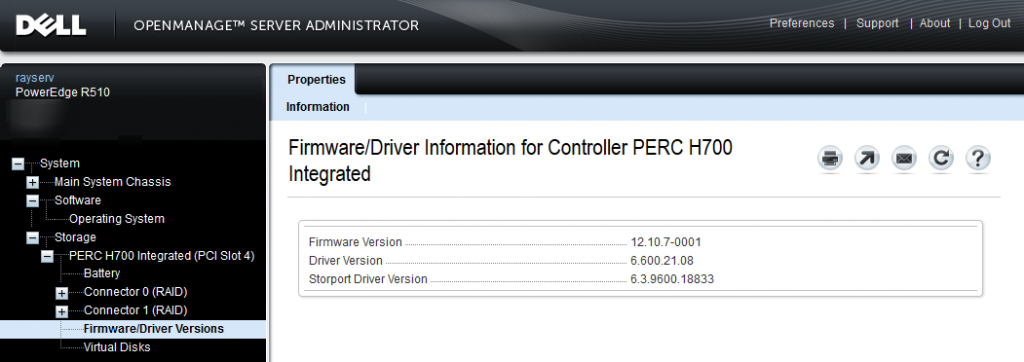
Firmware version 12.10.1-0001iDRAC6 Communication Failure, Power required my exceed PSU wattage
Hope it help others out there, please use this guide at your own risk, if you are getting any internal component failed this may not fix your issues and restarting server without fixing component may cause more issues.
OpenSupports is an open source ticket system, very simple to setup and use. Here I will go through setting up step by step. I am assuming you have your server is set up with correct permission. You will need to able to create database and upload installation files to your server. The installation has 7 steps it will go through and check requirements, and settings as it goes to the next step. This one is a very very simple Ticket system.
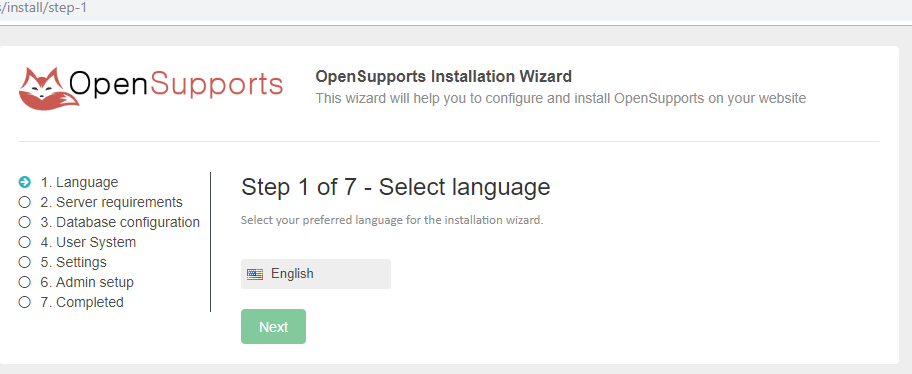
Once you have download the OpenSupports ticket system, then upload to your server and go to URL of your OpenSupports, you should see Step 1 of 7 Select the language and click Next
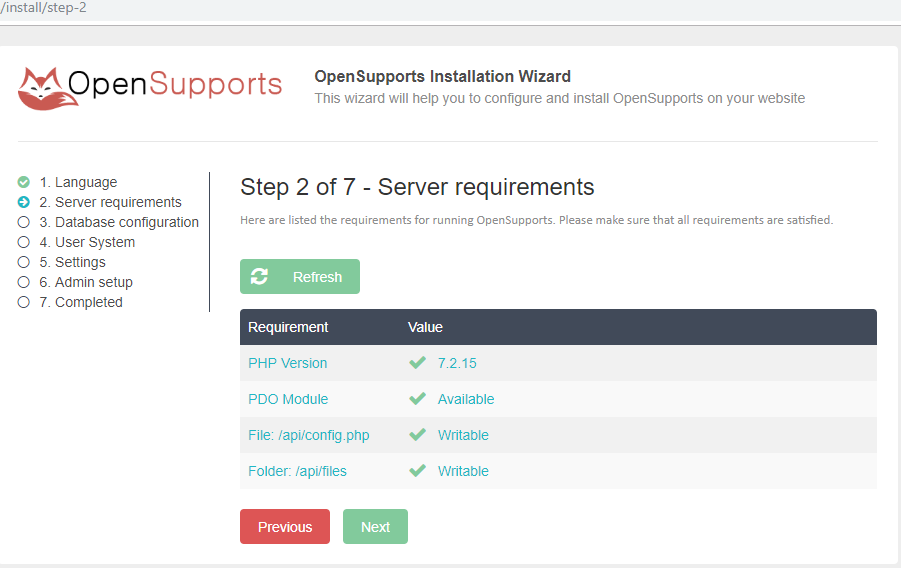
Then it will check for the Server requirements, if you see any error or missing requirement, install it then click Refresh, once all good, then click Next
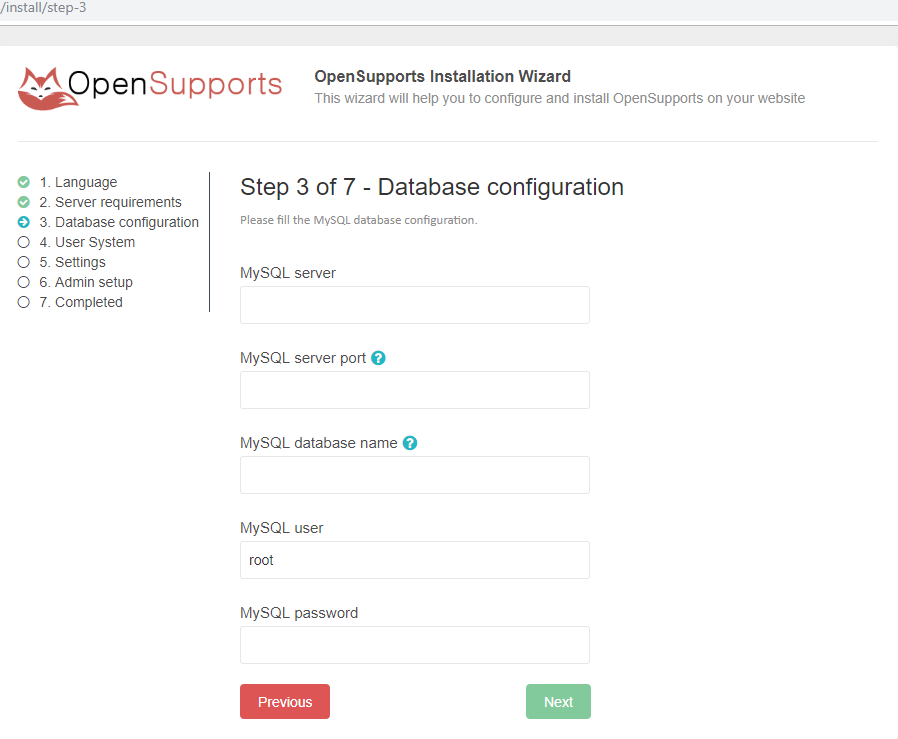
You can fill in MySQL server info, at this point create a database if you have not yet, then fill in info below and click Next
MySQL database name: this can be left blank and it will generate automatic
MySQL server port (this can be left blank (default port is 3306)
MySQL user:
MySQL password:
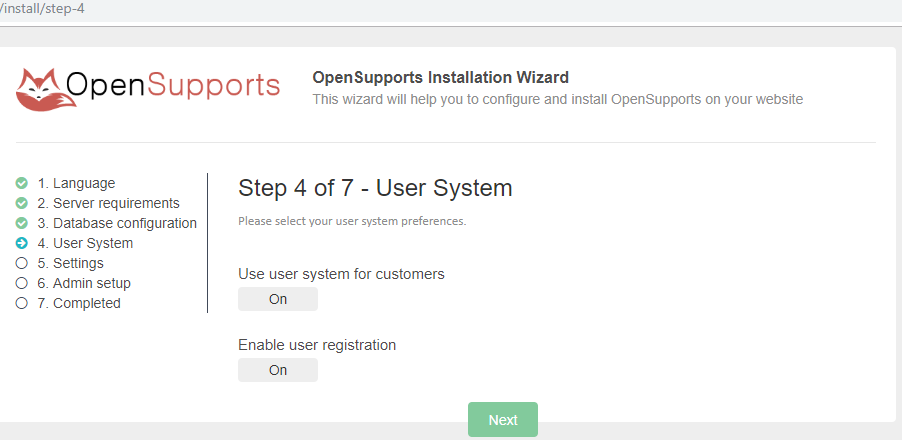
Then select the option if you want your user to access and be able to register it, it’s toggle on/off, make selection, then click Next
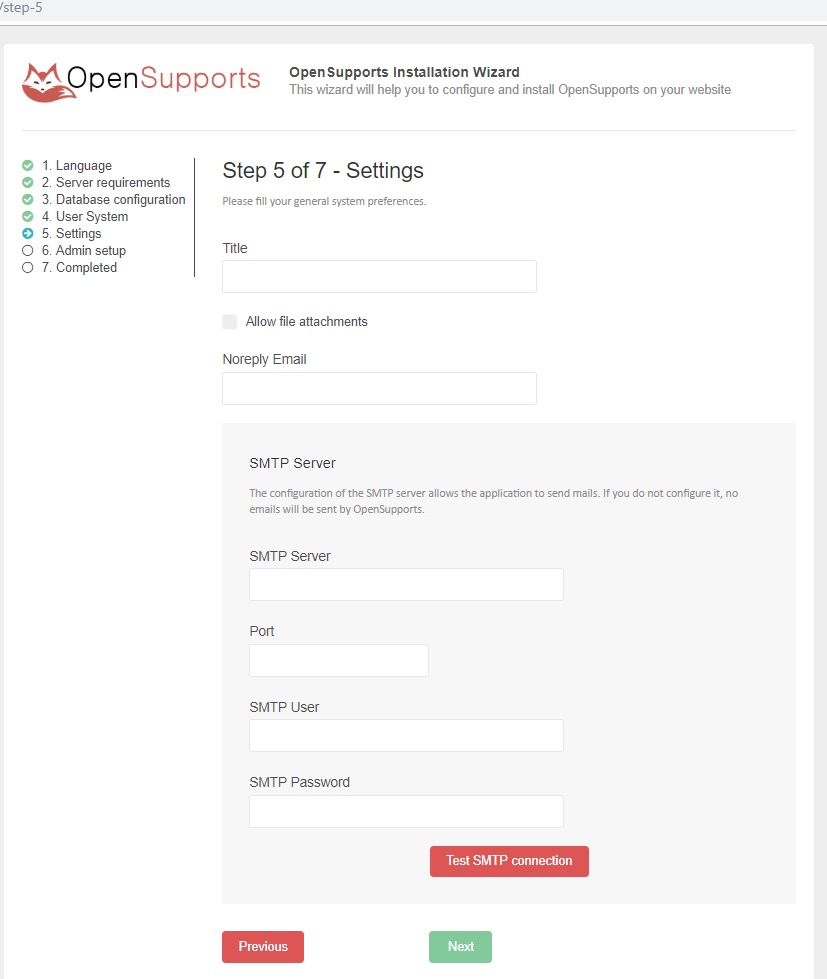
Fill in the name of your ticket system, Check box if you want your user to attach a file to ticket and email server info (option to confirm SMTP connection test, to make sure your email server can communicate), then click Next
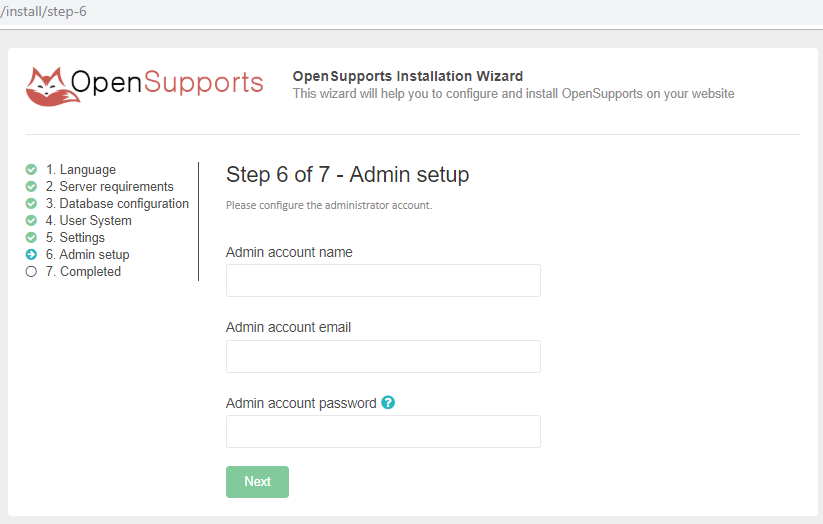
Admin account name, email and password, fill in info, make sure it’s strong and keep it safe, you will use this account to make changes to your system. Once you have filled in info, click Next Then it will go through installation and redirect to login page
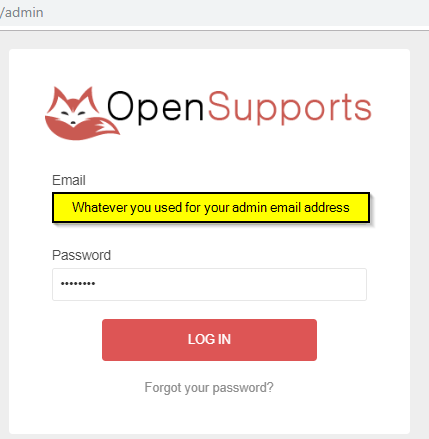
This is login page where you will enter your admin login info you choose in your last step. User URL will be yourdomain Admin URL will be yourdomain/admin
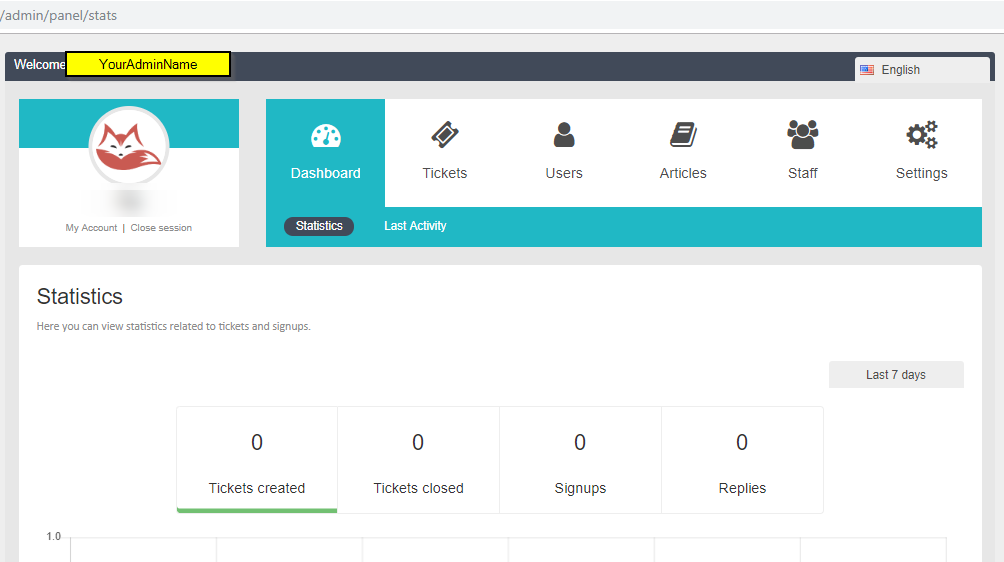
Once you are logged in you will see Dashboard of your new Ticket System, where you can make changes, add user/agents, etc…
That’s it, very simple ready to use your OpenSupports open source ticket system. If you are looking for more feature you can use another open source ticket system called osTickets, I have written a post on how to install osTicket on Ubuntu, enjoy it