osTicket v1.15.4 is released on October 7, 2021, its open-source ticket system. You can find full release notes at https://github.com/osTicket/osTicket/releases. For osTicket version v1.15.4 PHP version PHP 7.2-7.4 the process is the same as before just make sure you have a good backup of the database and osTicket files. There are many Enhancements, Improvements, and Security from 1.15.1 to 1.15.4.
In this post: upgrade osTicket to v1.15.4:
How to backup osTicket files on Ubuntu
How to backup osTicket database
How to upload osTicket installation files to the server from Windows 10 via PowerShell
The Upgrade process is very simple, I am doing 1.15.1 to 1.15.4
- Make sure you have a good backup of the Database and files of osTicket
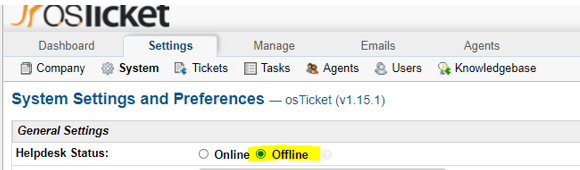
- Then put the system in the offline mode: by going to the URL of your osTicket support ticket /scp/settings.php
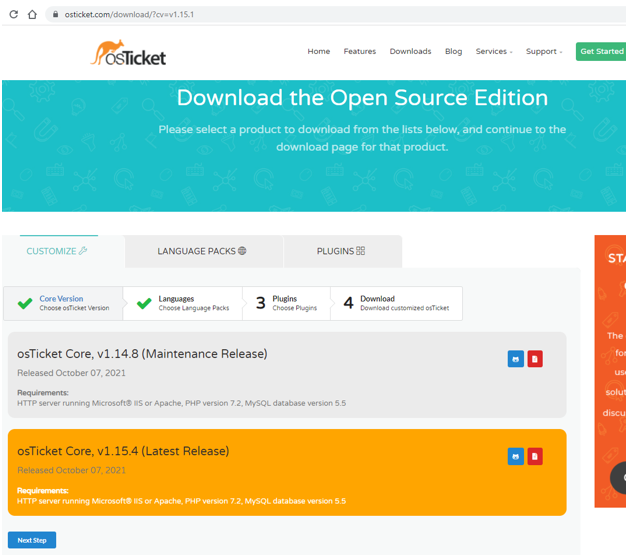
- Download the new version from https://osticket.com/download/ and choose the osTicket Core, v1.15.4 (Latest Release) don’t download any Languages or plugins, you can add them after to void issues with the upgrade process.
- Upload to your server v. 1.15.4 and replace current files/folders from the Upload folder from your downloaded, and exclude the script folder/files. Also, Maintain the directory hierarchy any changes could cause an issue with the upgrade process or something might not work well.
- Optional: Script folder only needed if you are using remote piping, so if you are not using remote piping you don’t need to upload.
- Make sure NOT to replace your \include\ost-config.php which does not include in the download.
official Plugins can be downloaded and installed after the upgrade
official Documentions can be accessed, which will give you more details
Upgrade Process starts
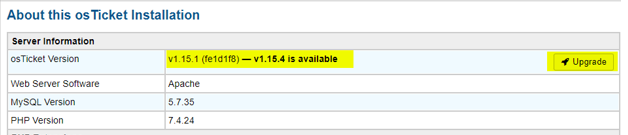
Here is my current version: v.1.15.1:
Put the system in offline mode:
So, no one accessing the system or making any changes
Download the new version from https://osticket.com/download/
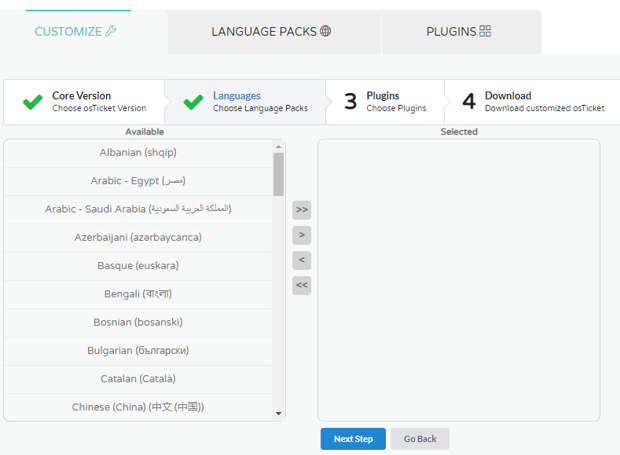
Select the osTicket Core, v1.15.4, then click Next Step
Click Next Step
Language packs, don’t add any at this time, just click Next Step
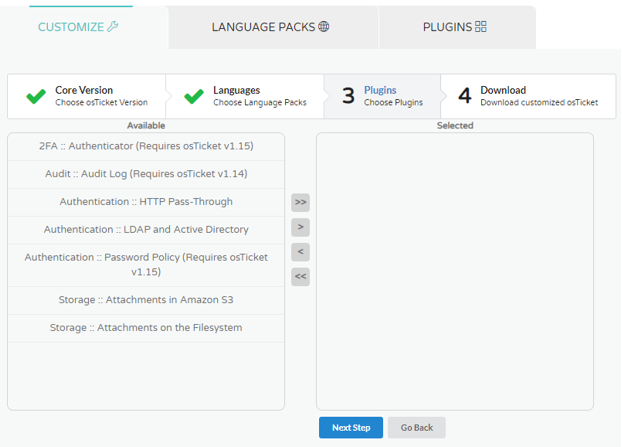
The Plugins, don’t add at this time, just click Next Step
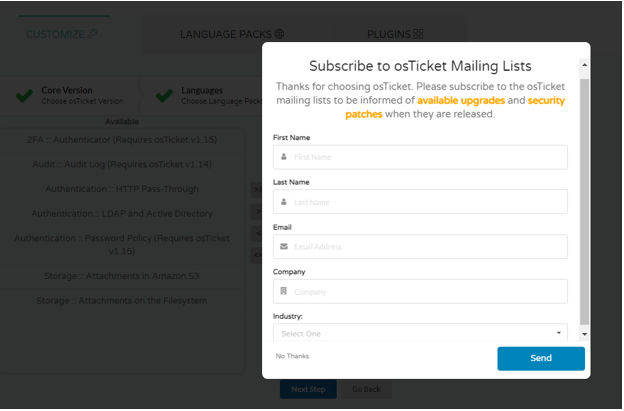
Then you should see Subscribe to osTicket Mailing Lists, if you already subscribed, you can click on No Thanks and it will start downloading. If you have not subscribed, do filling, so you will get notification of any upgrades and security patches.
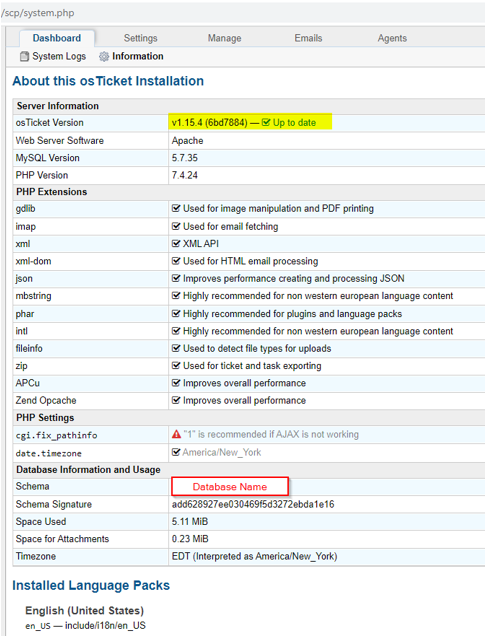
Now that you have downloaded, you can upload the installation files the best way you know of and override those that are on the server. If everything goes well you will not see anything, since this version doesn’t have any database changes.
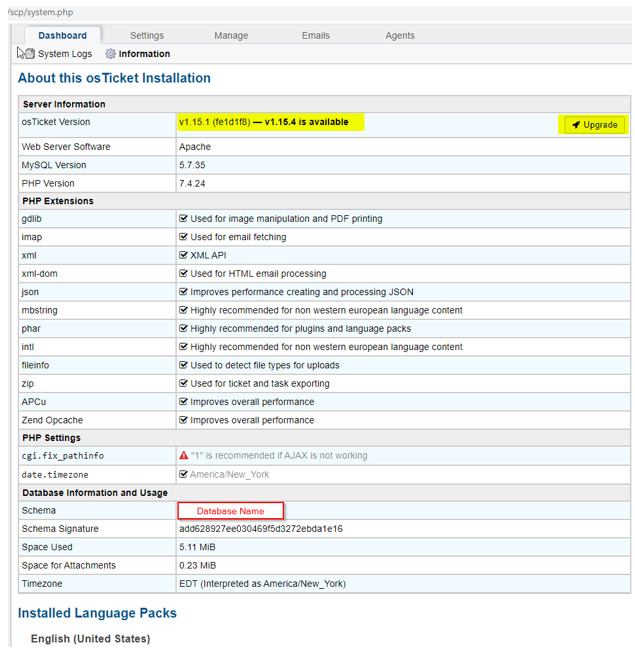
If you look at your Dashboard Information, it should show Up to date
You can look at the system logs to see if there are any errors reported or your web server or PHP logs. You will need to update any customization you may have, test it, then once all is good you can put the system back online. Also, remove the write permission to \include\ost-config.php to secure your config. If you have customized PHP core files, those need to be re-applied after the upgrade. Also, make sure your plugins are good, if a needed upgrade to do so, make sure it supported version. if you don’t see some functions, make sure to check the permissions under Agents>Roles>PermissionsGood luck
There are many ways to backup, upload an osTicket, here is one I used that may help you, otherwise, you are all good to go, enjoy your osTicket system, Thank you to osTIcket Team for making it open source and keeping up to date.
How to backup osTicket files on Ubuntu:
Login to your server and run the following command use -r (copy recursively), and specify a current location and backup location. Note: this command is just doing backup of current osTicket files and dumping to another directory within the same server.
command: sudo cp -r /path/to/directory /path/to/backup-Location/NameOfBackup
How to backup osTicket database:
Login to your server and run the following command, Note: this is doing backup of database and dumping on the same server.
command: mysqldump NameOfosTicketDataBase > backupNameOfosTicket10.11.2021.sql -u SQLuserName -p
When you hit Enter, it will ask to enter a password, once done if you do ls command, you will see backupNameOfosTicket10.11.2021.sql or whatever you named your backup file
How to upload osTicket installation files to the server from Windows 10 via PowerShell:
This is the quickest way to upload and replace files. Please make sure the path is correct, before running the command, when you hit enter, it will ask for a password for your server.
Command: scp -r C:\Users\UserName\Downloads\osTicket-v1.15.4\osTicket-v1.15.4\upload\* userName@IPorFQDN:/var/www/osTicketDirectory
Note: the \* after the upload, if you don’t put * it will create a new directory called upload
After the upgrade, if you don’t see some functions, make sure to check the permissions under Agents>Roles>Permissions